.........................
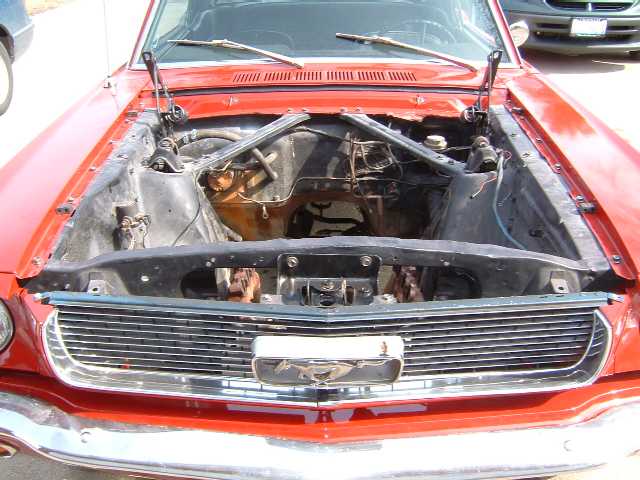
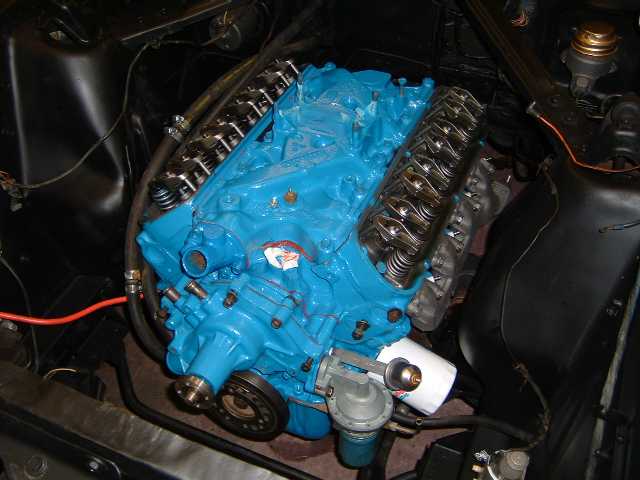
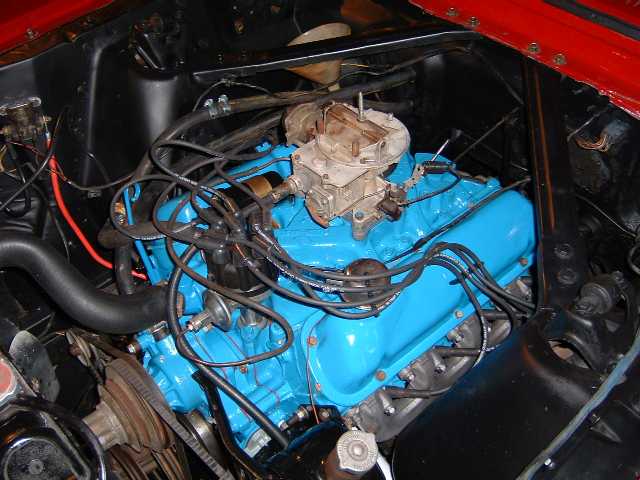
289 before extraction (a) 289 before extraction (b)
Feb 29: The morning after (Leap day!): By noon, the engine and transmission were out. There were a few things that I didn't disconnect, figuring I could take a short-cut and disconnect them when they were out in the open. However, that turned out to be a costly mistake. The transmission fluid cooling lines that run from the transmission to the radiator were disconnected at the radiator, but still connected to the transmission, got caught on something when the engine was pulled. They got kinked right at a point where it is a 180 degree bend that goes up and over the steering linkages and couldn't be repaired easily with a compression union fitting. It probably could have been fixed with a couple of right angle elbows and a short straight tube between them, but then that would have been ugly. I just ordered a new set of lines off the internet. The other thing that bent was the transmission dip-stick filler tube. It also got caught on something and bent slightly. I tried hammering it straight, but it eventually leaked, so it was also replaced by internet parts. Other than that, the extraction went OK.
 .........................
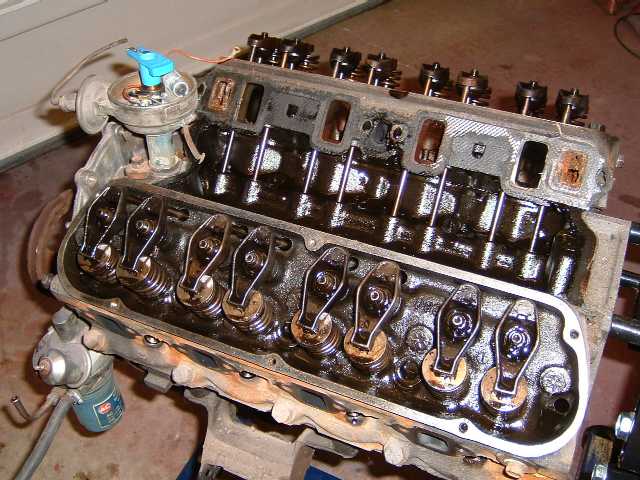
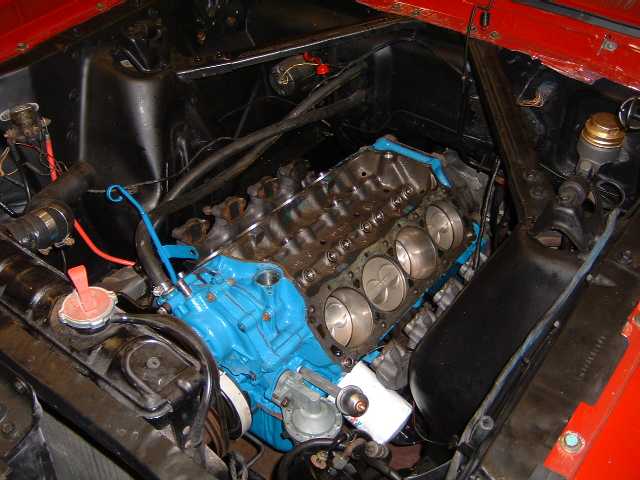
Engine compartment Parts on the floor Varished Valves
March 1: Now it was time to find out what was wrong. I began taking the engine apart. Soon I had more parts all over the floor of the garage. The heads looked OK but everything was greasy looking, but it wasn't greasy; it was sticky, like candy coating. I removed the heads, then I tried removing the hydraulic lifters. Most of my experiences indicated that these normally come out just by getting a finger grip on them and pulling them out. Sometimes they will stick a little bit because of the ridge of build-up on the bottom that doesn't get worn off, but these barely budged. It had to work them off by rotating them while tuggin on them with the biggest pliers I could find. I would say two to three minutes each of pulling and twisting. Finally, after about 45 minutes, all the lifters were out. Something definitely wrong with that. Then came out the cam, then the oil pump, main bearings, rod caps, crankshaft, then all the pistons. By 8pm the engine was completely disassembled. (Number 5 is not alive!) After inspecting all the components, I realized why the engine quit. Actually, I had realized it earlier, but now I was convinced.
Here's my diagnosis: After sitting around in a garage for more than 15 years, the oil in the oil pan had mostly settled to the bottom of the pan forming a massive depository of sludge. Although I drained the oil and put new oil in, apparently there was enough of this sludge to mix with the new oil to produce a varnish. After running for only a half hour or so then parked in the garage overnight, the new oil/old sludge combination drained out of the engine leaving a thin film of varnish everywhere oil would be and crystalized. After drying, the engine was effectively glued solid.
Rebuilding the engine was my first thought. However, after breaking a piston trying to take the connecting rod off, I determined that it probably wasn't going to be worth the effort to rebuild this engine. Besides, for all the parts and machining this engine was going to need, it would cost a lot more than a re-built engine. It was at this point I ordered an engine from the Advance Auto Parts store. Engines on the internet were less expensive, but the shipping put it above what Advance charged.
So, for the next four weeks, I'd be waiting for the new engine to arrive.
March 27: The new engine arrived a couple of days ago, but I wanted to wait for the weekend to install it. In the morning, I decided to clean up the engine compartment, and then paint it so the new engine would be welcome in its new home. I borrowed a pressure sprayer from my boss (Thanks, Ron!) and proceeded to strip everything off the engine compartment. After it was thoroughly cleaned with tons of Gunk, soap and water, I later painted the inside so it wouldn't look like crap.
 .........................
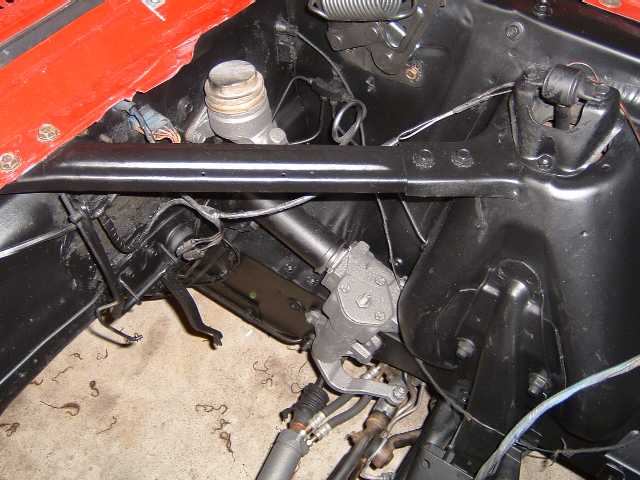
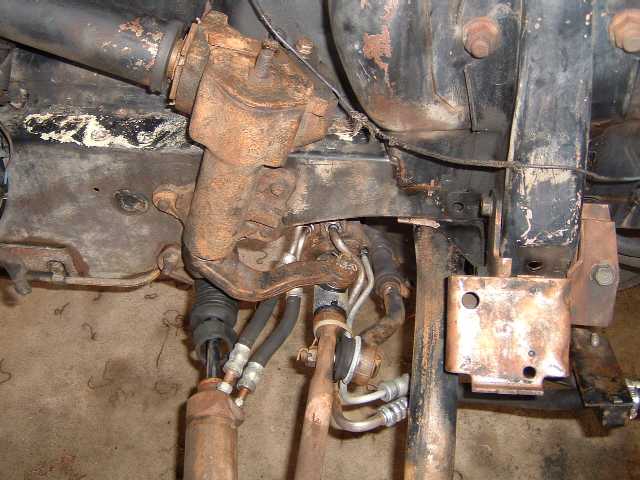
Steering Box before painting Steering box after painting
Between cleaning and painting the engine compartment, with the help of my wife and son (Thanks, Colleen & Chris), we cleaned and painted the engine and its peripherals.
March 28: Spent most the day bolting stuff onto the new engine. Since I don't have a truck, when the engine was ready to drop in, I asked Ron if he could pick up the engine hoist from the rental store to avoid the delivery charge. Last time they only charge ten bucks each way. This time they wanted twenty. Again, thanks Ron! Installed the new engine and old transmission. This time, I left all the tubes off while dropping it in.
 .........................
Dropping it in Bolting on components
April 1-2: I started bolting on the fuel pump, altenator, power steering pump, carburator, radiator, and other accessories.
April 16-17: After a week long Easter Break visiting the in-laws in Mississippi (Deja vu) and some time in New Orleans, it was time to test the new engine. I cranked it over and it started, but it didn't stay running for very long. It was running rough and seemed like it it wasn't getting enough gas.
Ready to start it up
The timing might also be off a little, so I turned it off to check it out. I double checked the spark plug wires and their firing order, examined the carburator and the gas lines. I opened up the carburator (originally rebuilt a few months ago by yours truely) to discover the bowl wasn't filling up with gas. I tinkered with it some and screwed it back together and cranked it up again. It seemed like it wanted to run, but it just wouldn't stay running. I double checked the carburator and noticed that the gasoline was abnormally dark for a half tank of new fuel. Initially I thought the carburator was the problem, so I took it off the engine and bought a rebuilt one from the auto parts store. Since the gas looked dirty, and the needle valves were clogged up with junk, I decided to take out the tank and clean the insides.
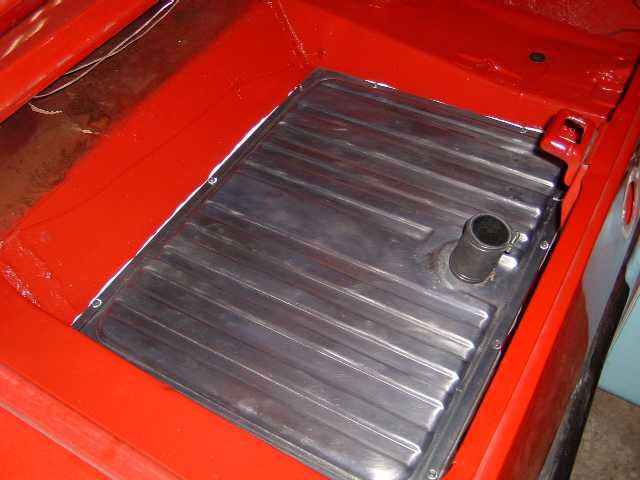
April 18: Spent most of the day cleaning out the junk from the inside of the gas tank. This picture shows the old gas gauge sending unit (which was new sixteen years ago - I installed one when I first got the car because I couldn't tell how much gas was in the tank. I vaguely remember Samir calling me up at work to pick him up because he ran out of gas driving to work.) with all the crap that came out of the tank. The round disk is about the size of one of those soft drink lids. There was enough crud in the tank to fill a 32oz Big Gulp cup.Notice that the float is completely gone, and only the 'hook' is left; it's probably part of the junk on the ground.
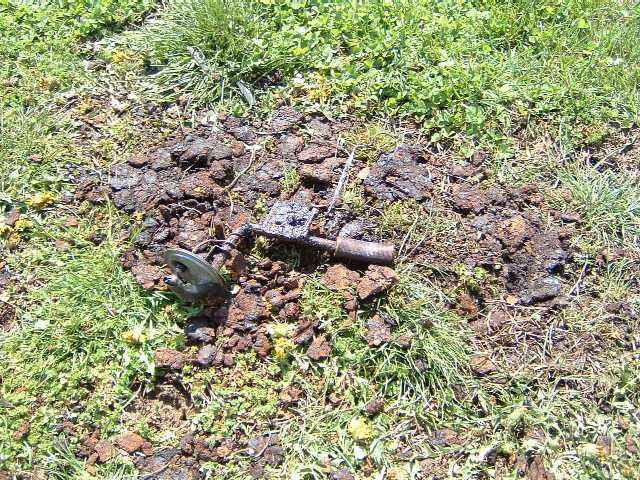
Junk in the gas tank
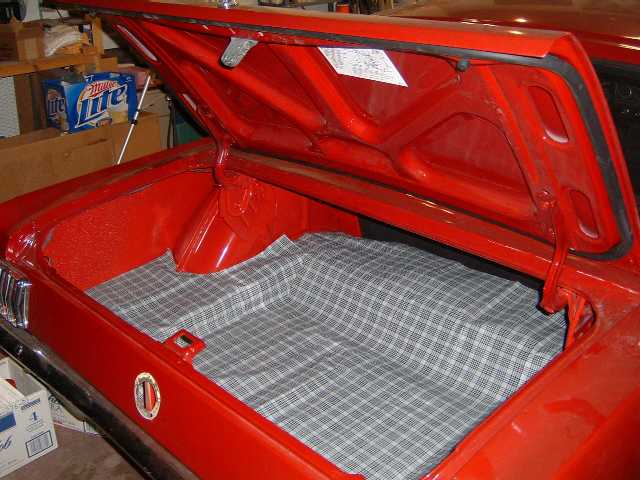
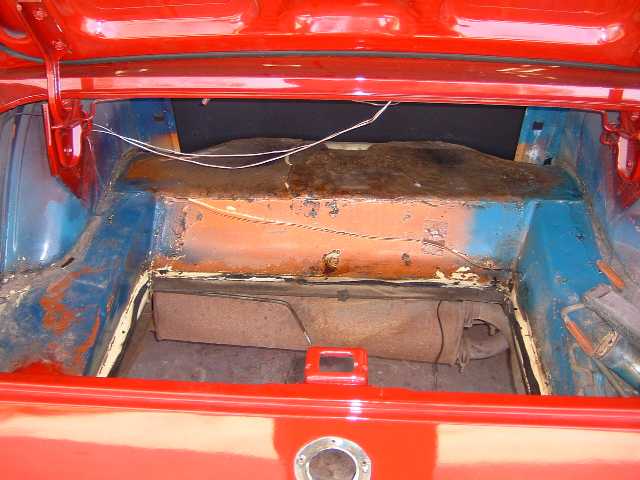
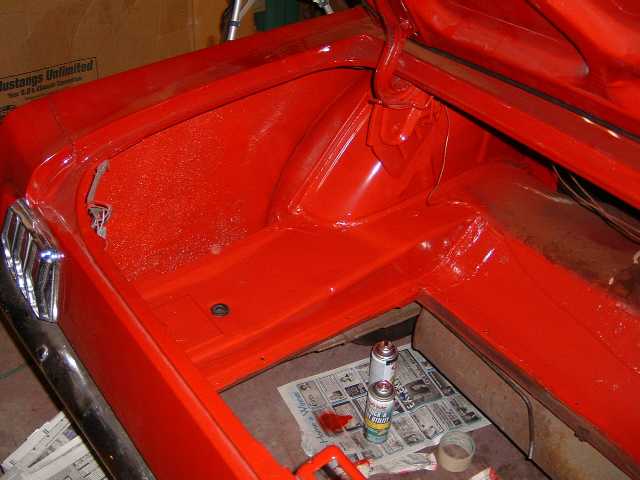
April 19: While the tank was out, I decided to paint the inside of the trunk so it wouldn't look like crap. I also got the new carburator and installed it.
 .........................
 .........................
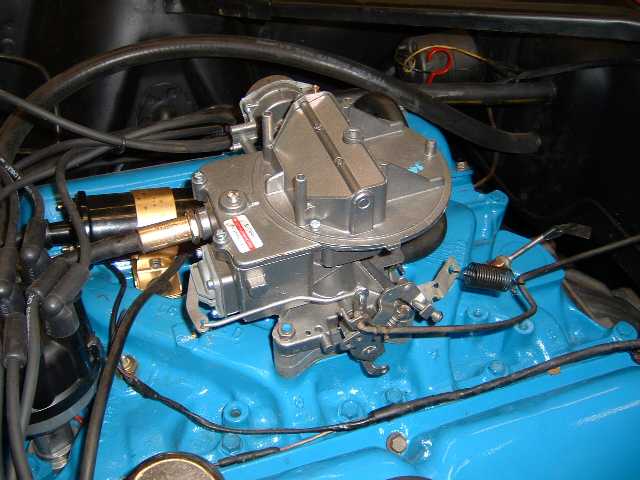
Trunk before painting Trunk after painting New (rebuilt) carburator