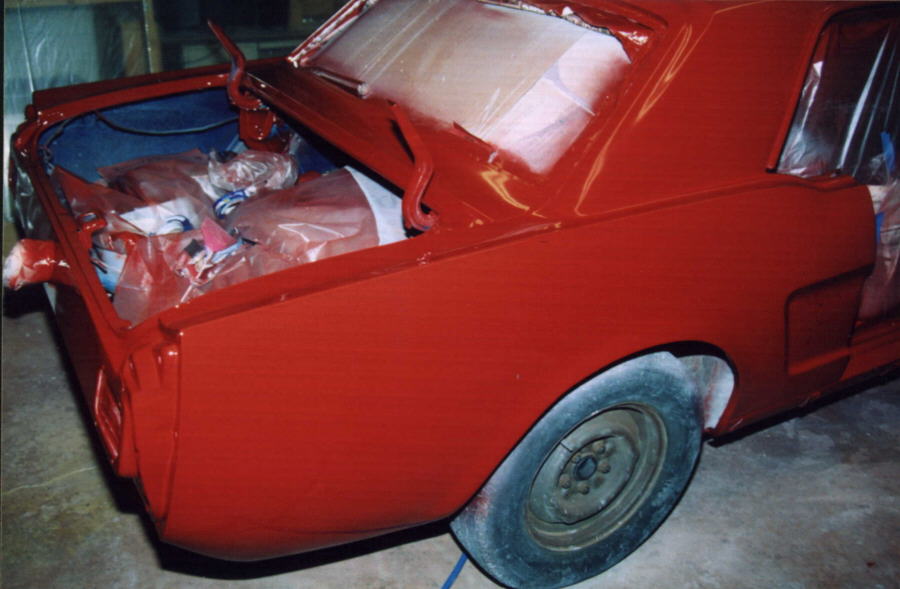
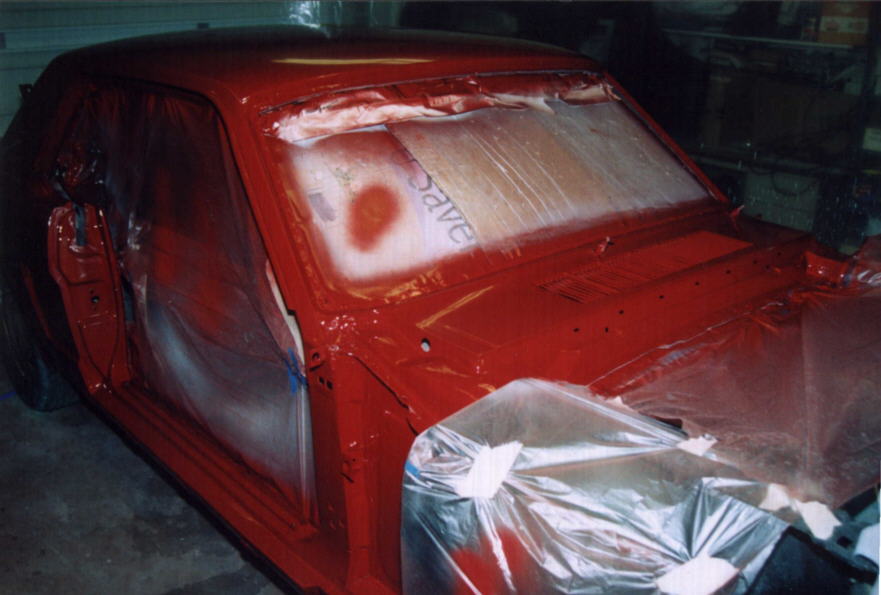
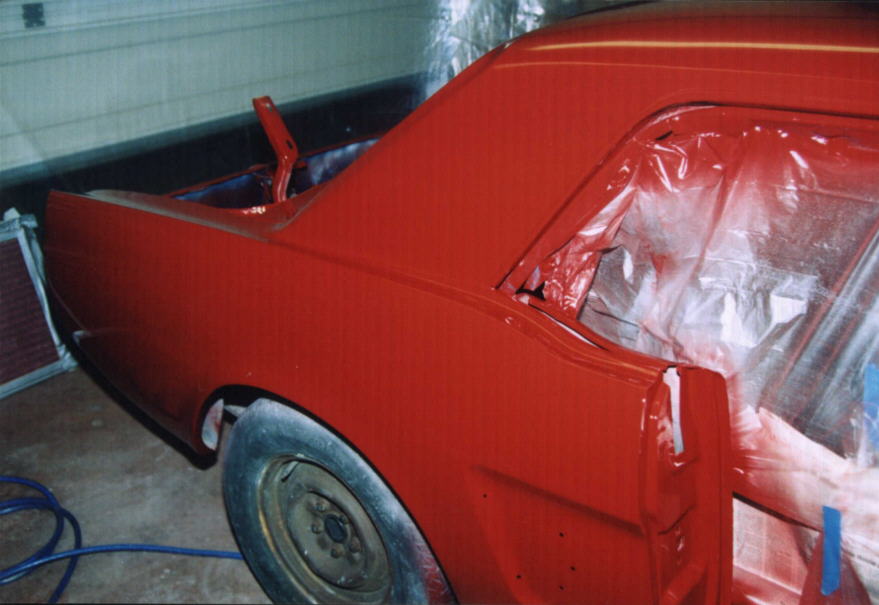
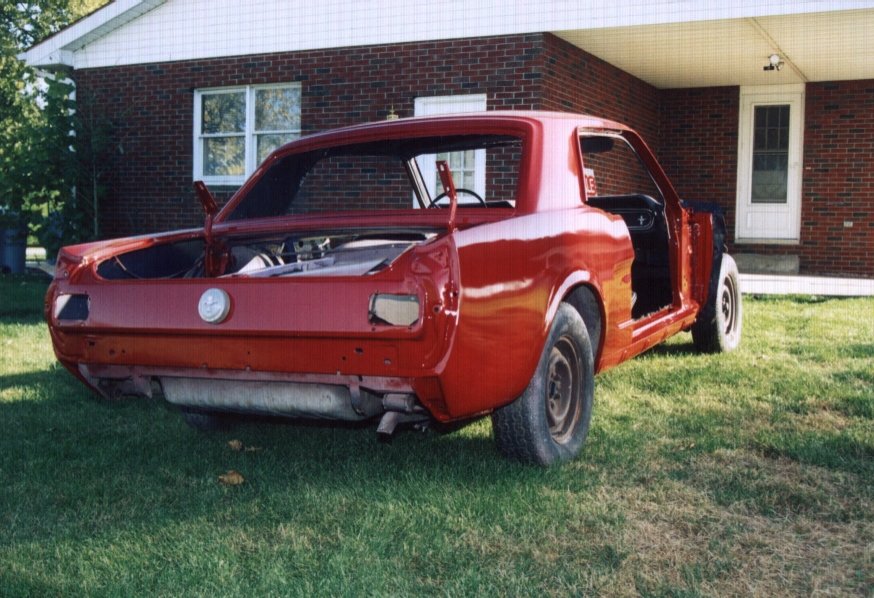
Right Rear Quarter panel and trunk Right front "A" pillar and cowl Right door jamb and quarter panel
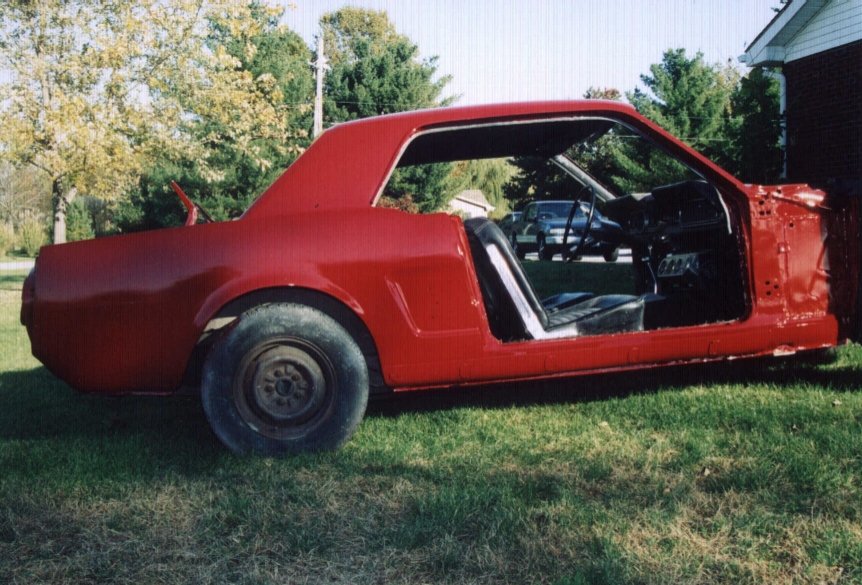
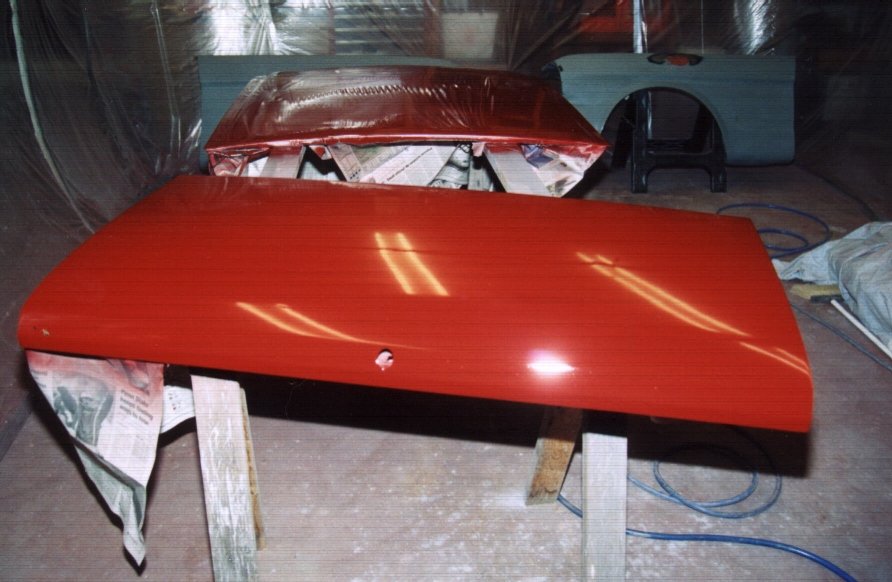
5. Finally Red!
Well, after many hours of preparation, the main body of the Mustang is finally painted. Christopher wanted it Candy apple Red, so that's what she (the Mustang) got. It's a single stage acrylic. Masking was fairly easy because there wasn't much to mask off except the big open areas in the windows, doors, trunk and front. I didn't bother masking the wheels because we'll be getting new tires and wheel covers later. It came out better than I though it was going to come out. I was nervous about painting it. It had been a long time since I painted anything, and I was afraid of everything going wrong. Except for the bottom portions where I had to get down on my knees and spray upward, it went fairly smoothly. I tried to paint as fast as I could not knowing how long I had until the sealer was too dry to put the color on. There were a few spots that had dust or specks of something, but for the most part it looks pretty good. Hopefully I can buff them out later.
I bought new weather stripping and rubber parts, gaskets,
and plugs and wire spoke hubcaps.
I still need to buy a new antenna because the one that
came with the car is not original. It has a rectangular base and the original
has a round base. I also need the "FORD" letters for the front of the hood.
All I need now is more time to put it back together.
NEW PICTURES!
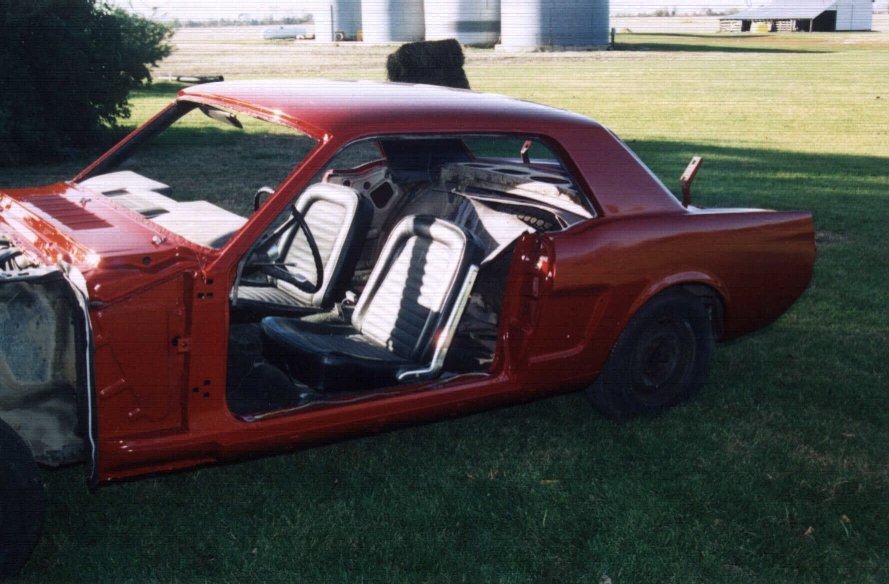
This is after the main body was painted and moved outside
so the rest of the parts (fenders, hood, trunk, etc.) could be painted
in the garage.
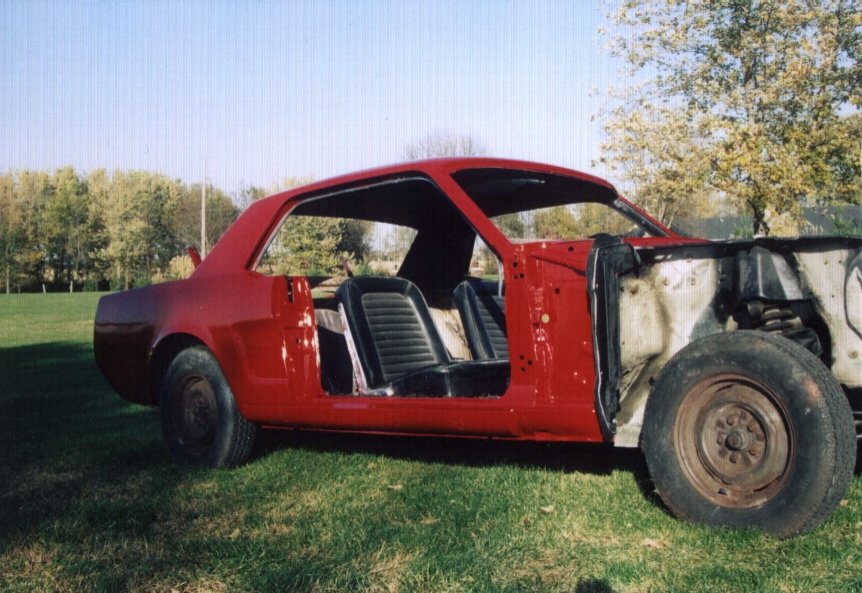
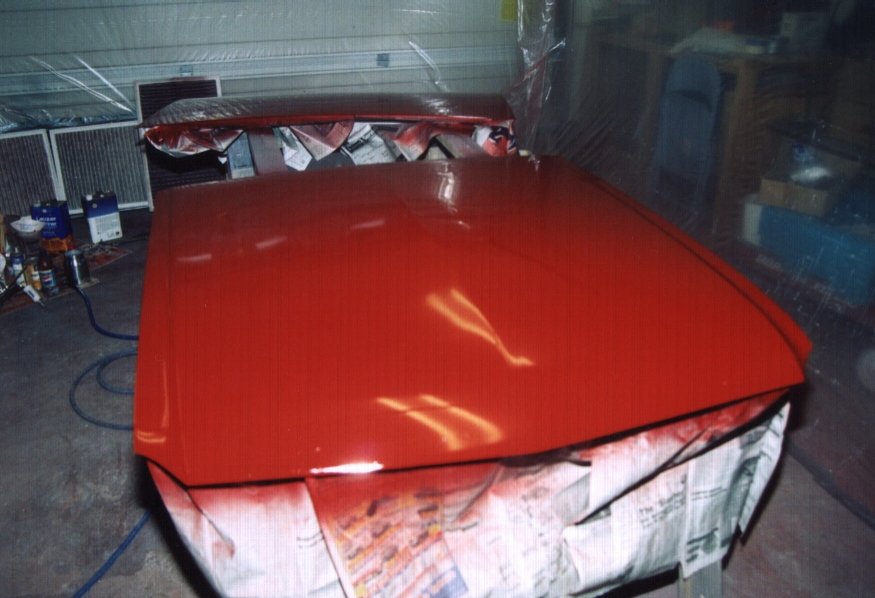
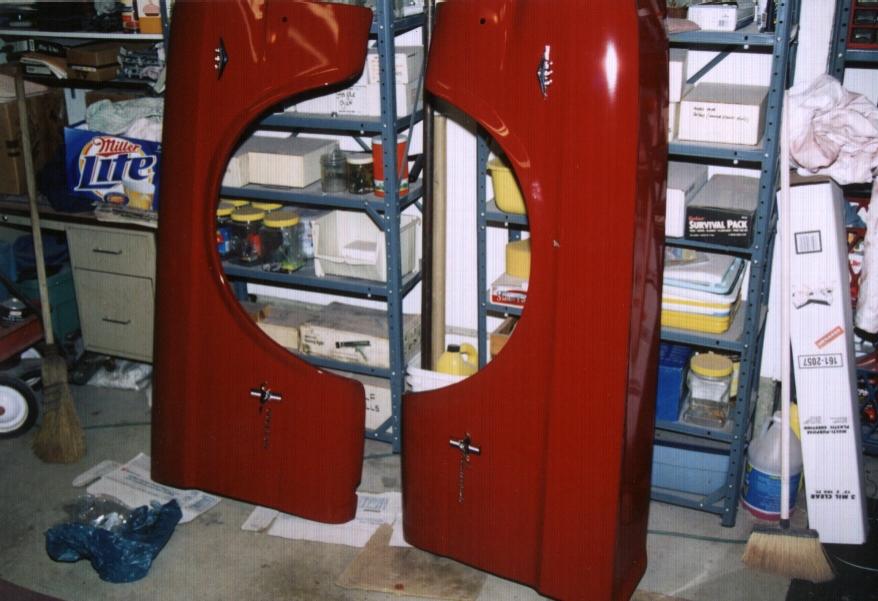
Since the car was out of the garage, I had enough room in the garage to paint the doors, the trunk lid (inside & out), the hood (inside & out), the insides of the front and rear valances, stone guard and grille support.
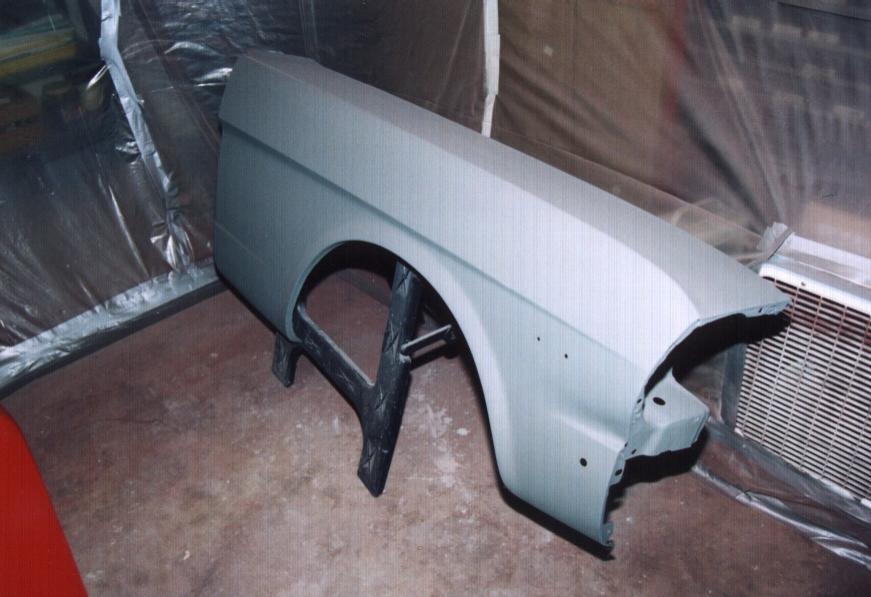
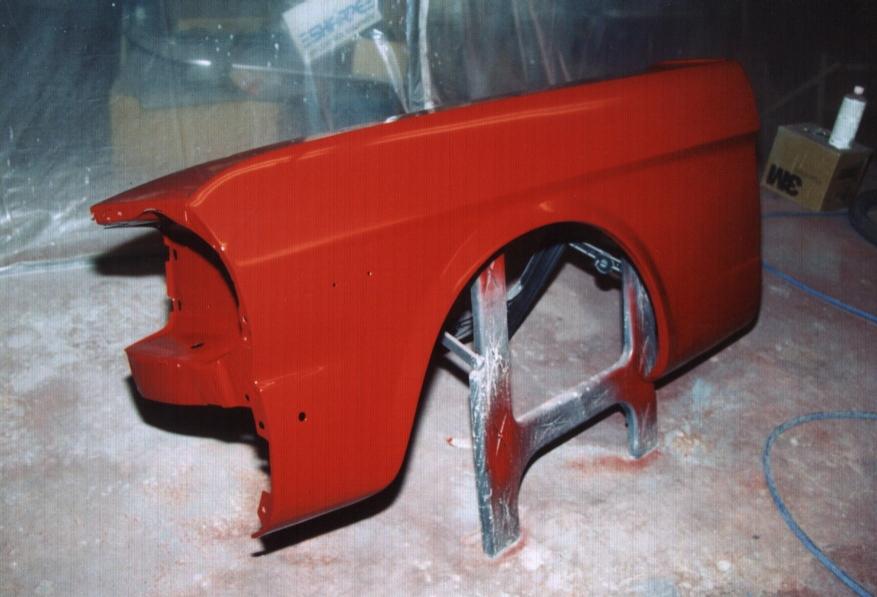
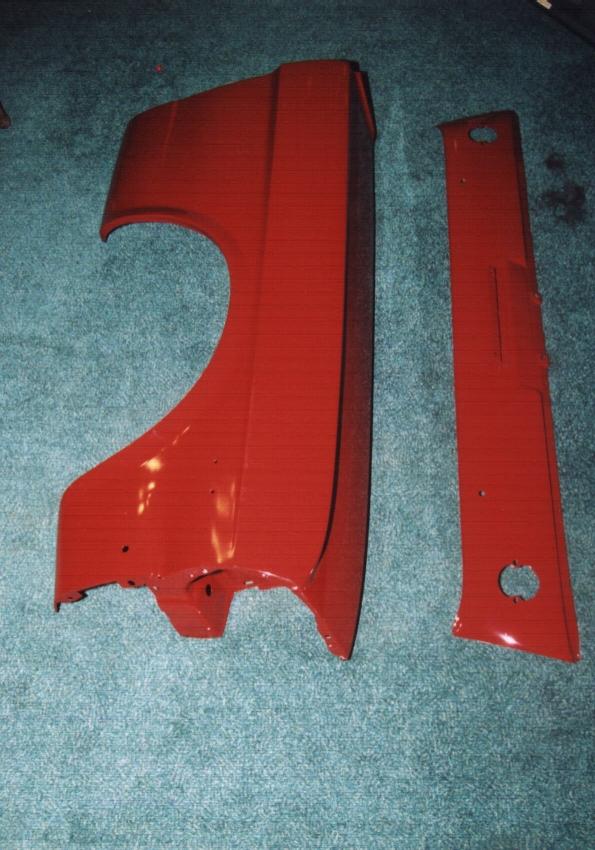
Right Fender
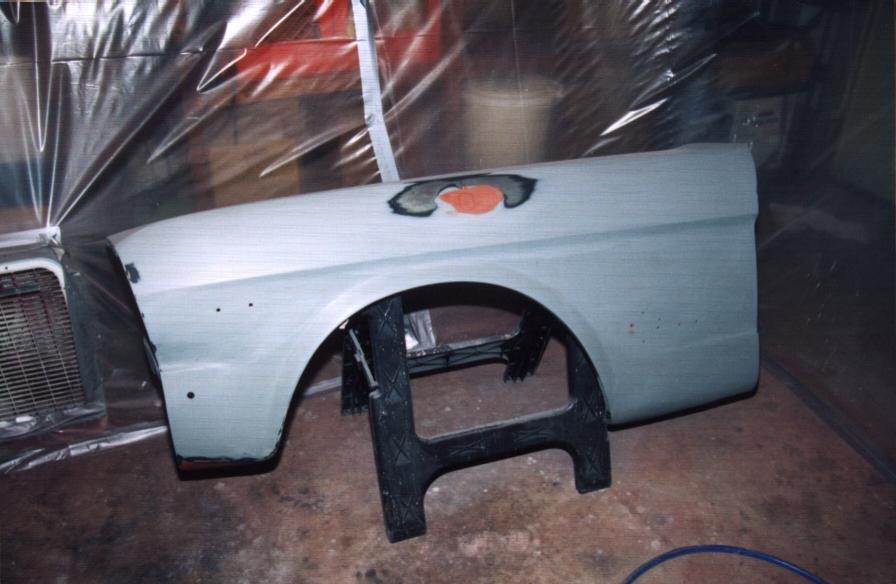
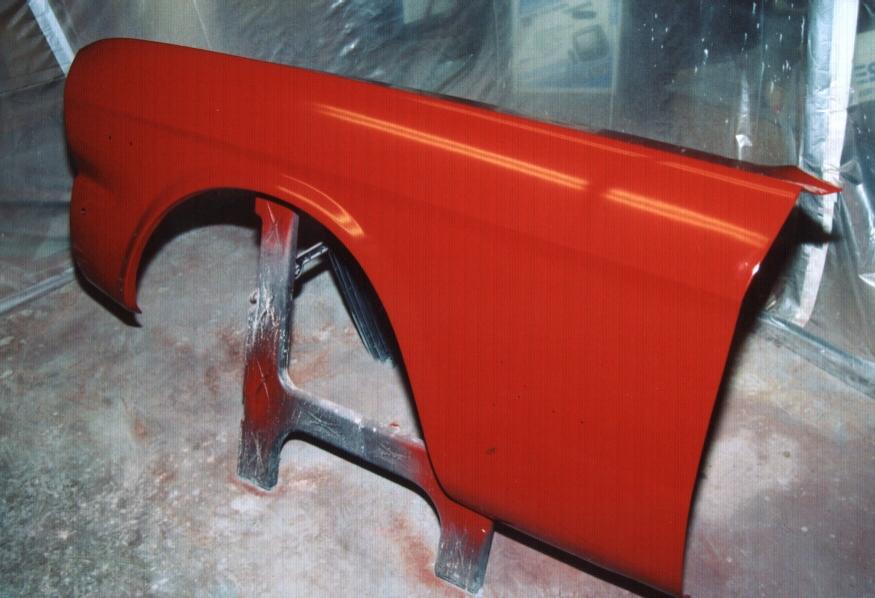
Left Fender
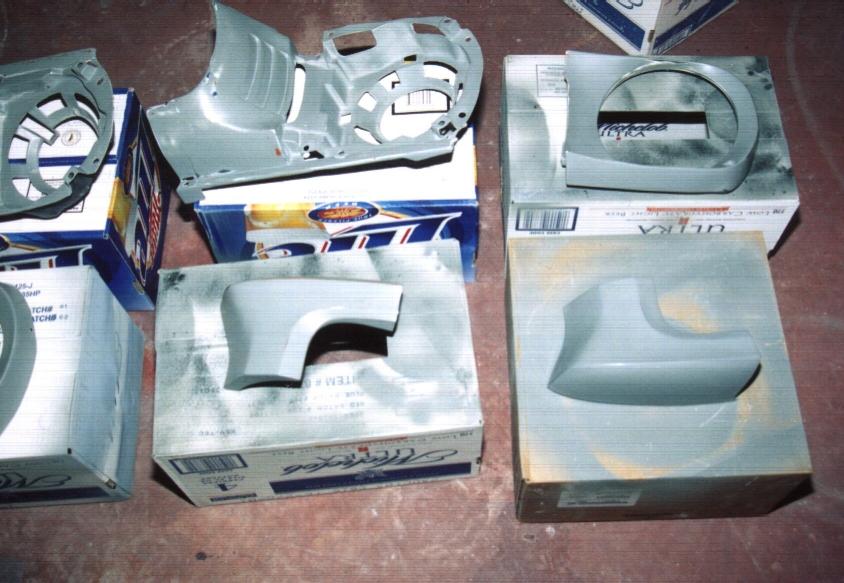
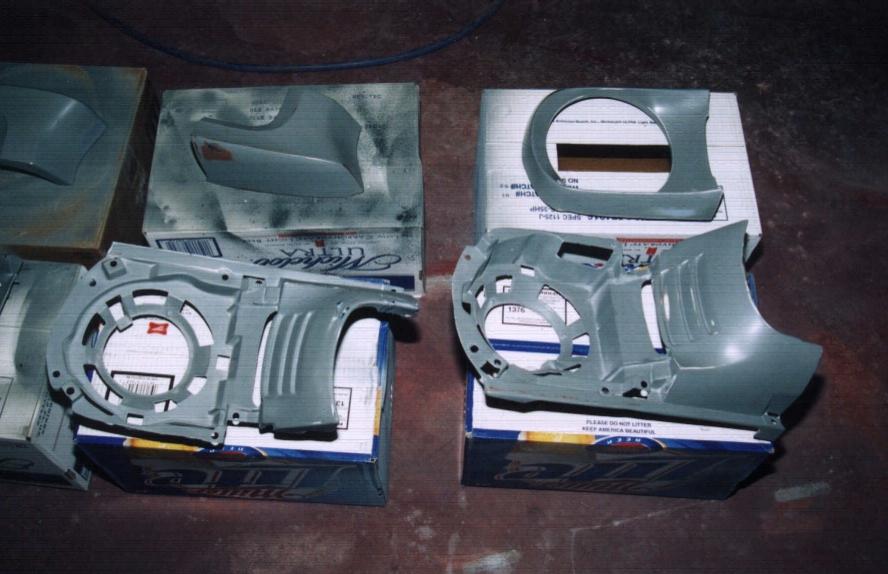
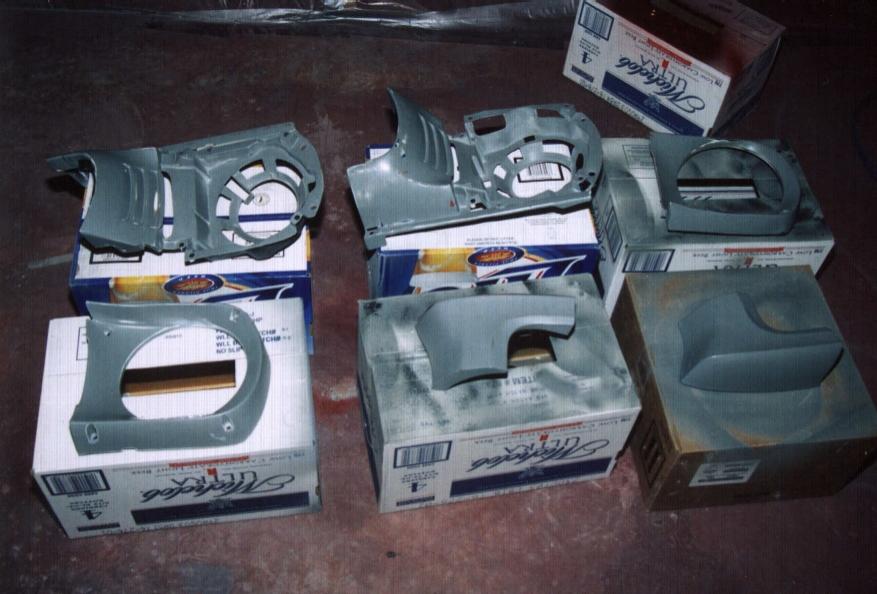
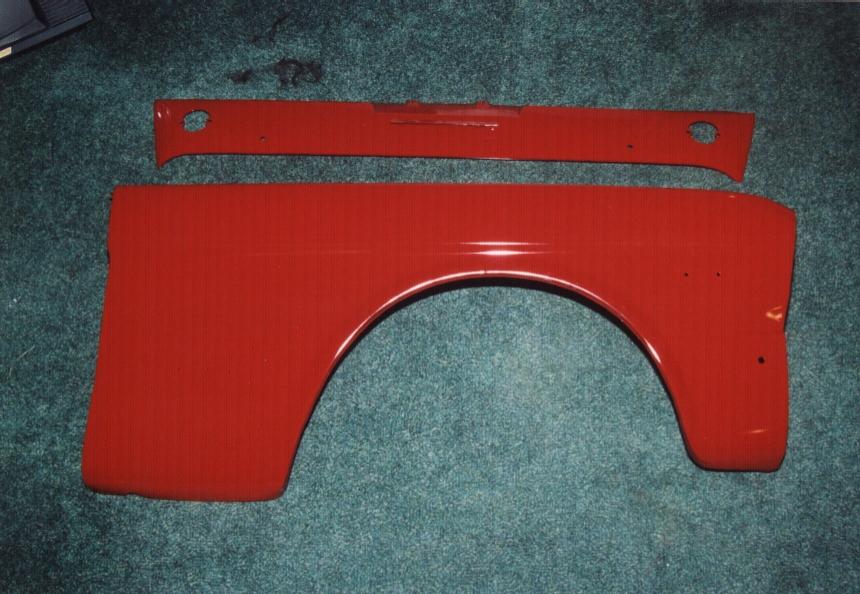
Front and rear fender extensions and headlight doors.
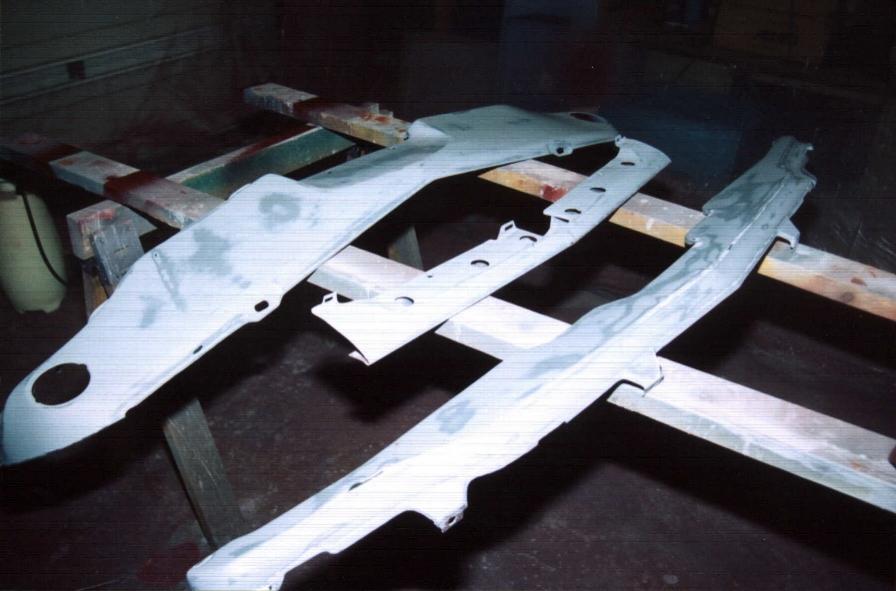
Front Valance, grille support and stone guard.
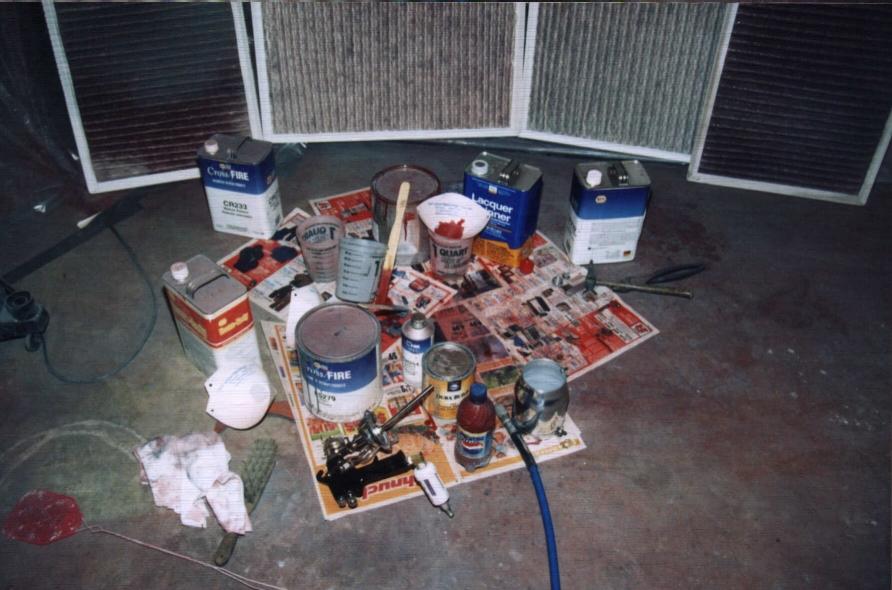
Painting Supplies
November 30: Today's high temp: 58° - Painted the front fenders, door hinges, and rear valence.
Front fenders and front valance on the dining room floor
much to Colleen's dismay.
This was only a temporary storage place until the other
parts were painted. I didn't want to get overspray on the fenders.
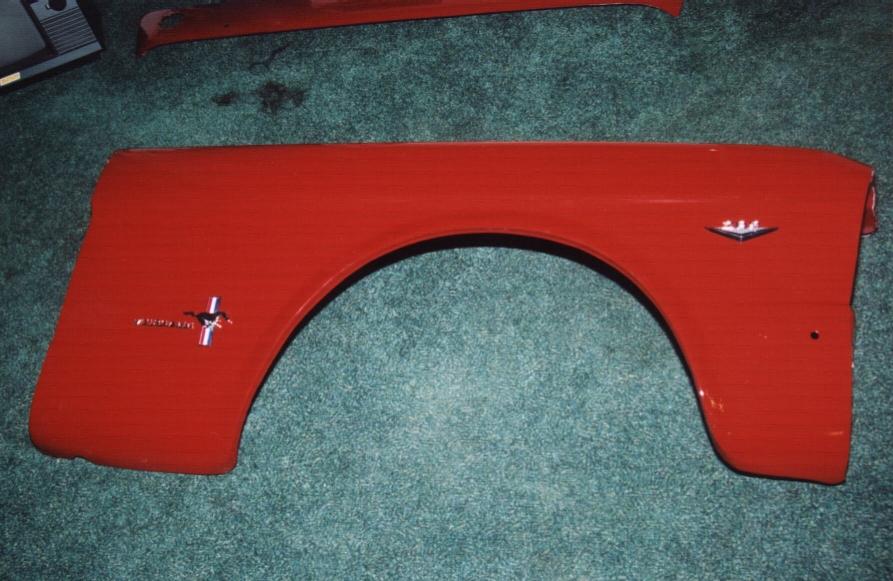
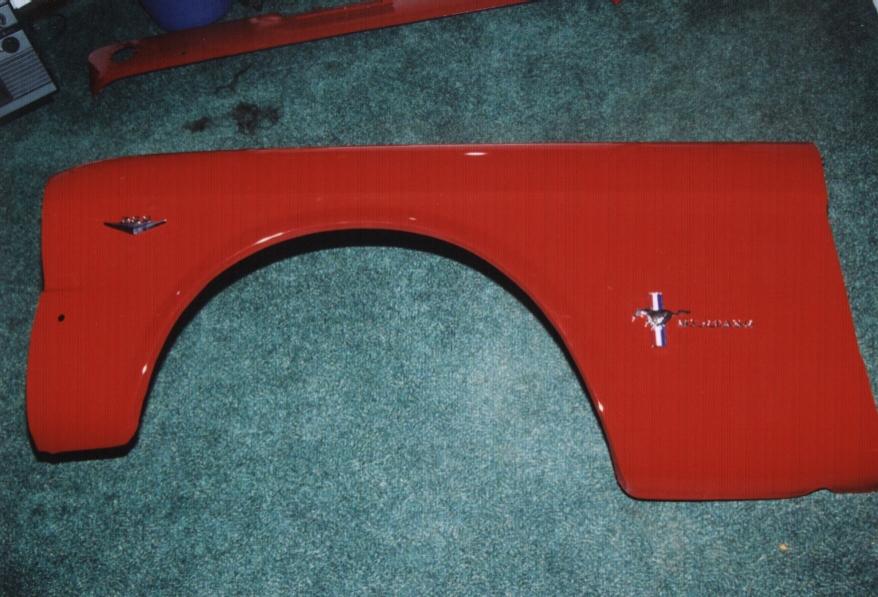
Front fenders with the new running horse, 289 and MUSTANG
emblems installed.
Fenders moved back into the garage
December 1: Painted the stone guard, front valence, head light frames (fender extensions), and head lamp doors (covers), grill support and rear extensions (corners of the rear just above the tail lamps).