|
By: Ben B.
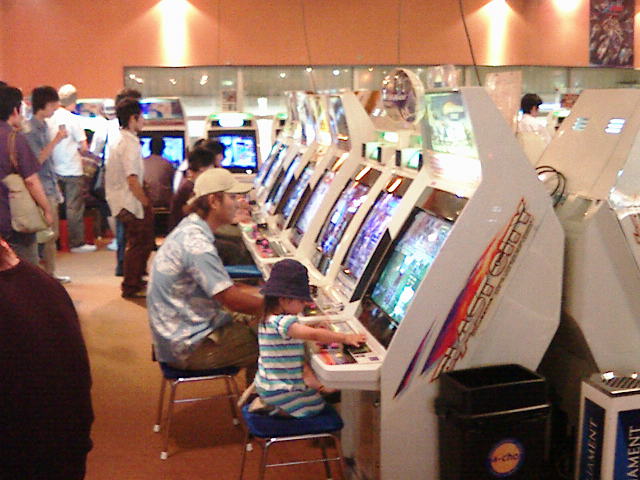
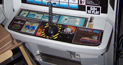
Ever since I got into
Japanese gaming cabinets, I've always wanted a Sega Blast City. I don't know what it was about the cabinet that just captured me. Ever
since I saw this picture to the left.
I knew I had to have one. I thought about ordering from Coinopexpress.com.
The shipping would kill me. Well fast forward a year and two other
cabinets later. Sega decided to put the Blast City cabinet in arcades
across the U.S. right underneath my nose! It was in the form of Sega's
Get Bass, a Model3 board based game. don't know what it was about the cabinet that just captured me. Ever
since I saw this picture to the left.
I knew I had to have one. I thought about ordering from Coinopexpress.com.
The shipping would kill me. Well fast forward a year and two other
cabinets later. Sega decided to put the Blast City cabinet in arcades
across the U.S. right underneath my nose! It was in the form of Sega's
Get Bass, a Model3 board based game.
I was doing a lot
random searching on eBay when I found a Get Bass cabinet (Blast City).
 I was like omgwtf?!? I needed to have it, I was like omgwtf?!? I needed to have it, it was only $300. Right as I
go to buy it now, someone else beat
me to it. I was a little upset, but I saw other Blasts in the
background. I emailed the seller and he said he had one more cabinet
for sale. He said $300, I was down. I asked for some detailed
pictures. He sent a few a couple days later. The marquee's plexi-glass
had been cracked. Along
with that, the control panel had been cracked on the lower right side.
I called him later that day, asked if I could shoot for a lower price.
We agreed on $275. it was only $300. Right as I
go to buy it now, someone else beat
me to it. I was a little upset, but I saw other Blasts in the
background. I emailed the seller and he said he had one more cabinet
for sale. He said $300, I was down. I asked for some detailed
pictures. He sent a few a couple days later. The marquee's plexi-glass
had been cracked. Along
with that, the control panel had been cracked on the lower right side.
I called him later that day, asked if I could shoot for a lower price.
We agreed on $275.
Let's again forward a
week later to pick it up. It was a 14hour road
 trip
via minivan. The guy was nice, but we didn't stick around there more
than 15 minutes. Loaded trip
via minivan. The guy was nice, but we didn't stick around there more
than 15 minutes. Loaded it up, and headed off back home. We were
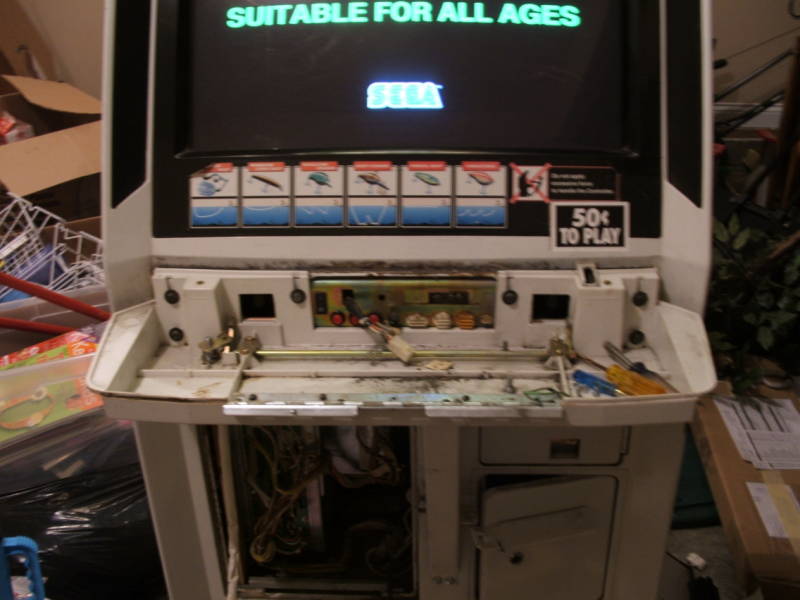
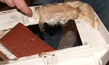
exhausted when we got home, so...called it a night. The following
morning, my dad helped me
out with drilling the locks out on the cabinet. I was freaking out
while he was doing it, I was like "Damn suckamothafucka, be gentle!"
After we got the top panel off, there was all kinds of cigarette ashes
and spilt beverages. It's kind of funny, it's the same in Japan for
there cabs. it up, and headed off back home. We were
exhausted when we got home, so...called it a night. The following
morning, my dad helped me
out with drilling the locks out on the cabinet. I was freaking out
while he was doing it, I was like "Damn suckamothafucka, be gentle!"
After we got the top panel off, there was all kinds of cigarette ashes
and spilt beverages. It's kind of funny, it's the same in Japan for
there cabs.
The easist part was
the cleanup. I used a couple different products.
-Goo Gone
-Simple Green
-Mr. Clean Magic Eraser
-Windex
-Elbow Grease (not sold in stores)
I used Goo Gone on the exterior of the
cabinet, other than the bezel. It really gets rid of a lot of the
scuff marks. Simple Green worked out too, when I ran out of Goo Gone
:P. I then followed up with Mr. Clean Magic Eraser for some smaller
areas on the exterior. The Goo Gone worked pretty well on getting the
stickers off of the bezel, but there is still a trace of them even
after a good cleaning.
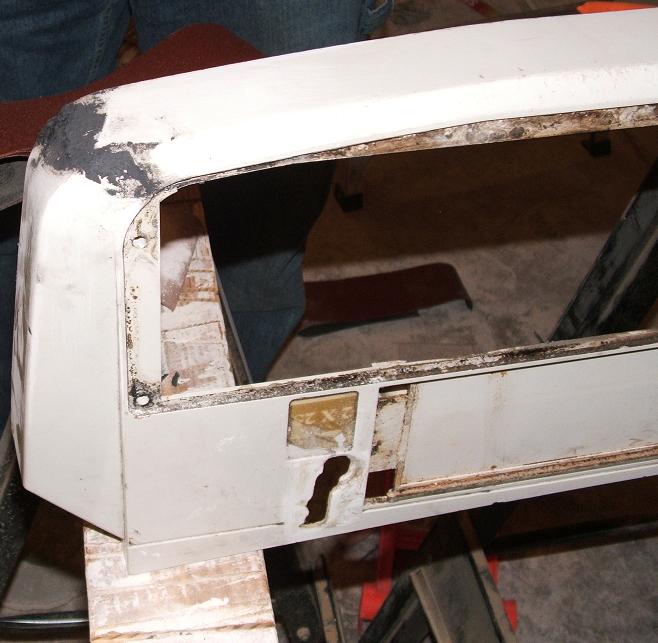
The largest part of
the project was fixing this
 cracked (broken) control panel. The only cracked (broken) control panel. The only thing holding it together was the Get Bass overlay panel. Once I
unbolted that, it more or less fell apart. I hit up the local Wal-Mart
and got some Bondo Fiberglass fix kit. I put the Fiberglass fix in the
backside of the controlpanel for support. Then got some epoxy putty to
fill in the front side. I didn't think the epoxy would be strong
enough and it also smelled like ass. It ended up being rock solid and
perfect for the job.
thing holding it together was the Get Bass overlay panel. Once I
unbolted that, it more or less fell apart. I hit up the local Wal-Mart
and got some Bondo Fiberglass fix kit. I put the Fiberglass fix in the
backside of the controlpanel for support. Then got some epoxy putty to
fill in the front side. I didn't think the epoxy would be strong
enough and it also smelled like ass. It ended up being rock solid and
perfect for the job.
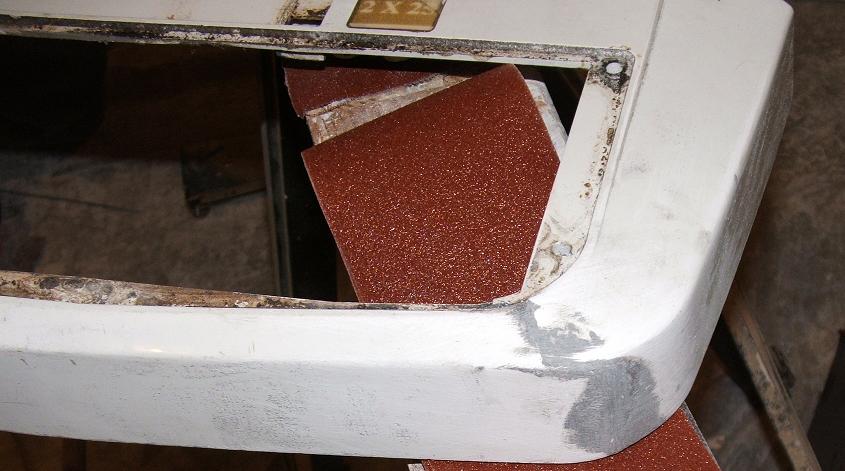
 Once the control
panel had fully hardened, I sanded down the expoxy and the fiberglass.
This was all done by hand, started with a higher grit sandpaper moved
up to 220-grit for smoothing it all Once the control
panel had fully hardened, I sanded down the expoxy and the fiberglass.
This was all done by hand, started with a higher grit sandpaper moved
up to 220-grit for smoothing it all
 down.
After the sanding, I took the control panel to get cleaned. I
used a power washer at a car wash. Man, the stains and dirt just
melted off the cp. down.
After the sanding, I took the control panel to get cleaned. I
used a power washer at a car wash. Man, the stains and dirt just
melted off the cp.
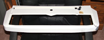
Next came the
painting process. First I put about 3-4 coats of primer on the panel.
After drying, came the painting. I used about 3-4 coats of semi-gloss
white spray paint. It came out a bit whiter
than the rest of the cabinet, but that was expected. I'm really happy
with the results. If I had to do it over again, I would use flat paint
and have a body shop add clear coat to it. Maybe next time. drying, came the painting. I used about 3-4 coats of semi-gloss
white spray paint. It came out a bit whiter
than the rest of the cabinet, but that was expected. I'm really happy
with the results. If I had to do it over again, I would use flat paint
and have a body shop add clear coat to it. Maybe next time.
More to come soon!!!
|