
Home - Contact - Chopping the Top - Chop your Top - Installing Air - Links
|
I'm still looking for another grille shell...
anyone out there have one for sale or interested in trading for other stock 36 Plymouth parts? Email me pedalit@insightbb.com |
Please check back often to see my progress!
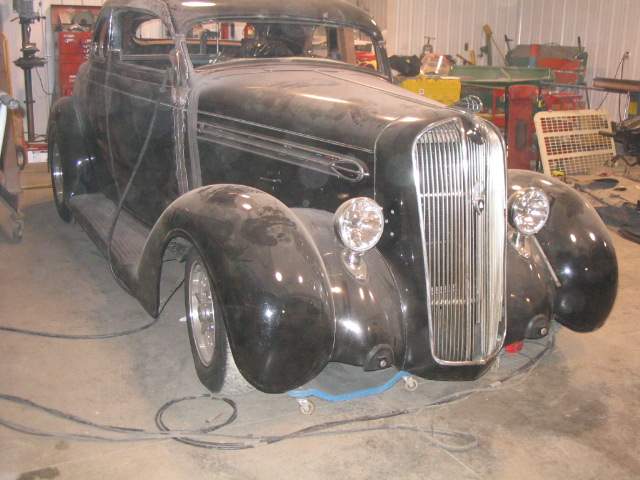
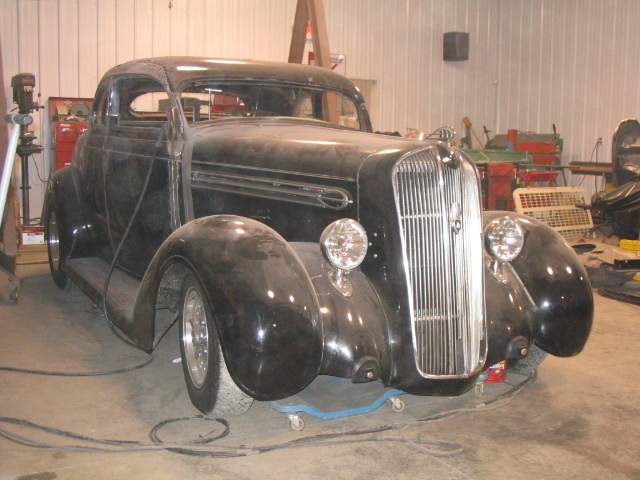
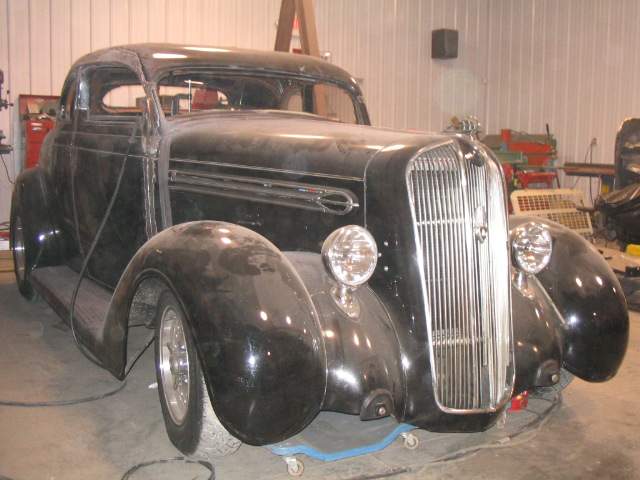
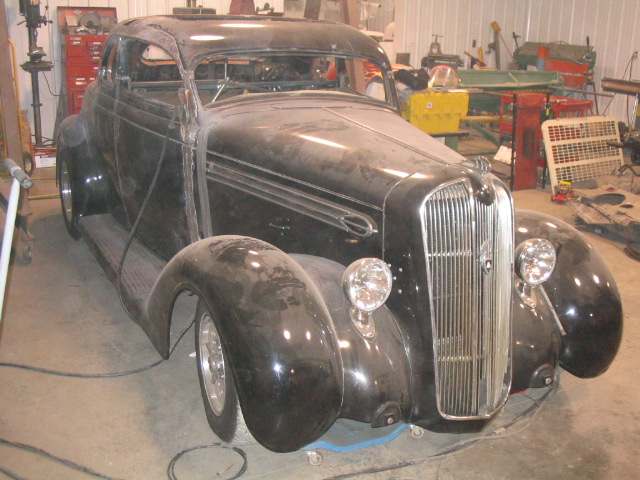
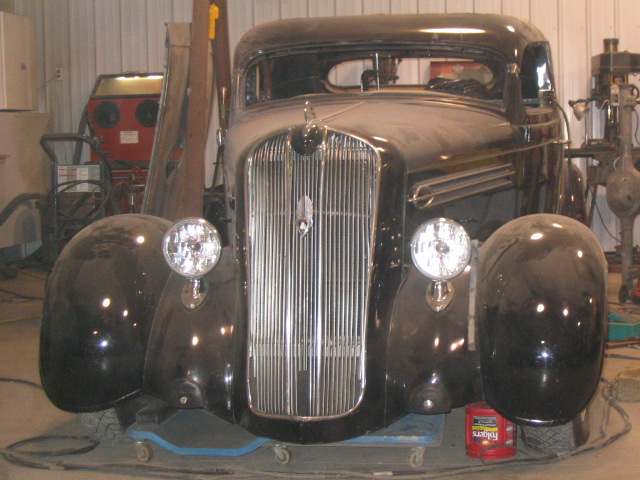
| First of all let me say, Overall I've always liked the body lines of the 36 Plymouths, but they do appear to be somewhat top heavy. I think people realized it back then too. Look at the sales literature from 1936, the cars in the hand drawn, dealer handouts always appeared to be slightly chopped. (see sample here) They knew they could make the car look better in pictures, by shaving a little off the top. |
|
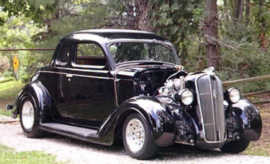
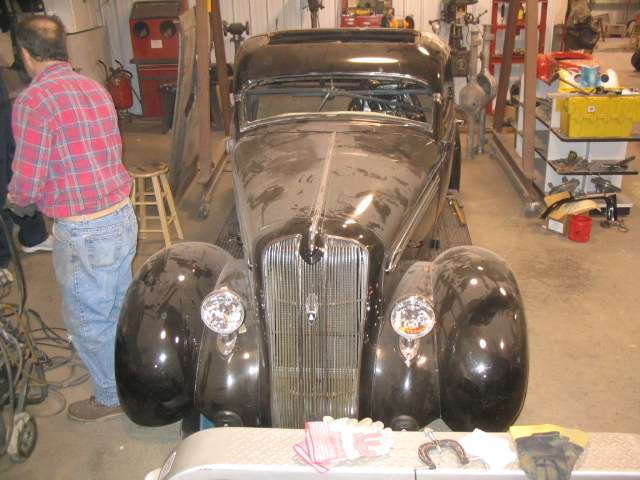
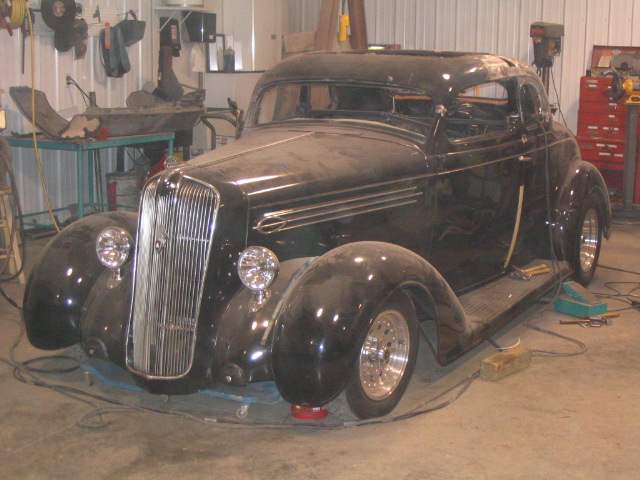
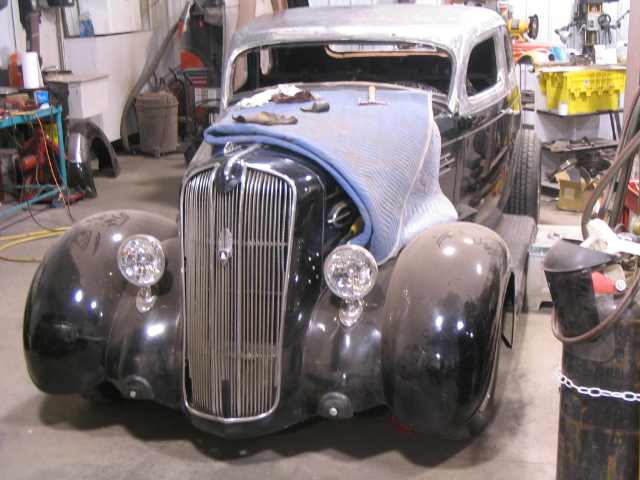
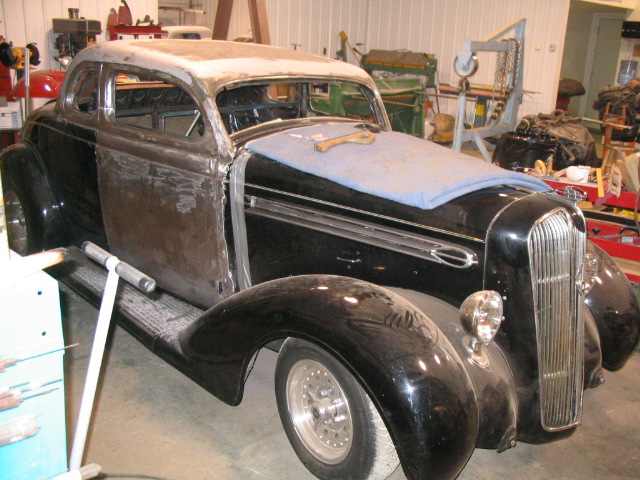
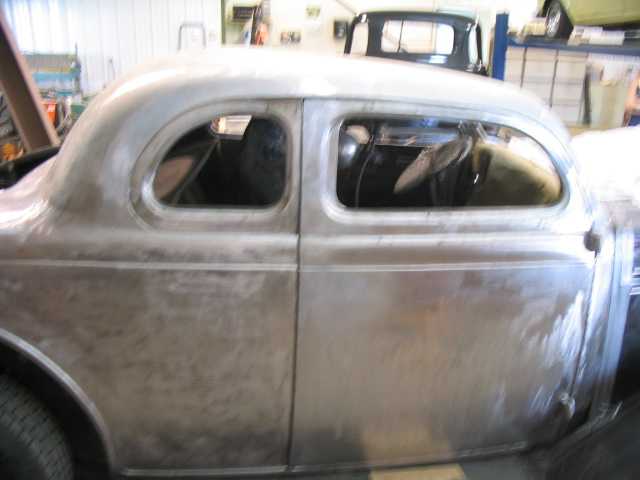
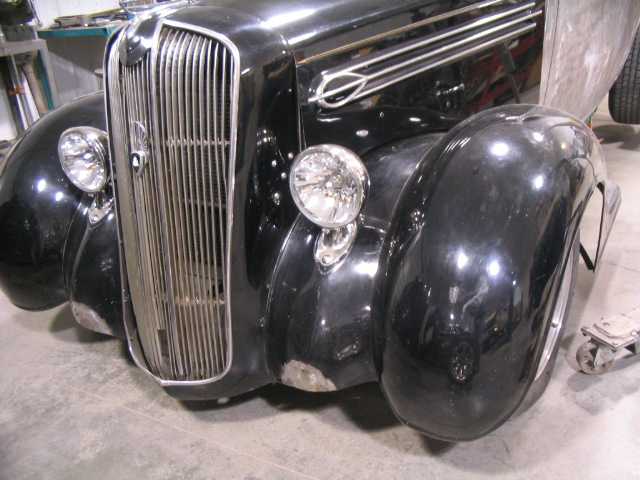
This is what I started with back in 1973. Now a 2 1/2 - 2 3/4" chop seems like it should give the car a little more attitude. |
|
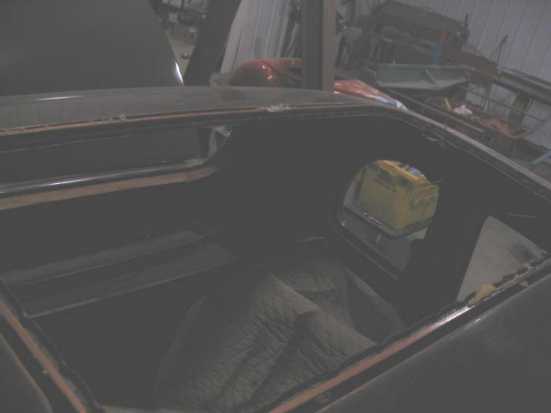
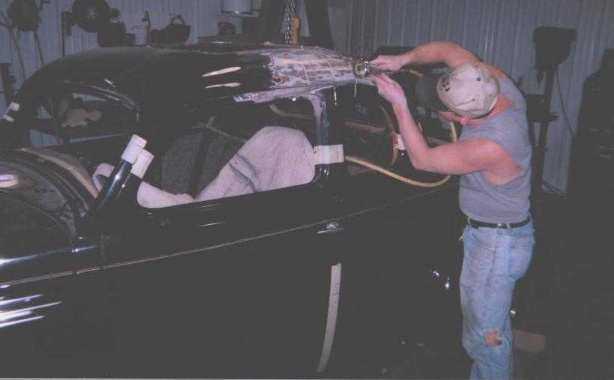
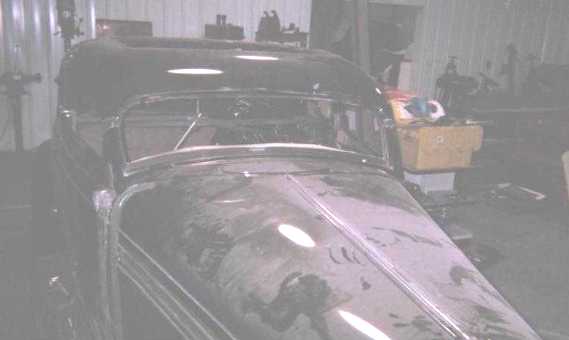
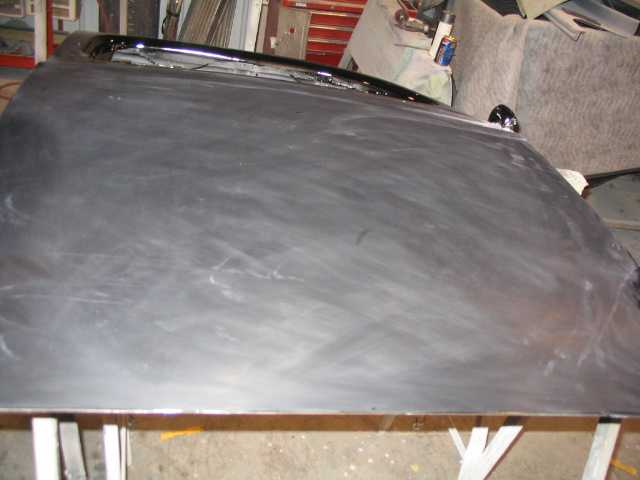
I didn't realize I wouldn't need a flash while taking pictures in the shop, so these first few pictures are pretty dark. Next weeks pictures came out much better, so bare with me and these first few pictures. |
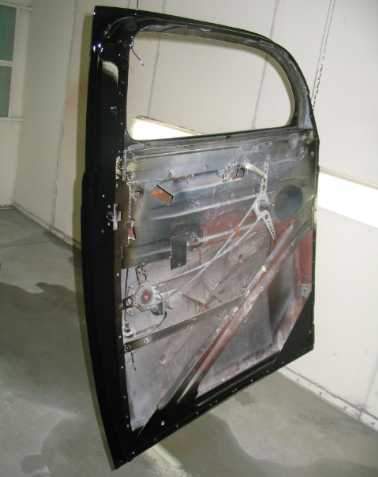
My first move was to remove all the interior, the soft top material and wood support. I'm not a metal fabricator and I wouldn't let just anyone start cutting on the 36 my family has owned since the early 1970's So I had been talking to Craig, owner of Hershey's Hot Rod Shop for over a year about getting my car scheduled in for the work. We finally got together, so here we go. Gee... How
hard can this be I just want 2 3/4 inches of the top! Shave the
handles and fill the bumper to frame openings. Mark a few lines here and there...
That looks good, lets get the party started.
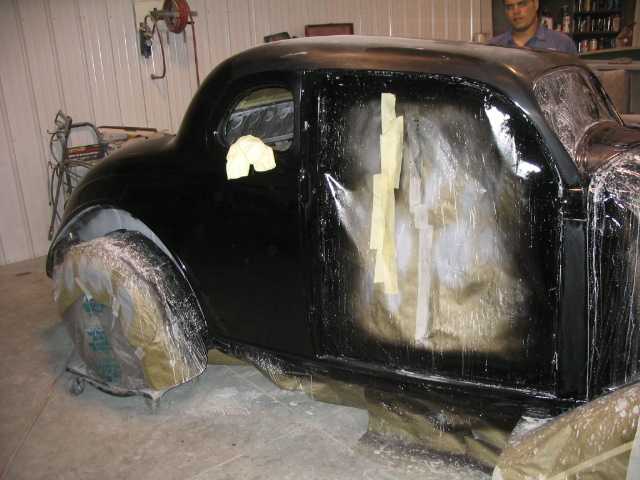
Paint has got to go.
I forgot at this angle, 2 3/4" actually chops the windshield a little over 3 inches!
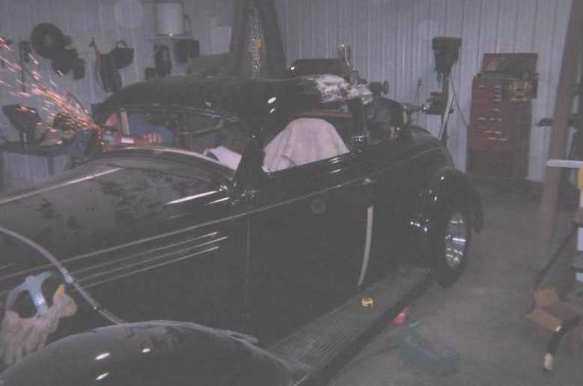
One of Craig's helpers removing more paint.
Craig making sparks fly! The back half is off.
Opps! What have I done???
Okay... shake it off...
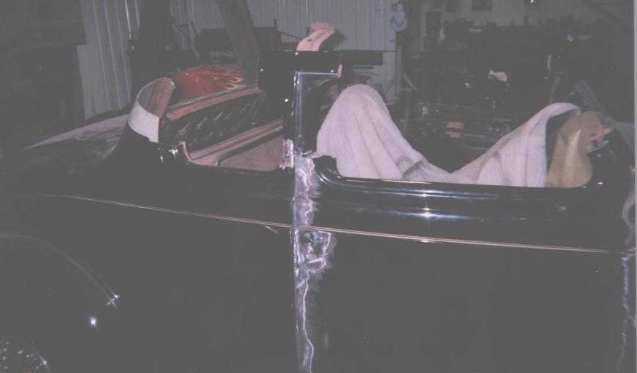
Let's see how she fits back together!
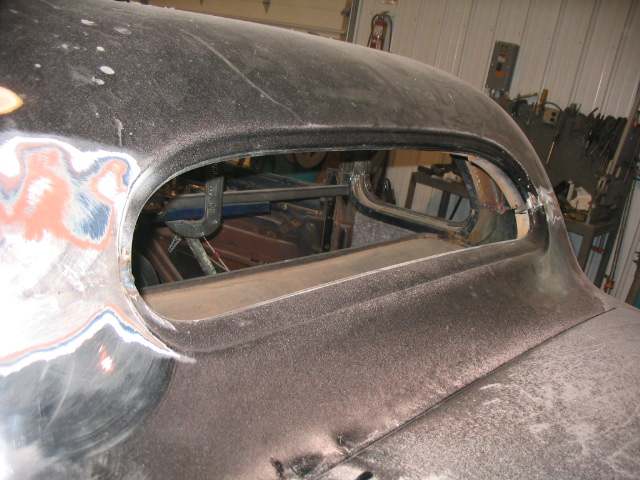
Okay... it could be worse. I knew as I dropped the roof down it would get longer front to back.
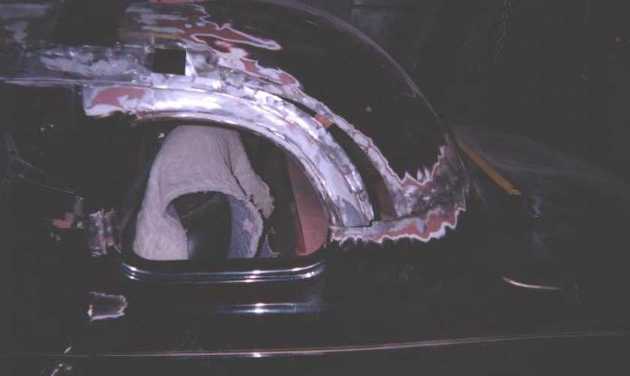
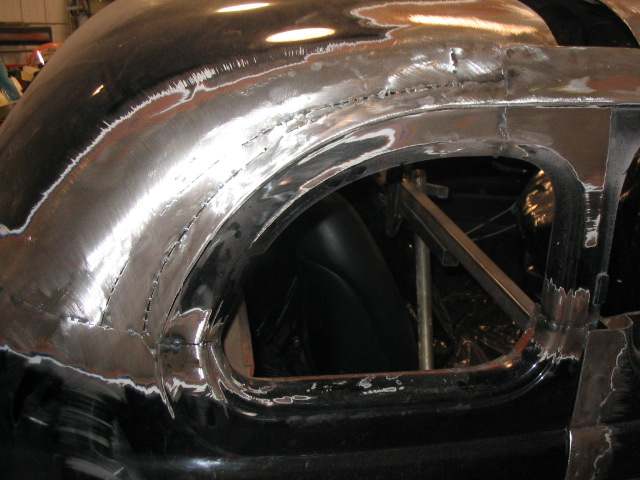
and rather than stretch the back window I opted for adding metal here.
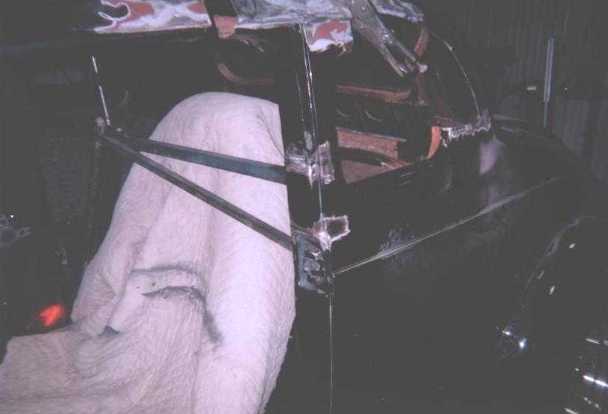
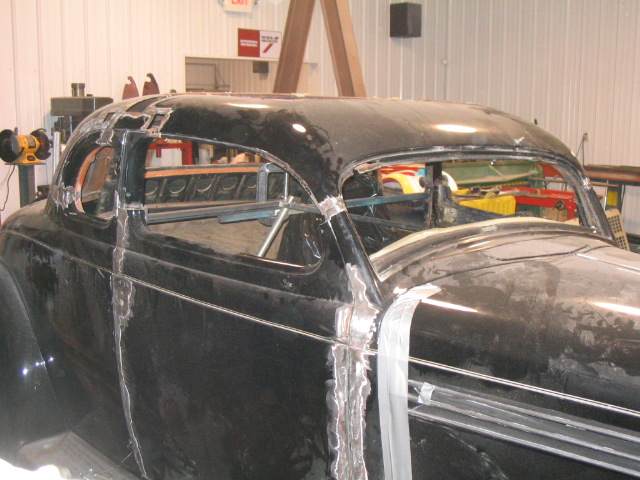
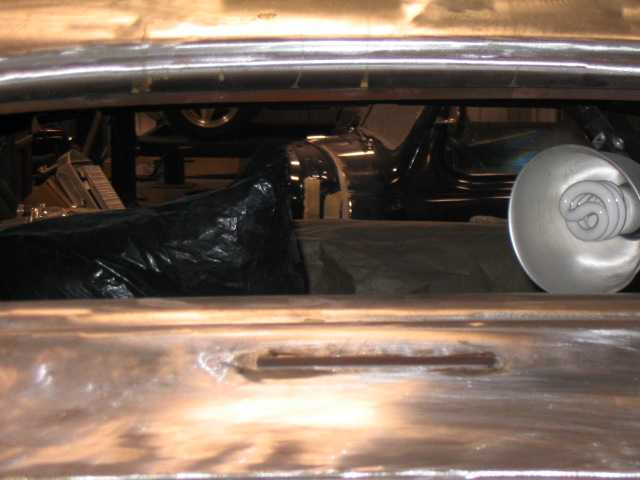
This shot shows some of the bracing we added to support the body while it was topless.
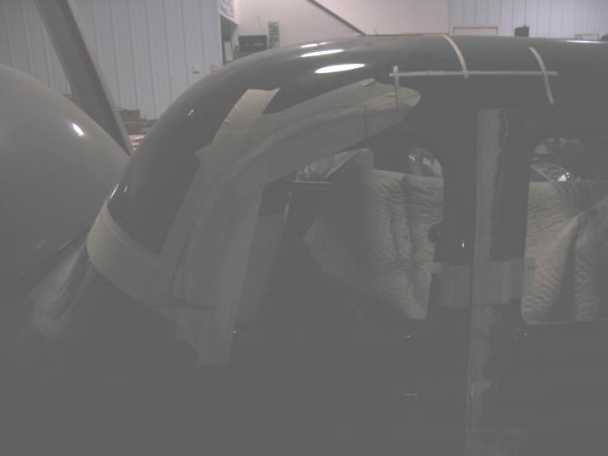
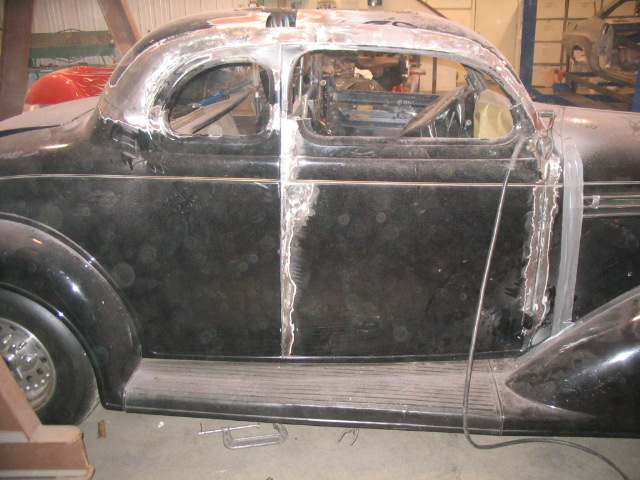
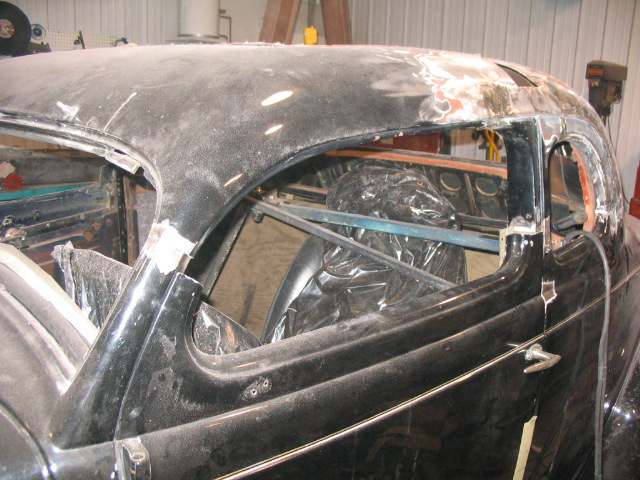
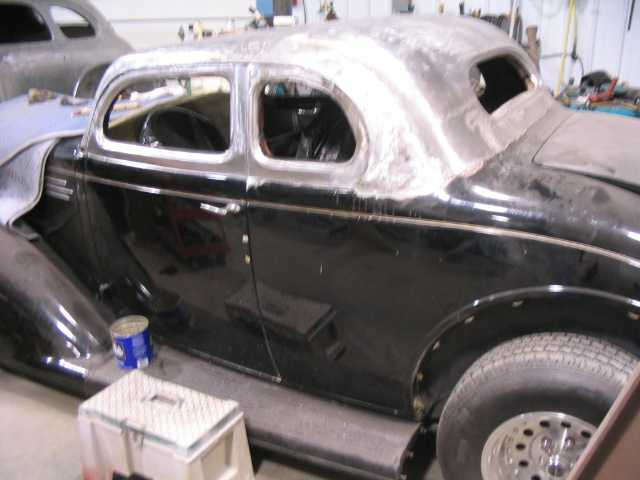
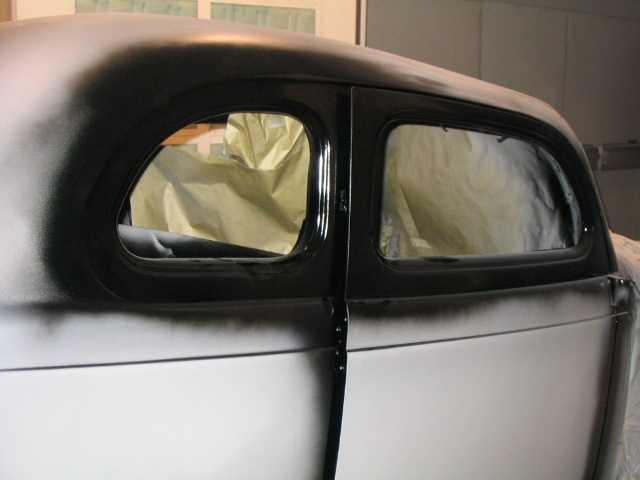
The top of the door and windshield frame are still missing, so you don't get the full effect of how much we cut out yet. Another thing with my car, was neither door, was anywhere near "perfect" as far as fit and alignment. That's probably the way it came from the factory. But I decided to fix it while we were at it. We actually cut the ends of the doors off and put them back on to get a better fit. They "will" be perfect soon!
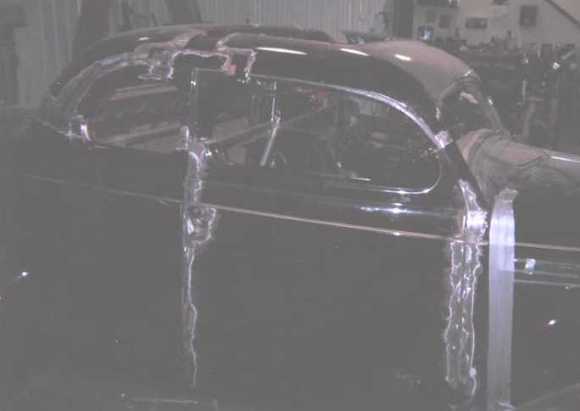
Just another shot of the initial fitment. It actually was very close. We'll leave filling the top till last. And I'm still looking, real hard at all that height above the windshield and doors... some of that may have to go!
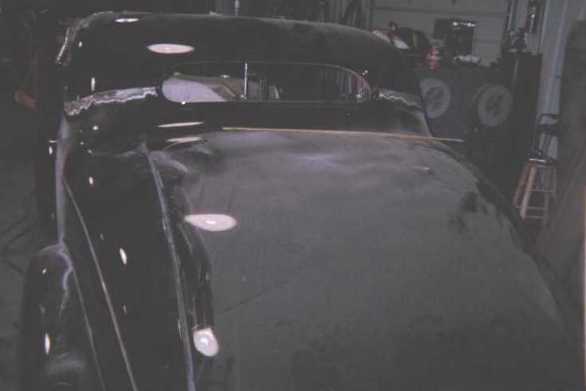
another dusty angle.
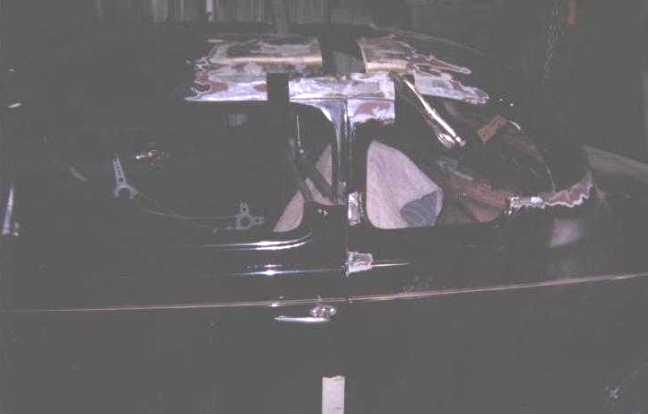
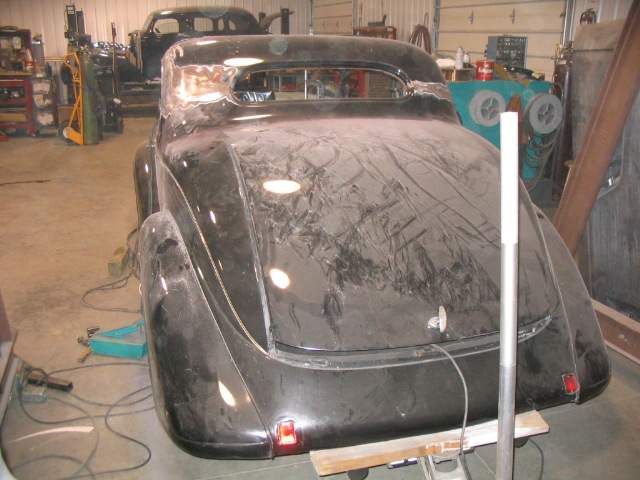
and one from the back.
Craig stitching her up.
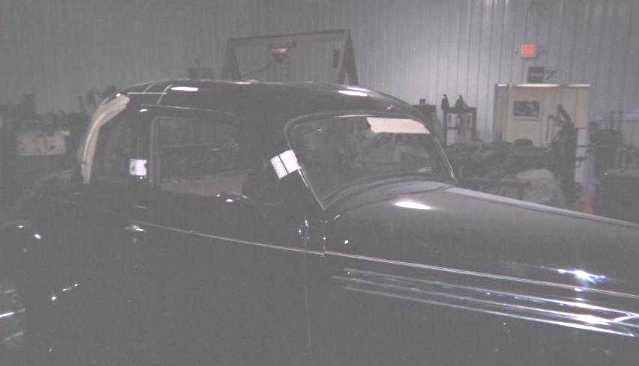
The right side. After I downloaded these first few pictures, I realized I didn't need a flash while taking pictures in the shop.
Hopefully pictures will get a little better now. Here's a few more views from the next day.
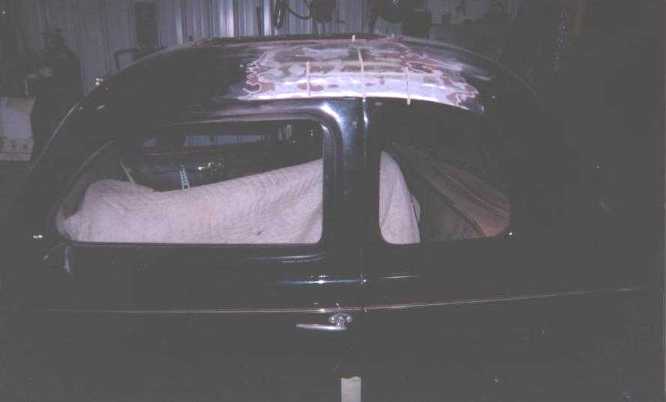
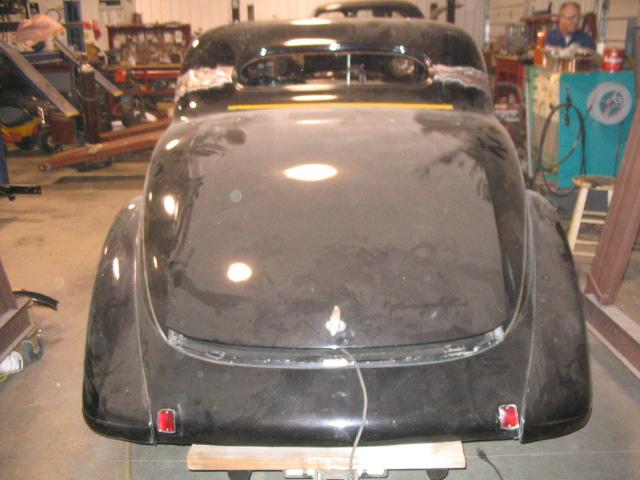
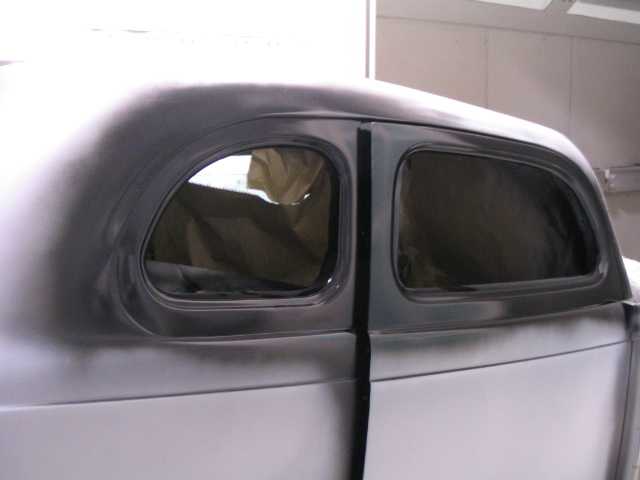
Not bad from the back
That fit together well
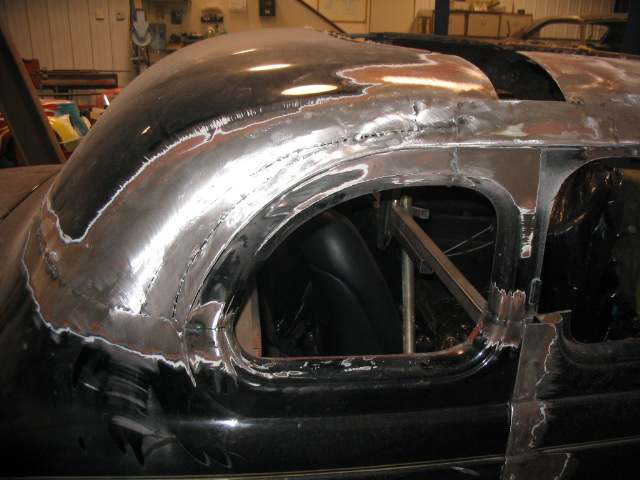
This shows how much longer it got from front to back.
And rather than change the shape of the back window I opted for adding metal here.
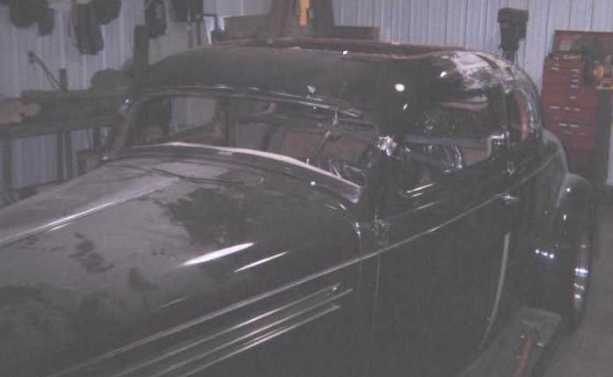
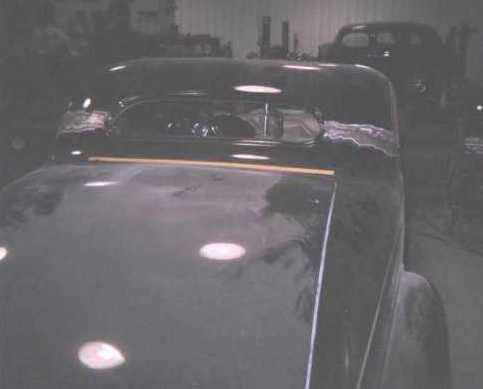
Filling in the top will be the last thing we do, but I'm still thinking there is a lot of height above the windshield...
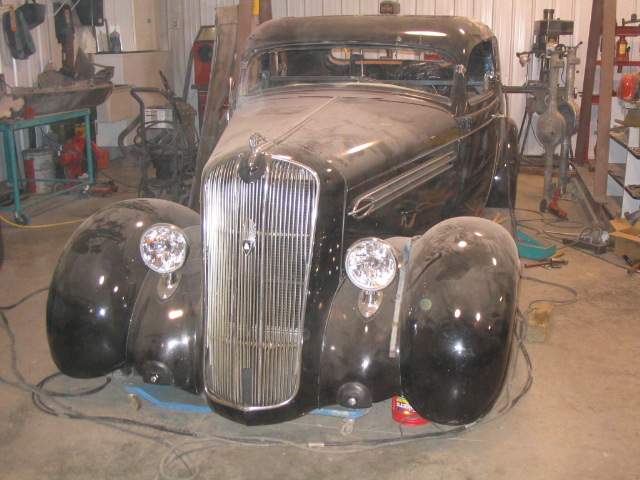
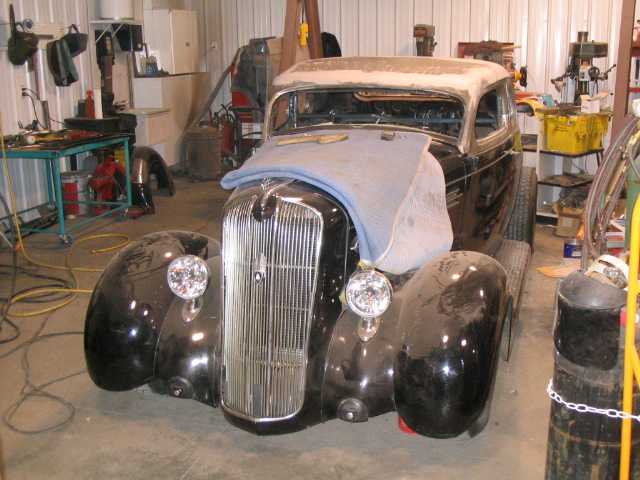
From this angle, chopping a little out of the top above the windshield and leaving the back alone would give me a little more rake...
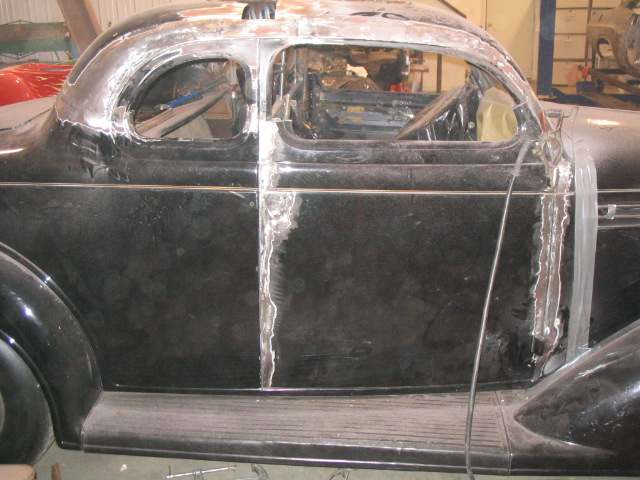
The next several pictures are just different angles of where we are to this point.
Again, the tops of the doors and the windshield frame are not in so it's not real obvious how much we have taken out.
Tedious work tacking everything back in place, so as not to warp the metal. Takes a little patience.
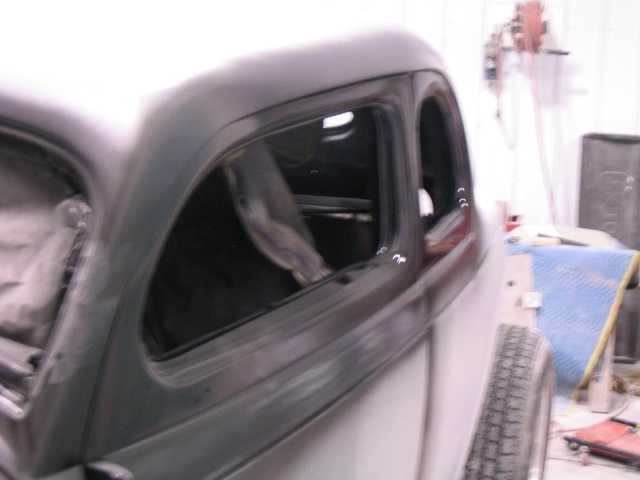
Now that's a nice cut'n splice.
Just looks "wicked" at this angle.
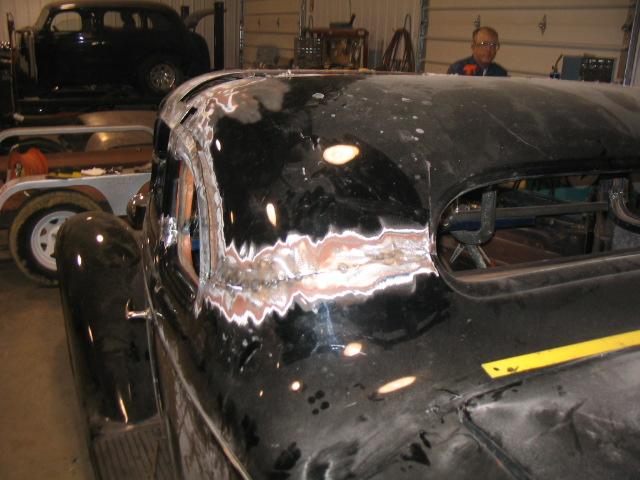
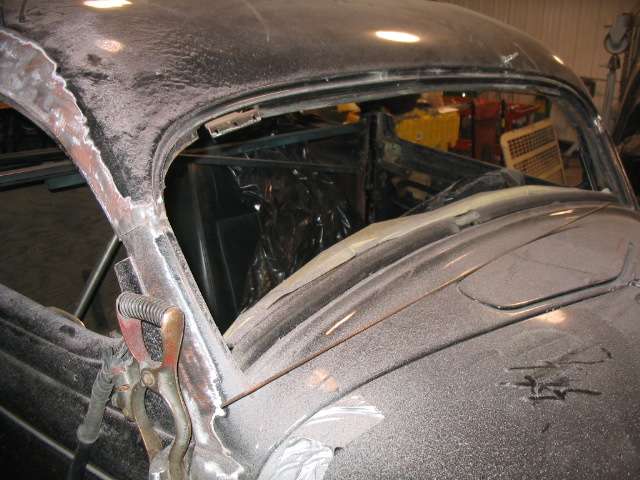
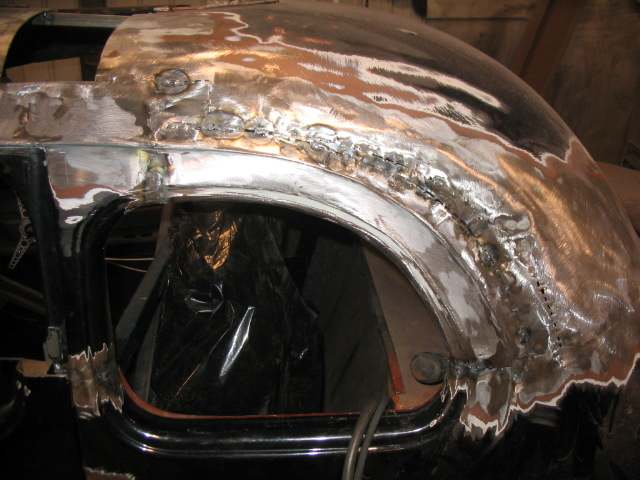
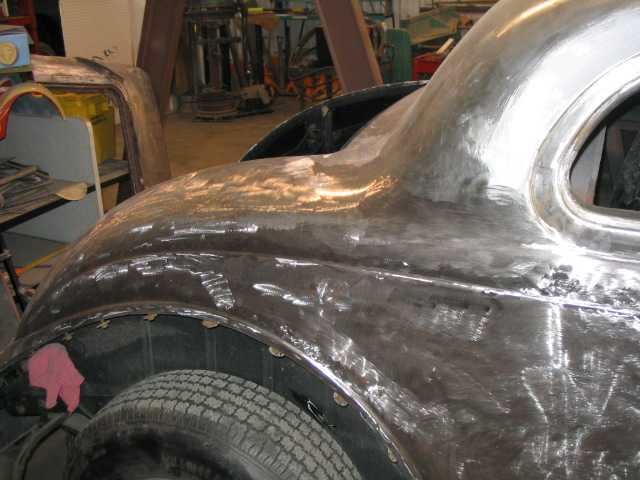
Made a little discovery here! There was damage here, above this window the metal had been bashed in at one time, and hammered back out. The whole are had been leaded over and they had done a fantastic job. But for welding, all the old lead had to come out, and the metal here was really thing. This slowed the process down considerably.
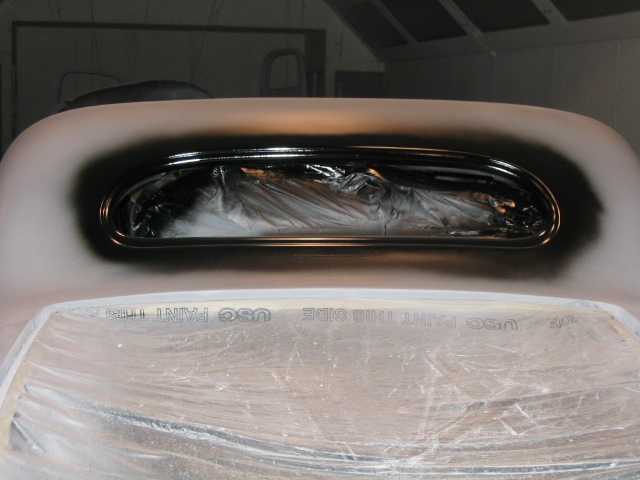
Time to fill the top... but I did convince Craig to take out more. I wanted to channel the top a little, just above the windshield and door windows. To get the rake the top needs.
A week later...
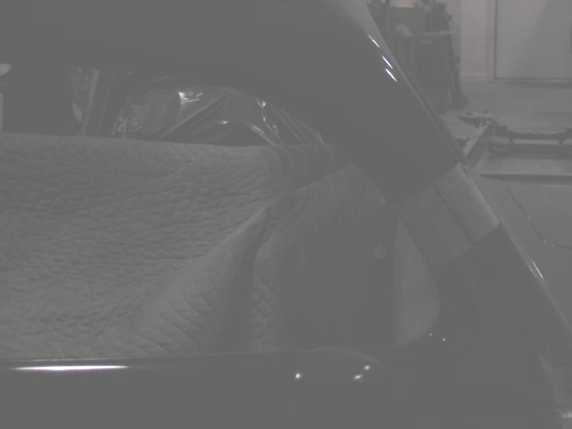
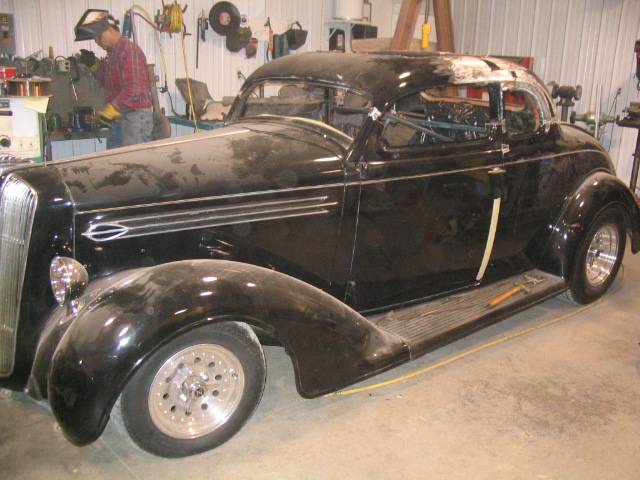
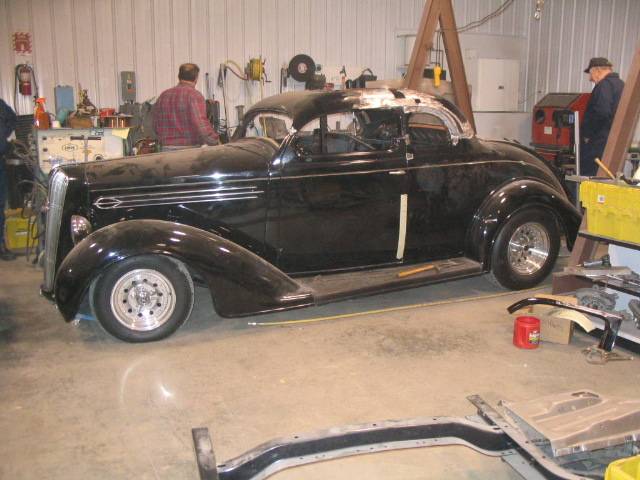
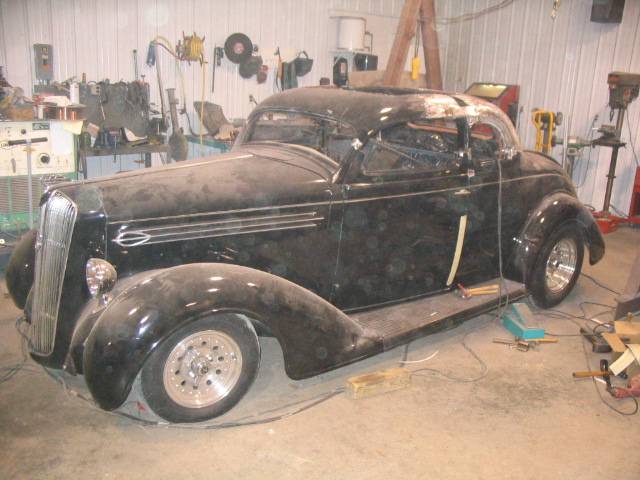
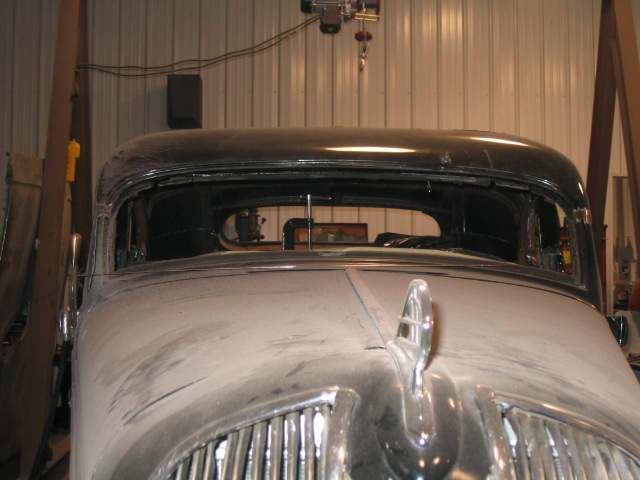
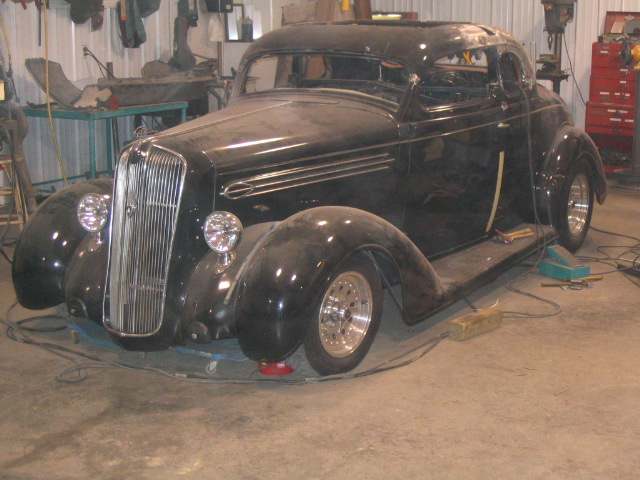
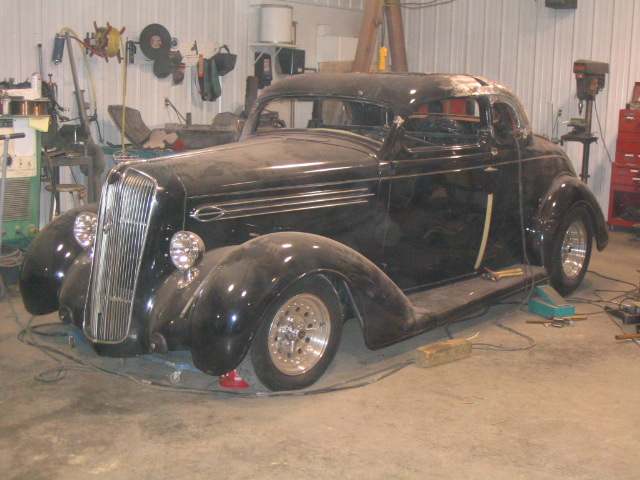
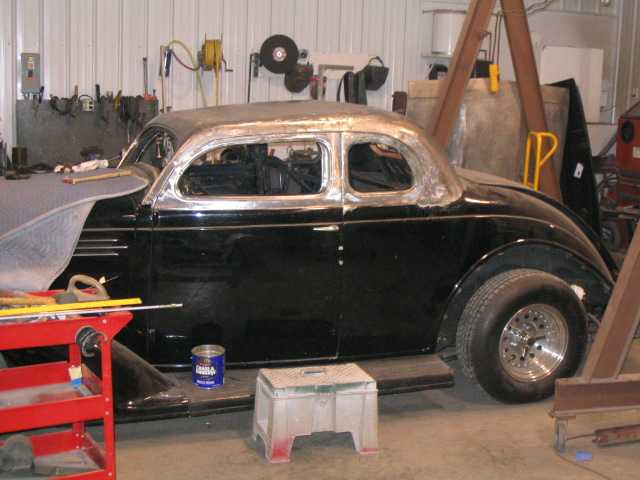
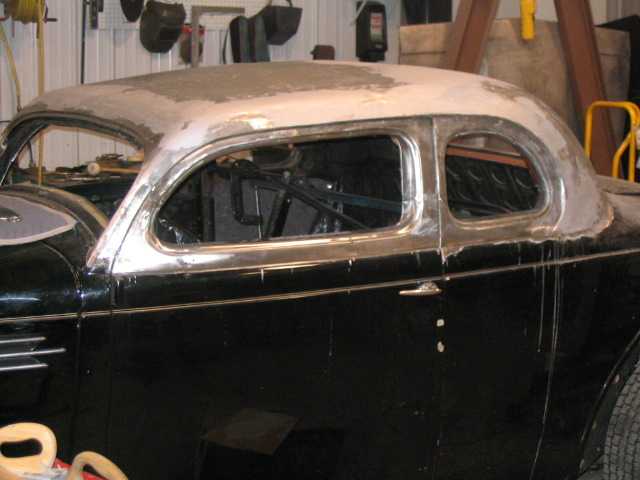
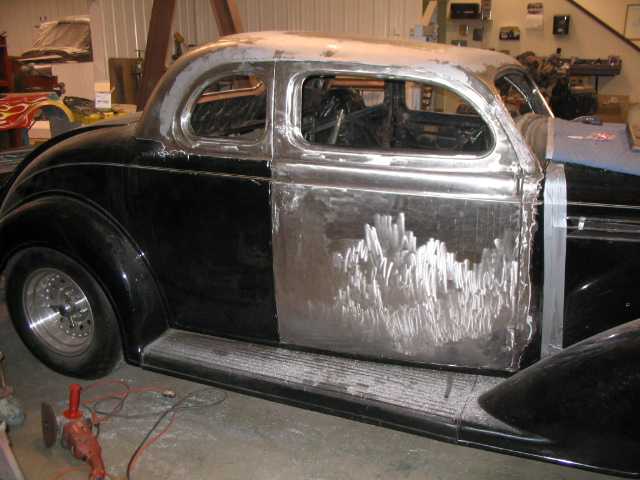
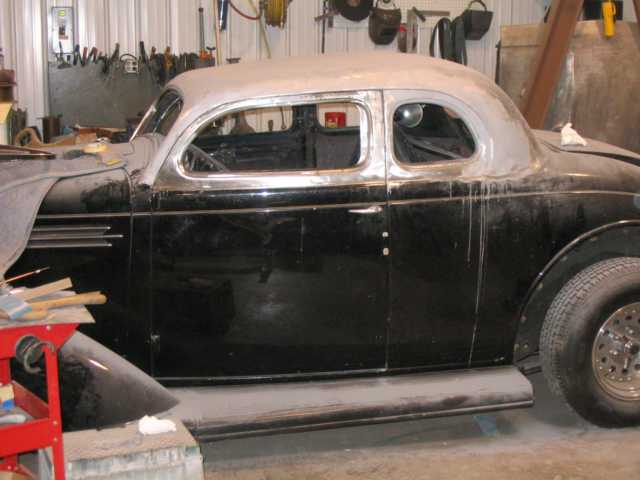
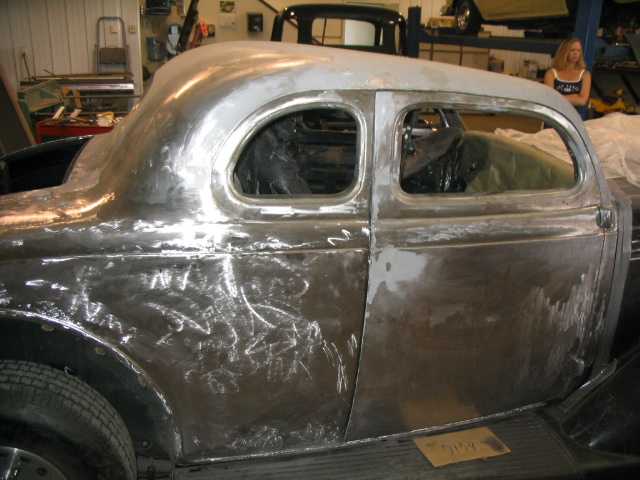
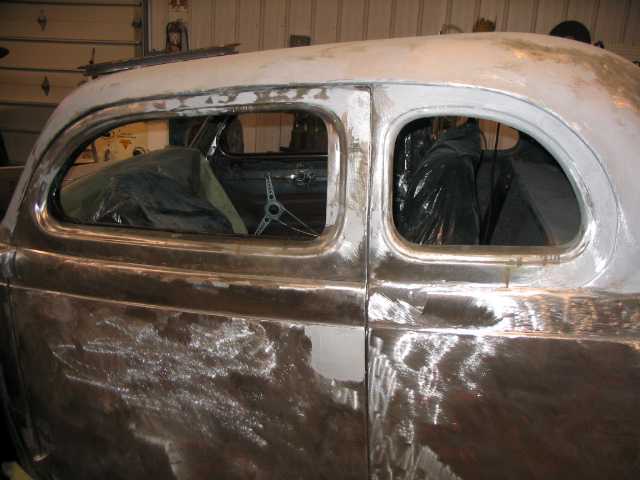
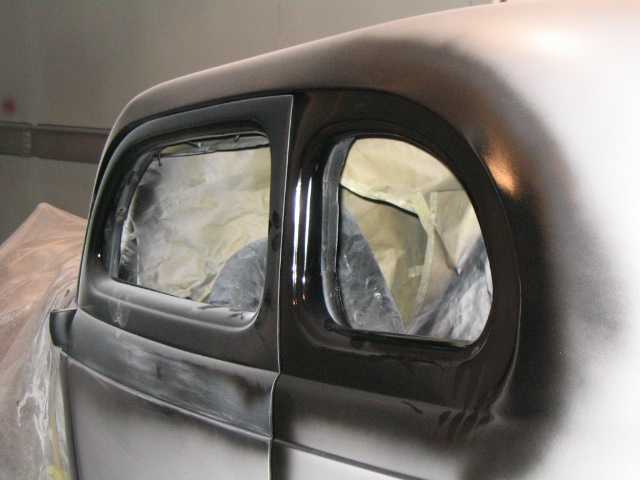
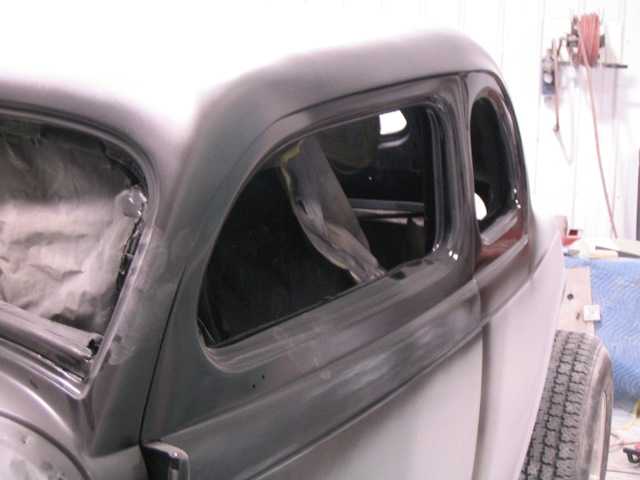
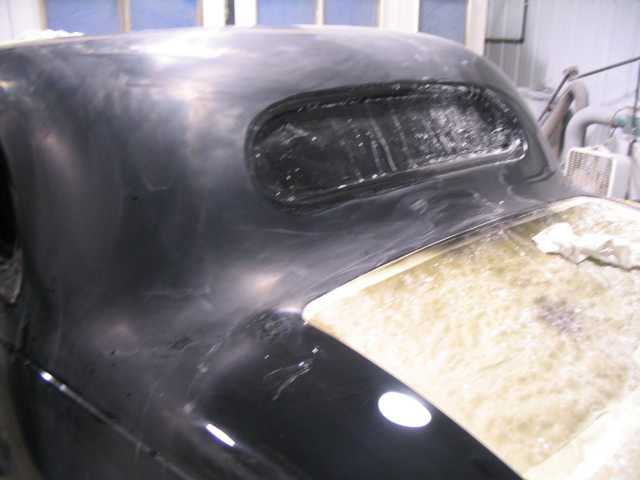
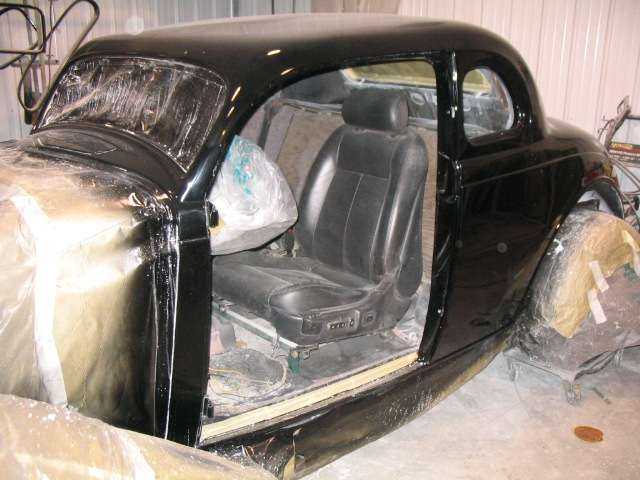
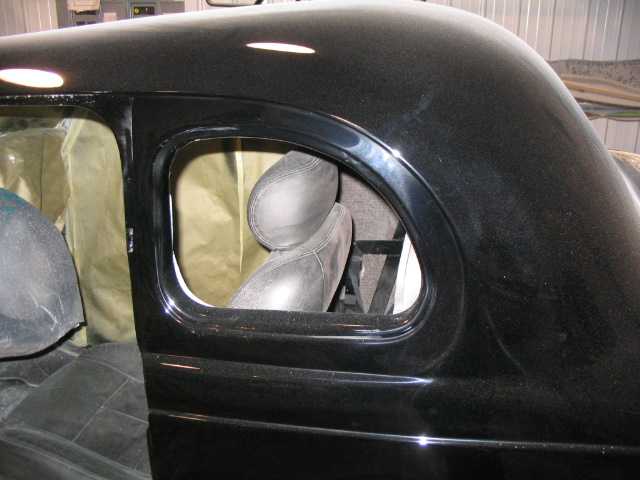
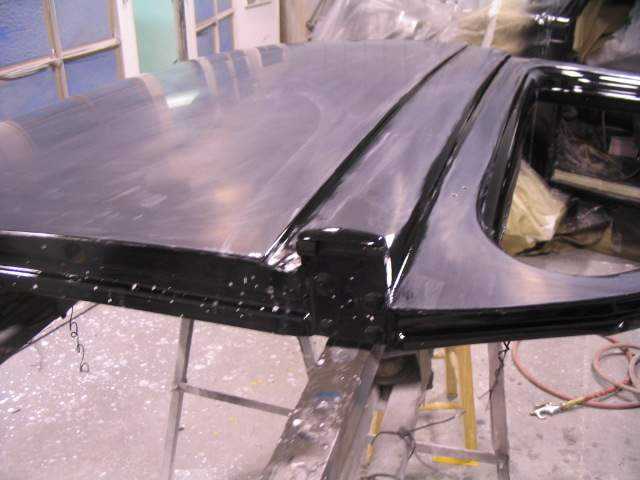
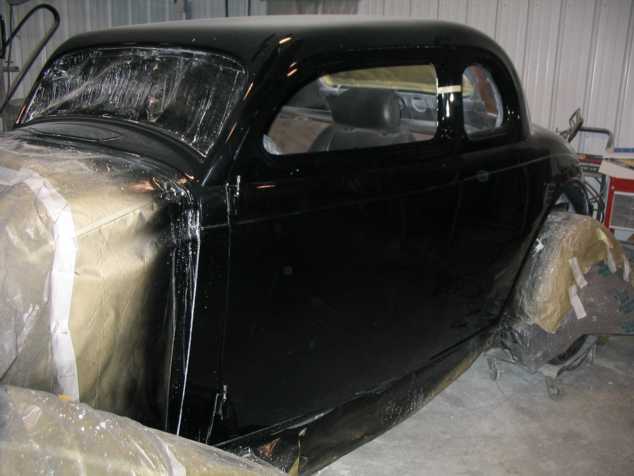
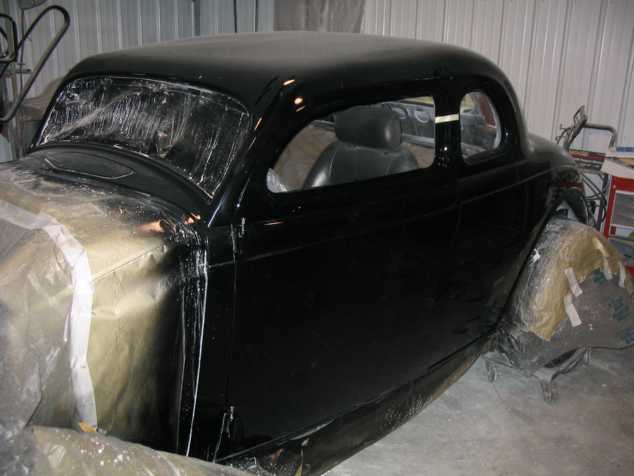
When we got ready to fill the top I decided I wanted to cut a little more, so we made the opening a little bigger cutting more to the front to eliminate all that height above the windshield and give the car a little more overall rake. The tops of the doors are on now too, so you get a better visual in this side shot.
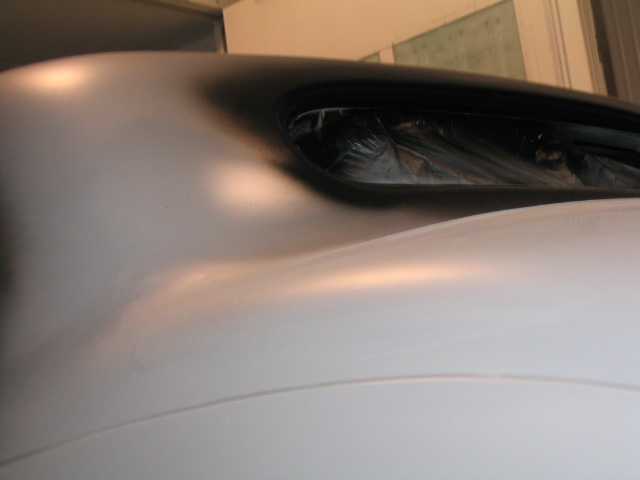
At this point we still have some shaping to do on the top--just a little flat.
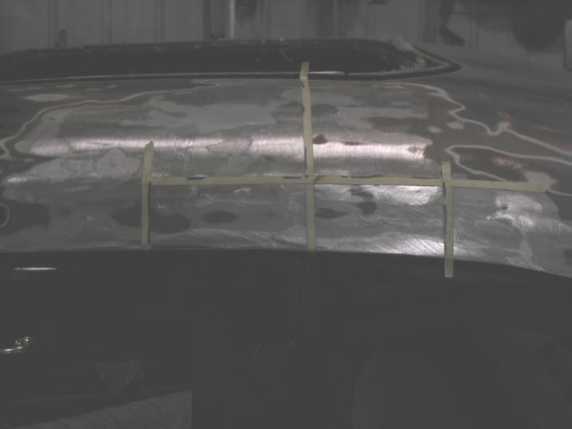
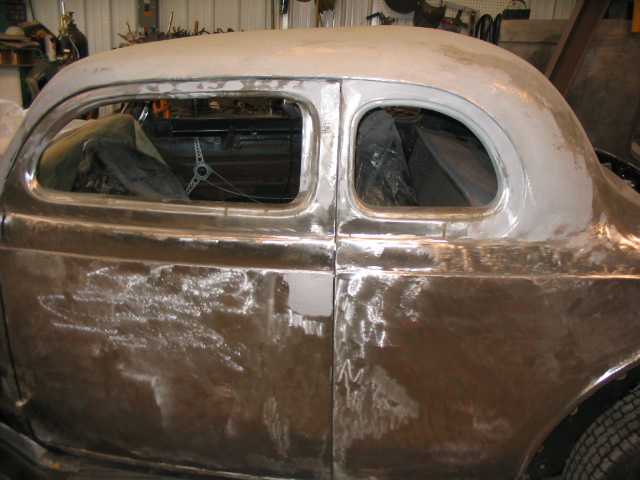
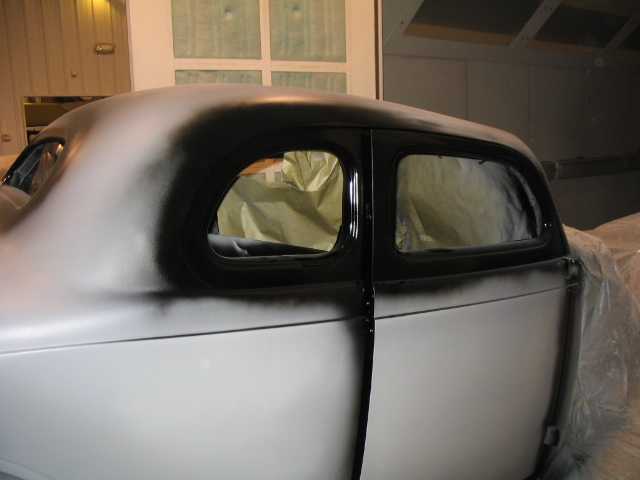
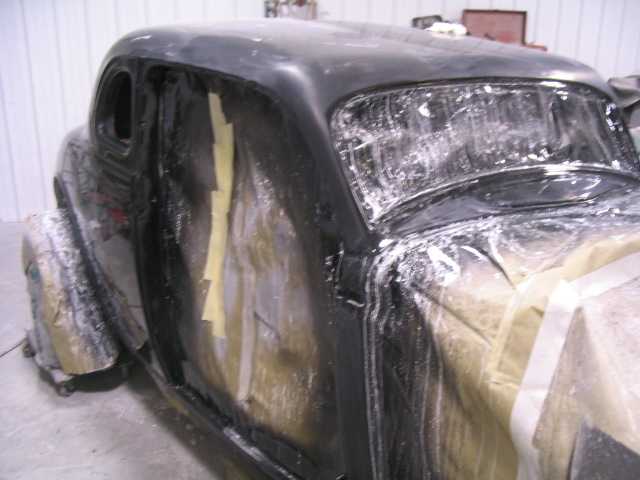
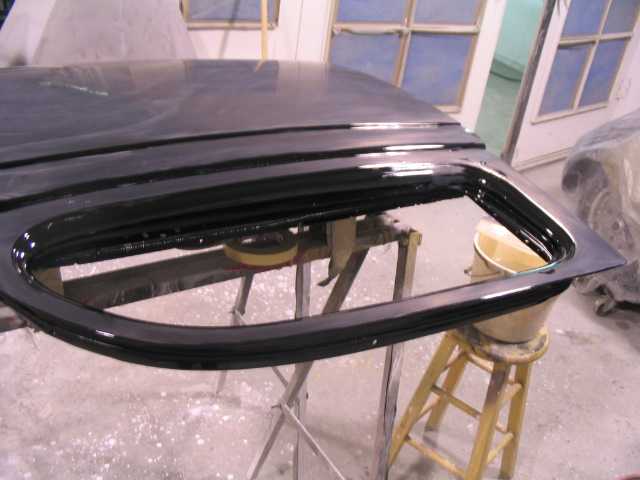
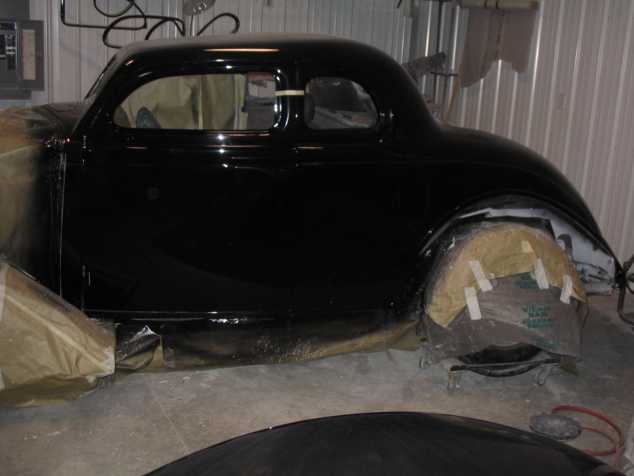
It took forever to get the shape right on this side where the body damage had occurred just above the rear window, but Craig was finally satisfied. We didn't use any filler Criag did it "old school style" and leaded everything that needed fill.
It may look like bondo but there's still no filler at this point. Craig leaded all the seams back in and what you see here is just a skim coat of Metal to Metal.
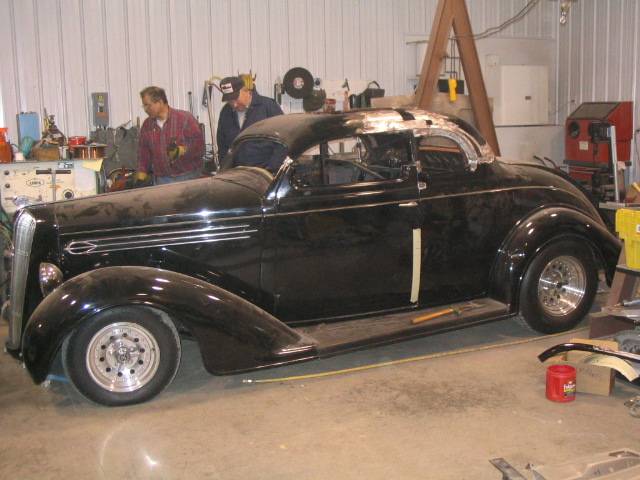
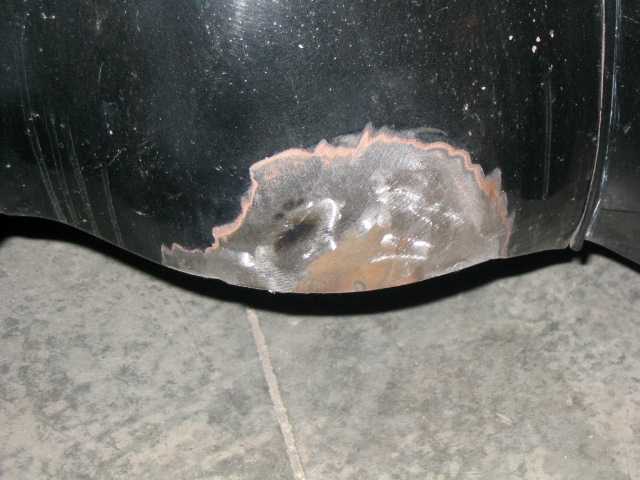
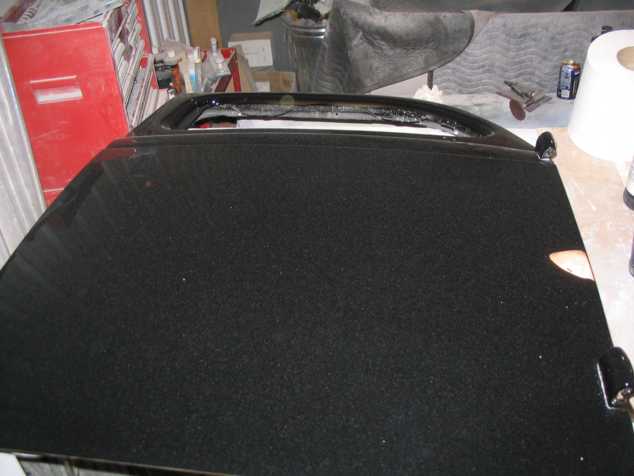
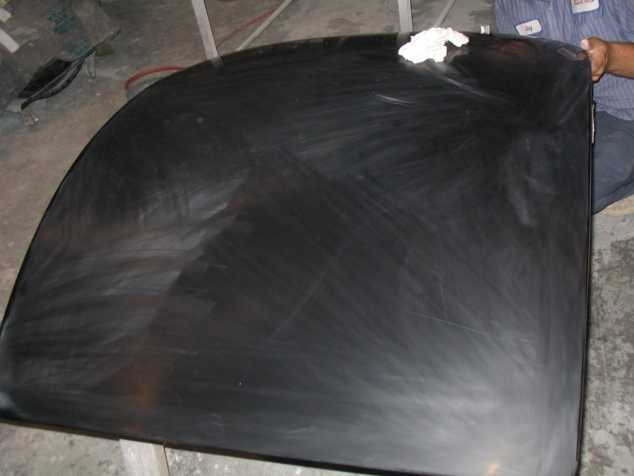
The passenger door had a little waviness we didn't like, so I figured now was the time to see what was going on under the paint.
A week later...
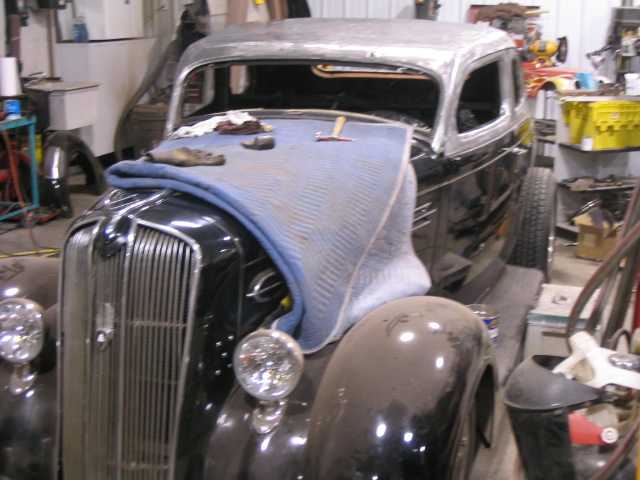
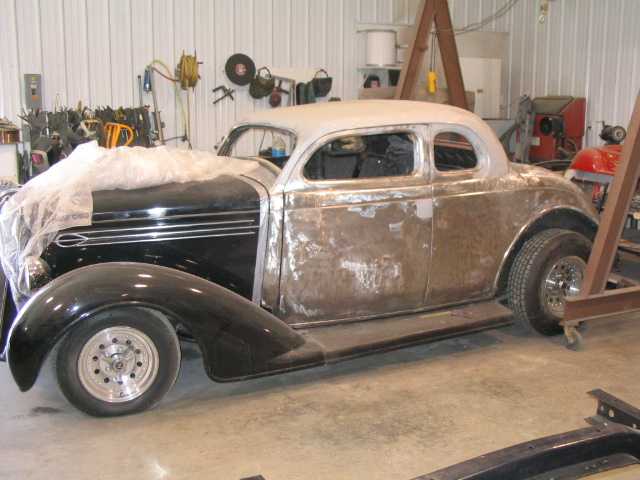
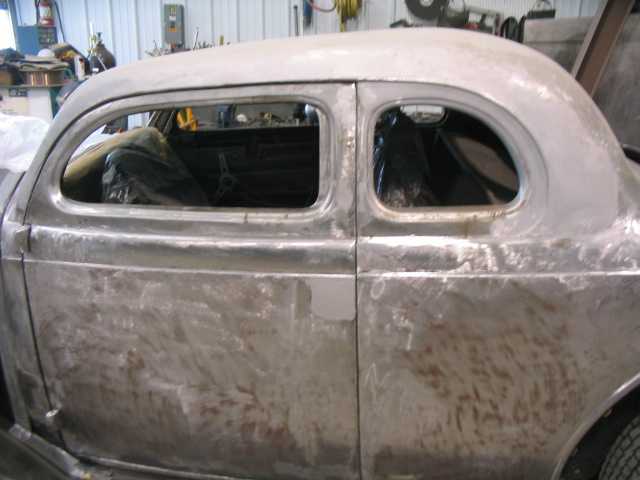
After stripping the passenger door, it didn't seem like it would take that much to strip it cowl back. And, there were a couple of ripples in the rear quarters we felt needed attention.
Surprisingly enough, other than the damage on the top right, this car was fairly straight!
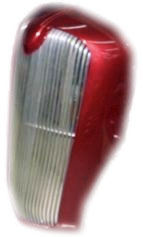
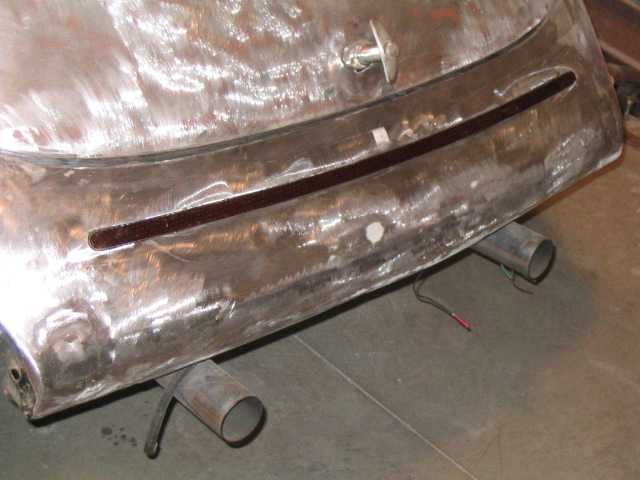
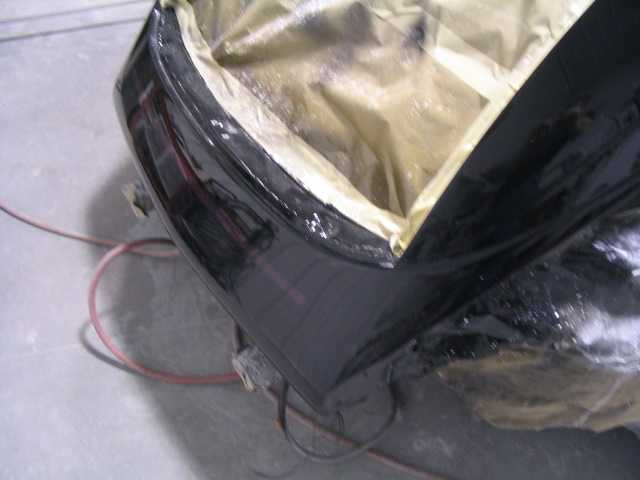
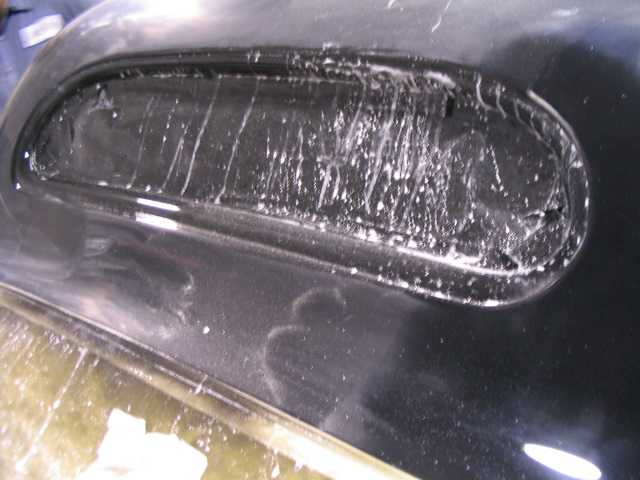
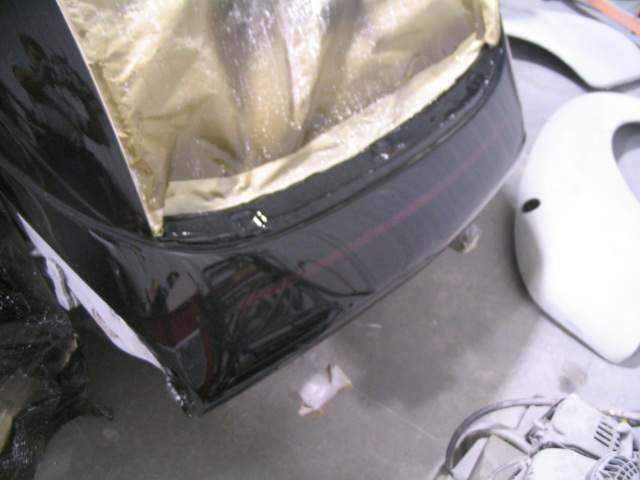
Here's the cut out for my tail light
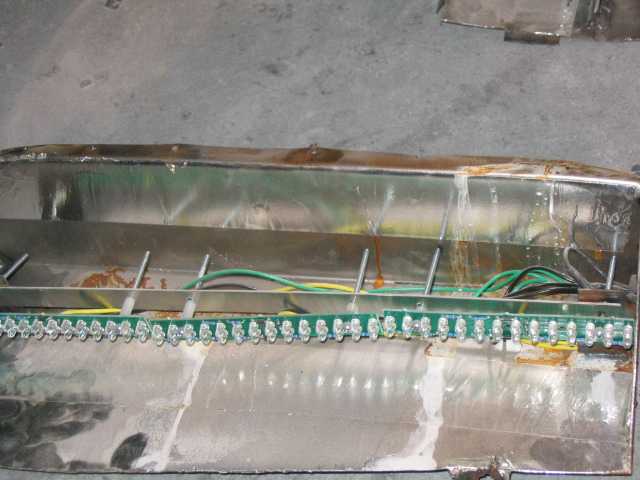
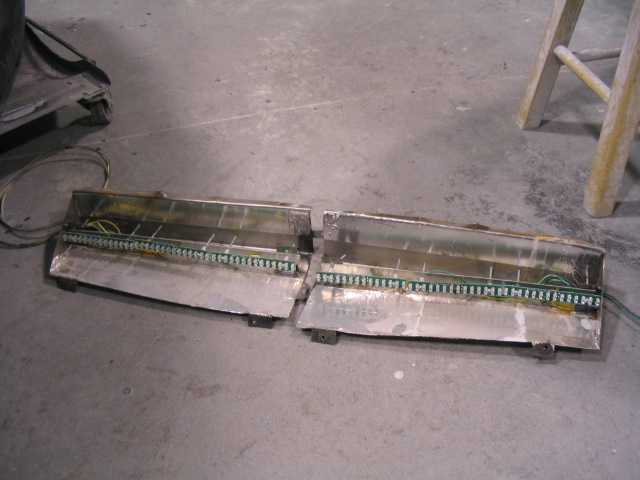
This is the tail light assembly with our home made housing
Again
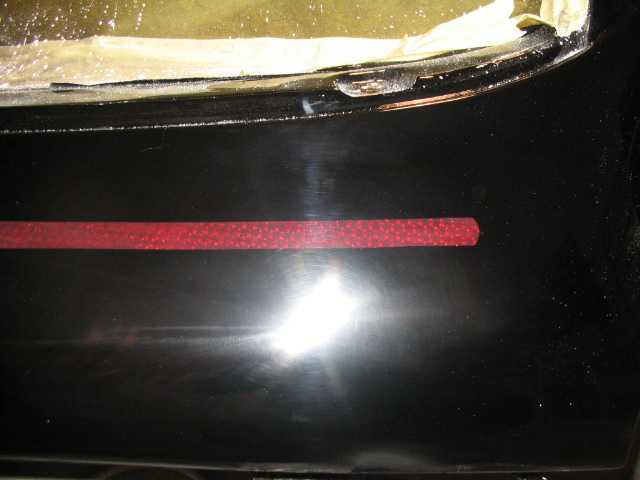
The third brake light
My Rootleib one piece hood
Pretty proud of those flush mount LED's
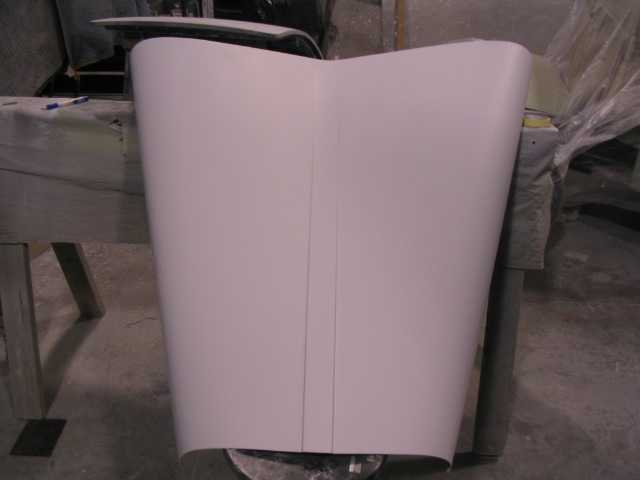
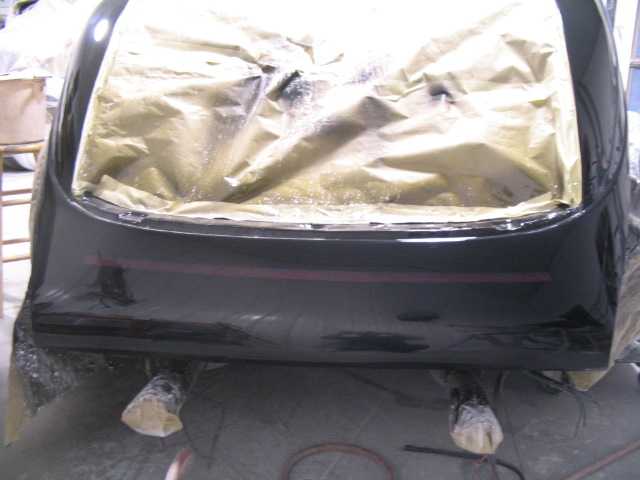
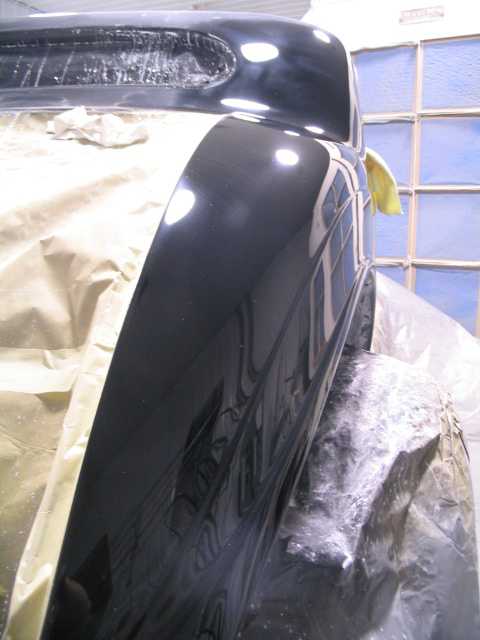
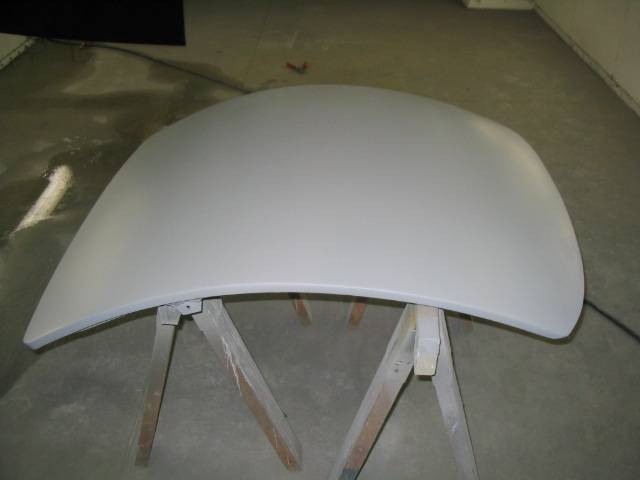
Deck lid primed
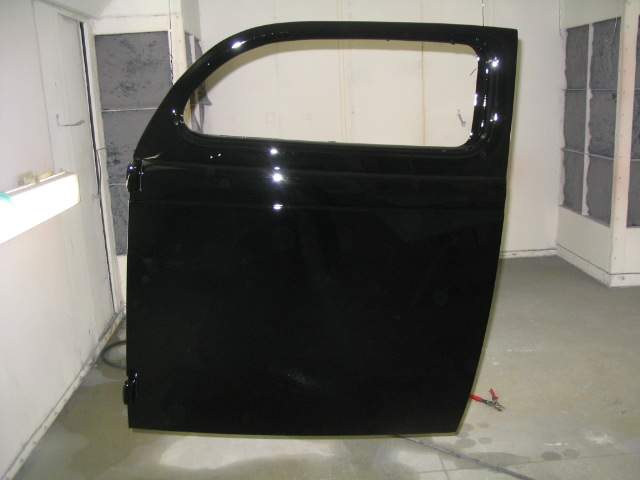
Driver door still hanging in the paint booth
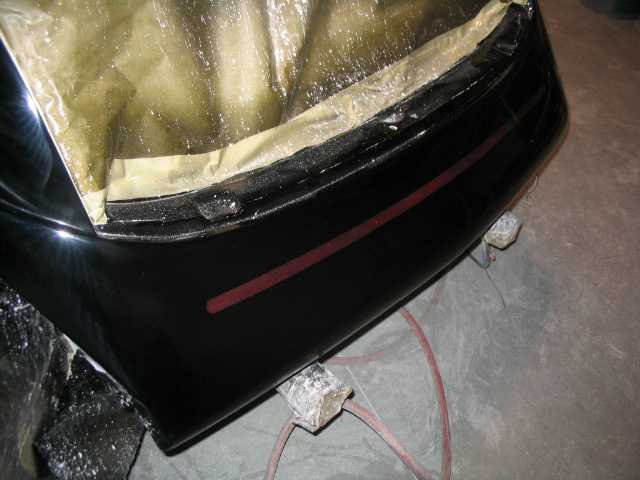
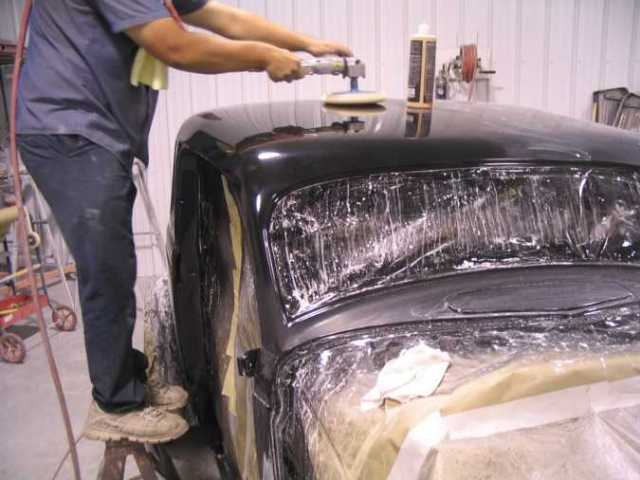
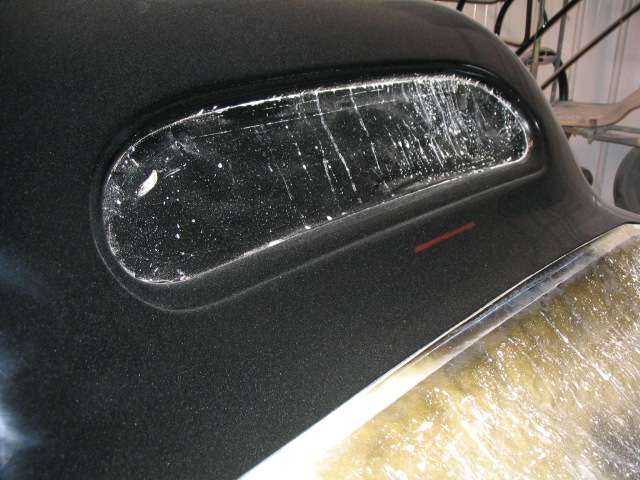
Waxing right over the taillights should be easy
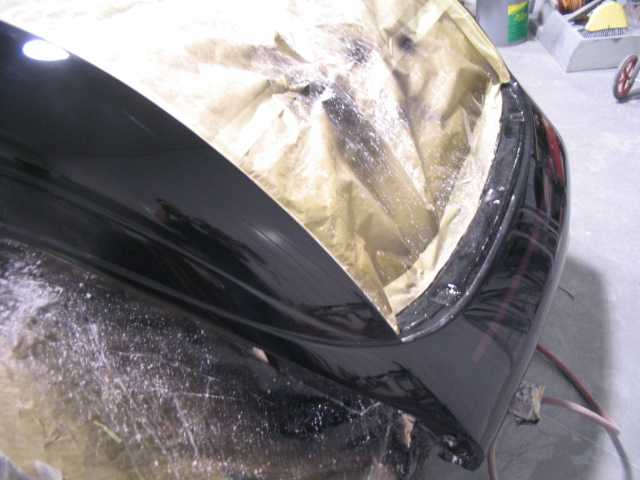
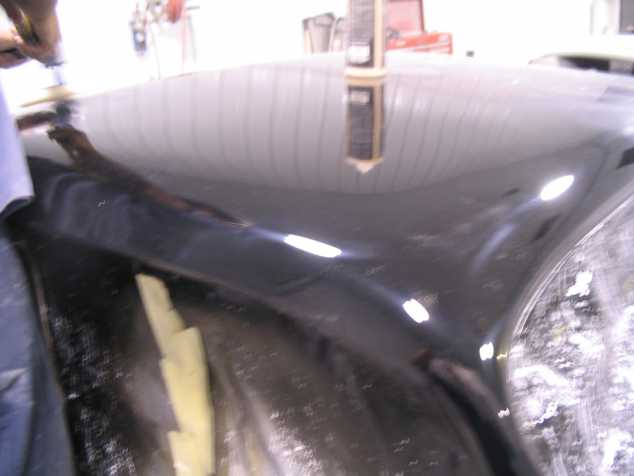
Color sanding the passenger door
Color sanding the deck lid
Stay tuned! More coming. |


![]()
Any one else working on a 36 Plymouth?
![]() is
always welcome!
is
always welcome!
See my original car and more about the 36 Plymouth!
Back to Pedals-N-Pumps Homepage
Copyright 2000. Pedals-N-Pumps. All rights reserved.
