Pedals-N-Pumps
![]()
I'm street rodding a
1936 Plymouth Coupe
Please check back often to see my progress!
|
Click on thumbnails to enlarge. |
|
|
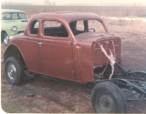
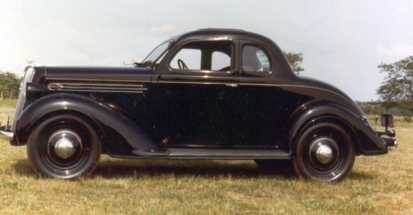
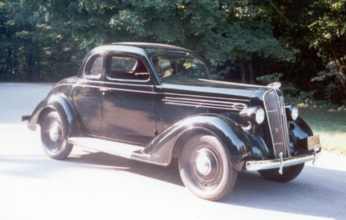
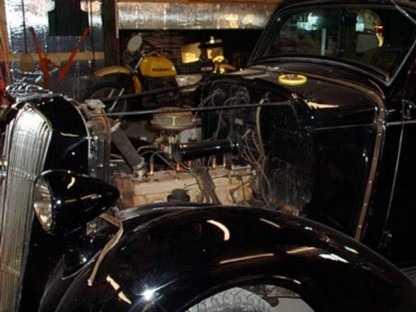
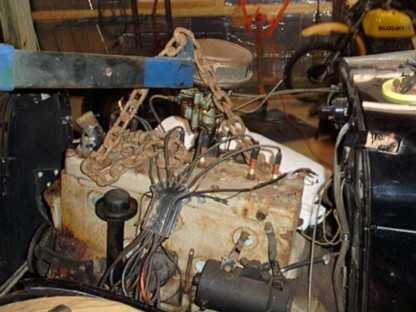
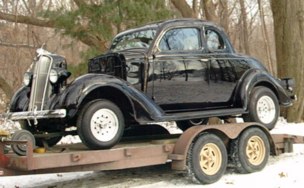
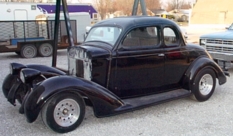
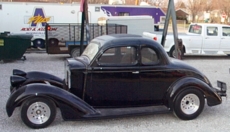
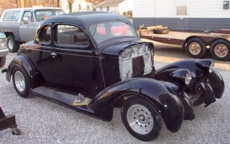
The above pictures were taken when we bought the car in 1976. I say "we" because originally it was a group effort -- my dad (major cash contributor), my brother, and of course me. It still had original paint, black fenders and dark blue body. The body panels were solid, but they had small dents and creases throughout. The odometer read only 42,000 mile, but the engine was in need of a major overhaul. |
|
|
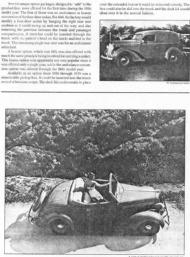
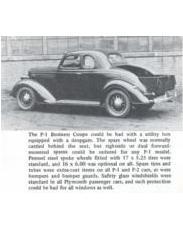
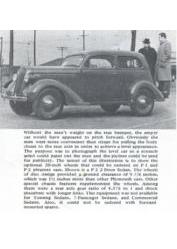
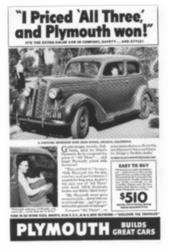
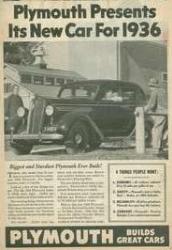
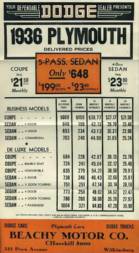
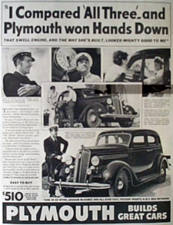
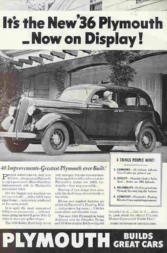
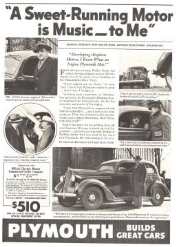
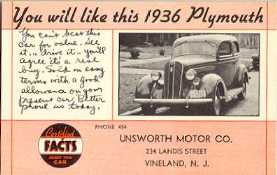
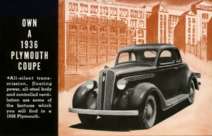
The Chrysler Corporation proudly presented its 1936 Plymouth! Click on the small pics below to supersize |
|
Don't forget to check the color combo's and options on my prior page! |
....Back to my car!
|
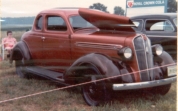
We completely disassembled the car to begin our restoration. I don't know what made us use these colors (the group couldn't agree on a paint scheme), but this is how the first attempt turned out. |
|
 |
|
|
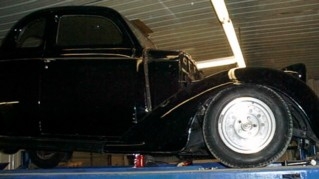
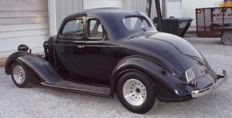
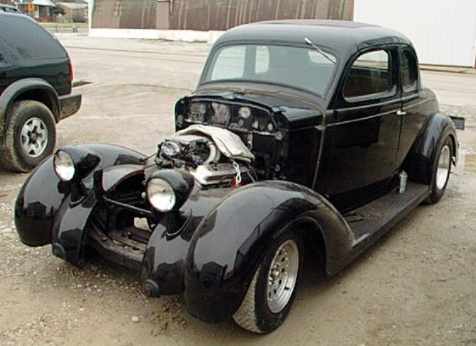
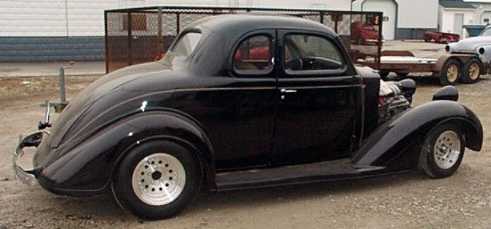
After a year of searching for missing parts, a few shows and swap meets, one thing we all did agree on was, the brown and copper combo had to go. We decided to take it apart once more and make it all black. By this time, as you can see below, we had found a few more parts, including hub caps. |
|
|
|
|
|
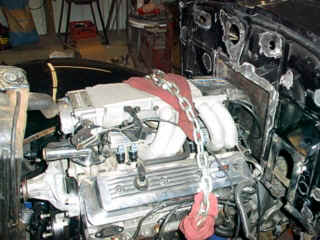
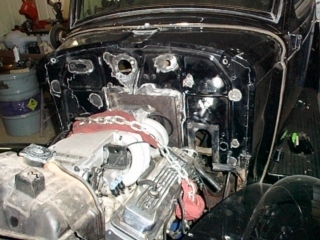
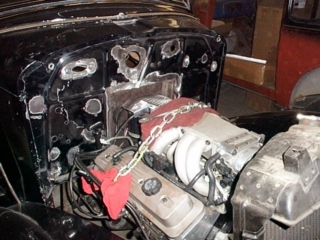
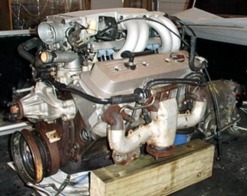
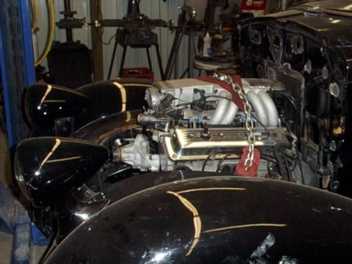
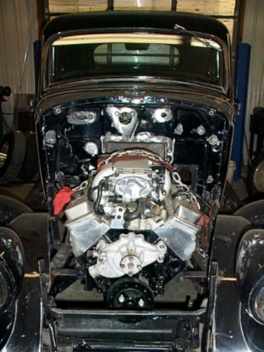
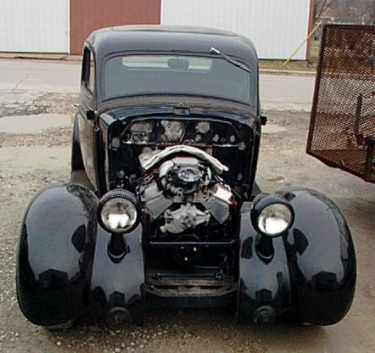
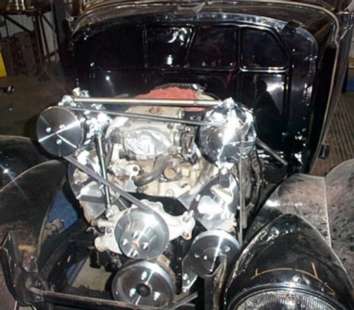
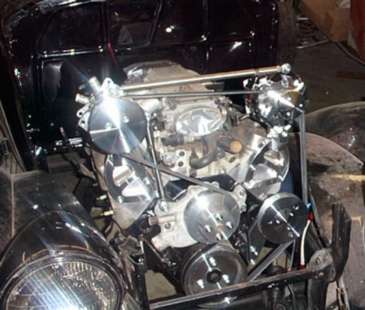
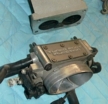
It's an L98 from a 91 Corvette, not the most horsepower available--but the L98 was known for torque and you don't feel horsepower, you feel torque! Should be "plenty salty" compared to the ole flat head!
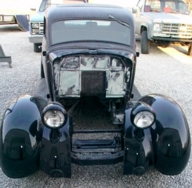
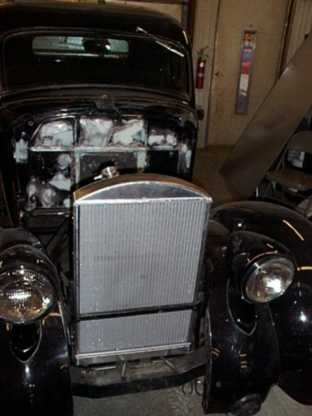
Finally got the fire wall painted and made sure the March brackets were going to fit.
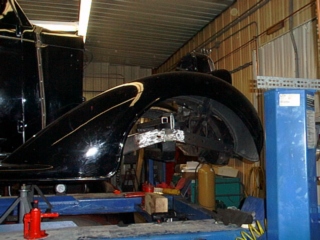
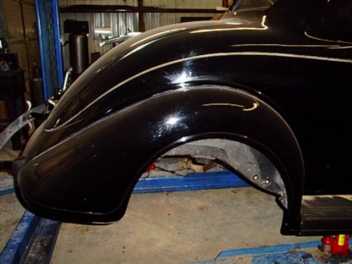
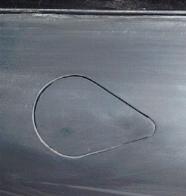
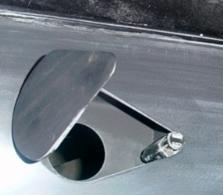
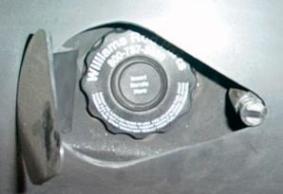
Here's a shot of the back fender with the flush mount fuel door.
|
||||||||||||||||||||||||||||||||||||||||
|
||||||||||||||||||||||||||||||||||||||||
|
Any one else working on a 36 Plymouth? Send along a picture or two... I would be willing to post your picture and email address so other 36 Plymouth owners can find you! Back to Pedals-N-Pumps Homepage Copyright 2000. Pedals-N-Pumps. All rights reserved. |
||||||||||||||||||||||||||||||||||||||||


