Installing a New Stereo Head Unit
The "premium" stereo system in 80s BMWs is anything but. If you don't care about absolute audiophile-quality sound, it is quite easy to put a new head unit in, greatly improving your sound and adding CD capabilities. You don't have to touch the speakers or trunk-mounted amp.
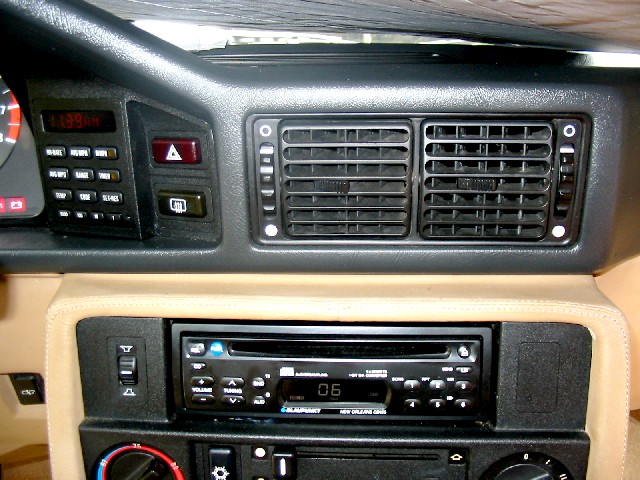
One of the challenges is finding a unit that matches your dash. Blaupunkt made a unit called the Toronto which matches perfectly, including the red-orange illumination. But they were pricey and are NLA. Sometimes you can find one on Ebay. There are some other Blau units that have nice simple black faces, with amber illumination. This doesn't match your red-orange, but also doesn't clash. It actually matches the rear defroster button. I got a Blaupunkt New Orleans from Midwest Electronics for well under $100, and it works great, looks fine, and sounds much better. Install takes about 30 minutes.
There is a trunk-mounted poweramp which uses speaker-level inputs (another no-no with audiophiles). I chose the easy, no wire-cutting method which uses the existing amp and wiring, but bypasses the dash fader control. There are many other ways to do this including bypassing the amp, running new speaker wires, etc. My way is easy, allows car to be returned to stock quickly, and will please anyone but the hard-core audio nut.
Get some flat spade connectors (male) and some wire side-taps. You will need two widths of spades, 1/4" and a narrow one maybe 1/8". You can cut a wider one for this if need be. Pull old radio out (use a metric allen wrench to loosen) and unplug wires. Note that old radio only has a single left and right (+) output (blue and yellow wires) with no speaker (-) wires. Front and rear is split at fader. The system therefore uses a common ground. This means you only have to attach the new radio's (+) speaker wires, leave the (-) speaker outputs unattached. DO NOT twist them together. Simply cap them off, DO NOT ATTACH THE NEGATIVE SPEAKER OUTPUTS TO ANYTHING. That is the "secret" here.
Pull the connector from the back of the dash fader control- you need to squeeze it at the top and the bottom to release it (use a mirror and light if need be). This connector has the blue and yellow speaker (+) outs from the old radio and splits it to 4 (+) speaker outs. See color codes below. Besides the 4 (+) speaker wires, you need to hook up ground, switched power, constant power, and power antenna switch lead. The radio comes with a harness that unplugs, so you can work on it w/o the radio attached. I cut the preattached plugs off of the end of the new radio harness wires, and attached a male spade (about 1/4" width) to the ground wire and the switched power wire, and a narrow (approx. 1/8") male spade to the antenna switch wire. You can then plug each of these into the existing BMW harness:
switched power = purple, ground = brown (these
share a connector)
power antenna switch = white
Constant power = red/white
use the wire taps to
hook up the constant power (red/white, NOT red/gray) and the speakers.
Speaker color codes:
Front right - blue/red
front left - yel/red
rear right - blue/blk
rear left - yel/blk
Before plugging harness into radio, install the mounting collar, just slip into hole in dash and bend tabs out to hold it in place. Then plug in the harness, and also plug the large antenna plug into back of radio. Test it out. Check all speakers. If it works, try to place the wires out of the way and slide radio in until it locks in place. That's it.