The Carburetor Chronicles
![]()
![]()
![]()
![]()
![]()
|
The Carburetor Chronicles
|
|
|
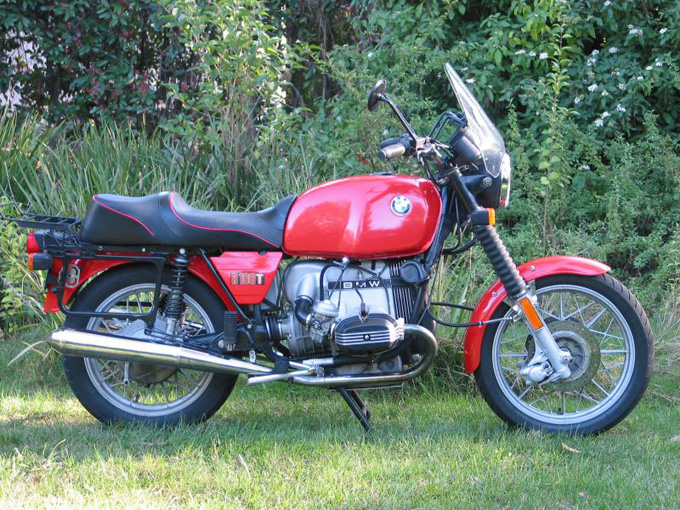
Take Offs Round TwoIt has been over a week since day one. Life has a way of getting in between a man and his projects. Day two was a pretty short day. I did not get a lot done. Earlier this week, while online I corresponded with a member of ABC and he showed me some pics of his bike. They are some pretty nice shots of a great looking red 1979 R100T that has some really nice touches.
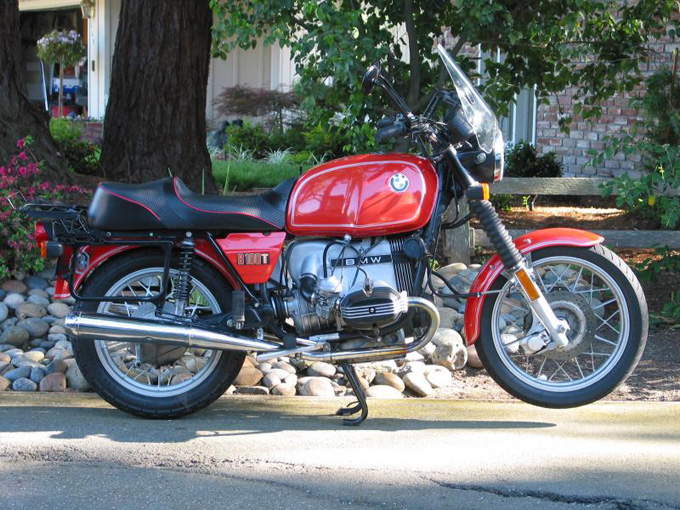
And here is the same bike with a taped pinstripe mockup.
There are more pictures here. Red 1979 R100T The owner has done some really nice custom touches, dual plugs, 336 cam, solid diode board mounts. Very nice. I think the color is Granada Red, but I am not sure. Great looking bike! Gives me something to shoot for, though I am still leaning pretty heavily towards black, the red is a fetching color. Enough daydreaming, on to the actual work. Sorry about the fuzzy photos but my commitment to excellence stops at about 26 degrees and it was more like 4 degrees outside so the garage was frosty and I am not going back for better pictures. Did not get much done today. I took my tank off today and took out the battery., it was surprisingly easy. Just a couple of thumbwheels and the gas lines and the tank was off.
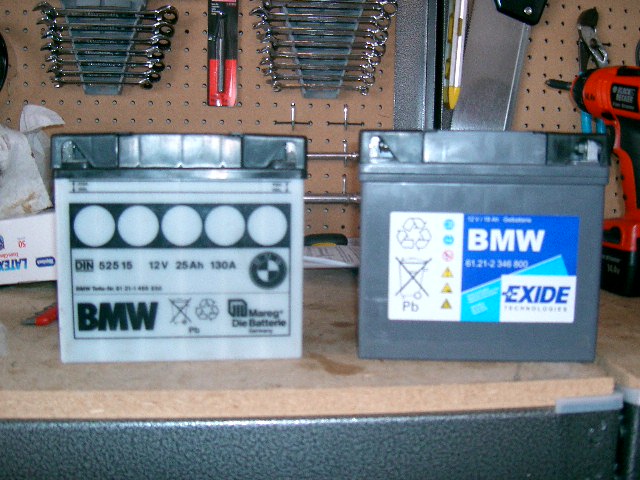
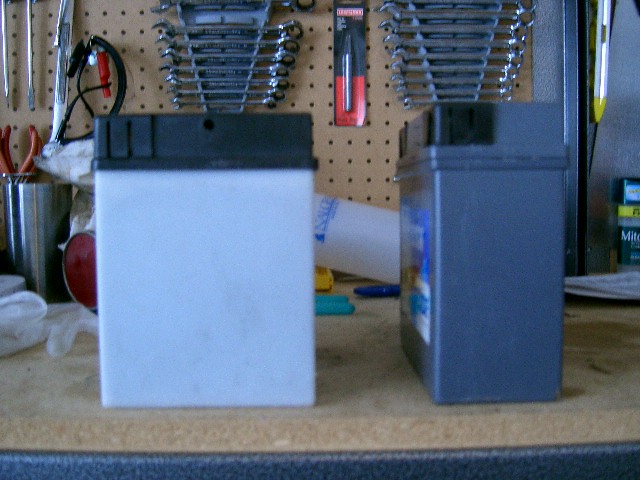
I had already taken out he original battery which was a gigantic pain in the ass. I purchased the gel battery from my local dealer. The battery is bigger than the hole, not BMW's greatest engineering achievement. The new gel battery has a much smaller form factor and as such was a lot easier to get in and out. From the front they look the same.
From the top and the side you can see the big difference
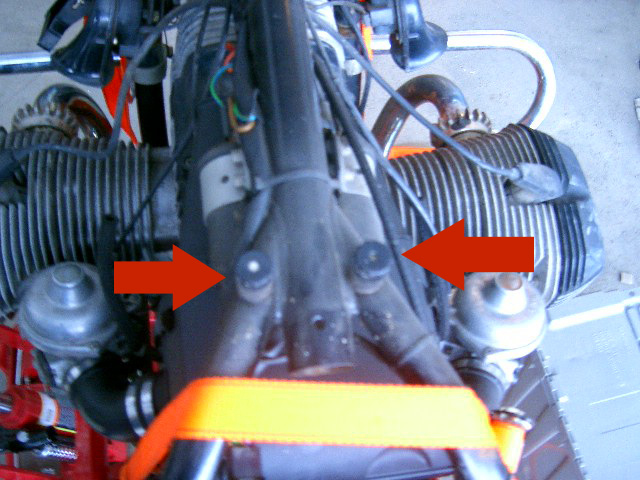
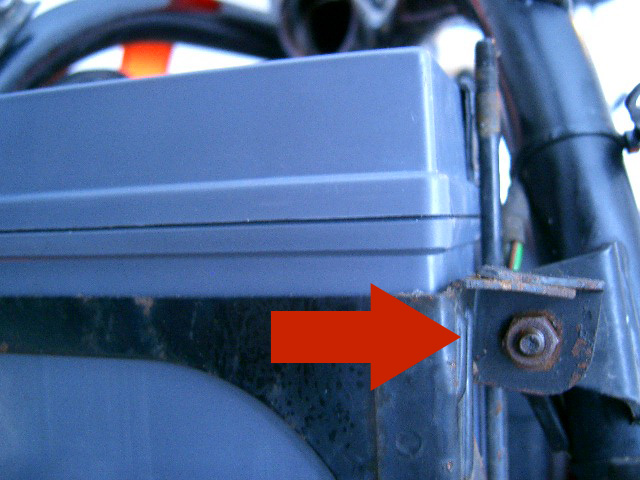
The new battery just lifts in and out, though it does take some wrestling, but nothing like the OEM battery. There is a nut and bolt on each side of the battery box as seen below. Installing or removing the new battery only requires removing the accessory outlet and taking the nuts off the back of the battery box and dropping it back a few cm's. The OEM battery takes much more time, effort, cussing, knuckle scraping, etc.
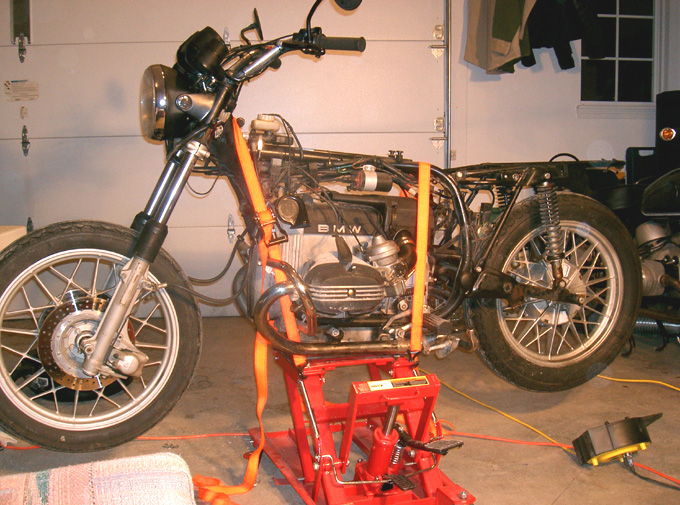
And here she is, nearly buck naked.
It is a little scary isn't it. I hope I haven't completely screwed this bike up. Either the wheels are coming off next or maybe the wiring. You can see that even though the headlight is in the bucket, I have not even wired up the headlight yet because the wiring loom that came with the fairing is still hooked up. Electric intimidate me almost as much as the carbs, hell maybe more. Once that magic smoke escapes it is all over but the check writing. If I do the the wheels they are going in for a powdercoat. I am thinking some sort of a gunmetal gray, maybe with some flake in it or a pearl. I want it to be subtle and pretty close to the color of new aluminum, only darker with a trick finish that you do not notice until you are right up to the bike. Most of today was spent taking a lot of reference shots. I did not put up most of the reference shots but I have them saved. If you are working on a similar project and need some shots of the bike just email me. I took the reference shots at 4 mp so they are pretty big and can be zoomed in for pretty good detail.
dp 02/04
|
|
send dave an email -
|