
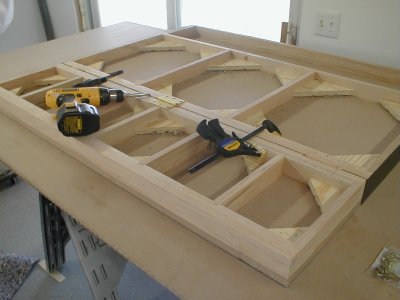
The original attempt was made with plywood and started out as a full width table. Pocket screws and glue were used to put these together. I wanted to have as much frame width as possible to support the table, but was limited by the rail it would sit on.

You can see that I clamped the frame to the rail (which only had one screw in it, so it could be rotated) to find the screw holes for bolting it to the saw. I quickly decided that I just did not like this arrangement. The plywood was a bit flimsy and I didn't feel that it would provide a good surface for mounting hinges. With an MDF top, the larger folding portion would put a lot of stress on those hinges. Hmm.. I'll bet an oak frame would provide sufficient support - and I've got plenty of oak around.
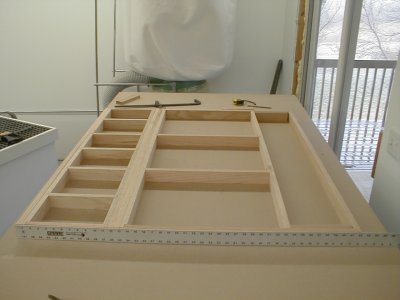
I settled on a new plan here to use oak and a smaller five foot wide extention. Everything in this design sits in a dado. The edges that attach to the table saw and the edges that the hinges will mount to sill get a double band of oak. I also decided to remove the back rail on the Unisaw as it didn't really appear to have much use. (Other than to give the right extention table something to bolt to) I like this better already.
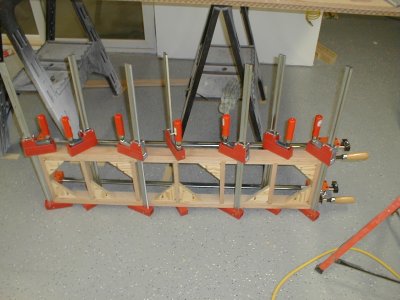
The pieces were glued, clamped and reinforced with corner blocking to help keep things square.
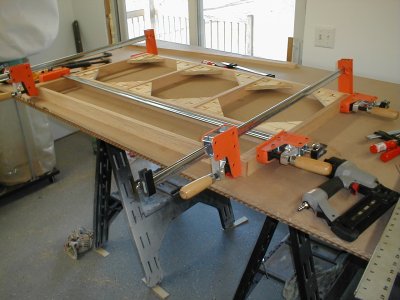
The larger piece was assembled in a similar fashion. You can see my temporary work table is a 3/4" and 1/2" MDF sheets on 2x4's and leveled saw horses. I set this up based on David Marks plan to build an assembly table, (something that I don't have yet) because I wanted as flat a surface as possible to do the assembly and glue up.
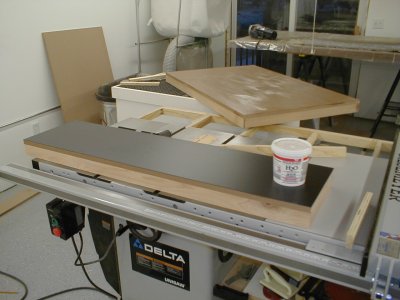
I bought a piece of black formica as Home Depot for about $40. I also used some funky water based? glue that had to dry for a half hour before mating the pieces. I was very unsure about this product and whether it would work or how long it would last. Turns out that it worked out pretty well and hasn't been a problem.. so far.
Once the tops and hinge side laminate pieces were installed it was time to put the hinges on and check the fit. I'm not very good at installing hinges, but this was a very easy way to get the hinges on and know that the two tables would not be offset.
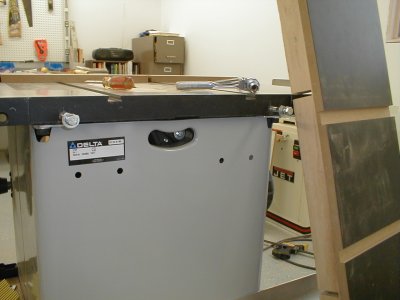
I cut two slots in the short table to slide down over the bolts that used to hold the rails on. I had to purchase some longer bolts to accommodate the 1.5" thick stock. The 3/4 inch MDF and formica top forced me to grind the washers flat on the top side of the table

After I installed the table and played with it a bit I felt there was some flex caused by the slots that I milled for the bolts. Maybe it was just my imagination, but I decided to add a piece of 3/4 stock along the length to bridge the slots and provide better support. This just means that I'll have to insert the bolts now instead of dropping the table over them.
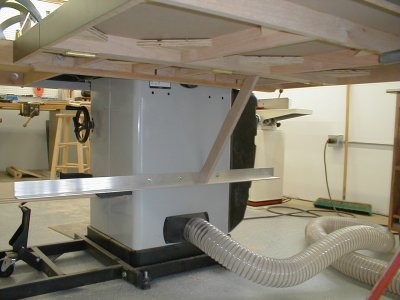
A piece of 1/8 inch aluminum angle iron will provide the support for the table braces. I always hate drilling into machinery, but it's necessary from time to time. I cut an MDF template first and used it as the prototype for the oak bracing that followed.
The first good look at the table with most of the laminate installed. The only part left is the miter slots which will be done at a later date. The two legs are visible on the table saw - on of them appears to be standing up.
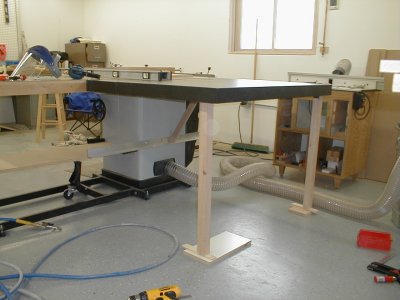
I got the legs installed and intentionally cut them sort so that I could install threaded feet for leveling as my floor is notoriously uneven.
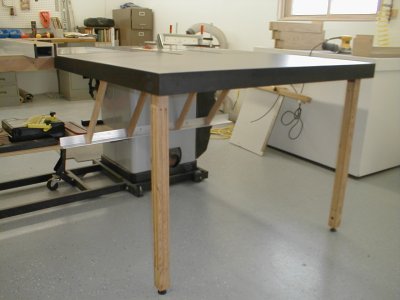
Another horrible camera shot - one of these days I'm going to break down and buy a new camera. Here the table is fully finished. You can see that the legs are fluted. I did this for the practice as much as anything. I'm a firm believer that shop projects are the right place to experiment with new techniques and design ideas.
I did have one problem with the legs - they are heavy and would not stay closed as I was folding the table. I decided to use rare Earth magnets to solve this problem. The black dot at the bottom of each leg has a recessed magnet. The black dot is simply a cover provided with the magnet.
I simply glued up some MDF stock, screwed the corresponding metal disk to it, and then glued,and clamped it to the underside of the table where it would line up with the magnet. Pretty easy solution and it provides just the right amount of force required to hold up the legs without making it difficult to get them down.
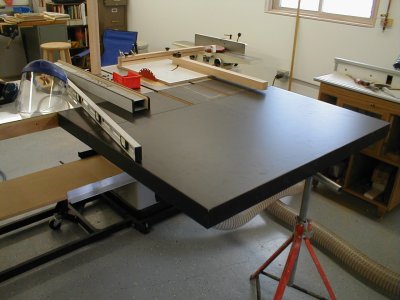
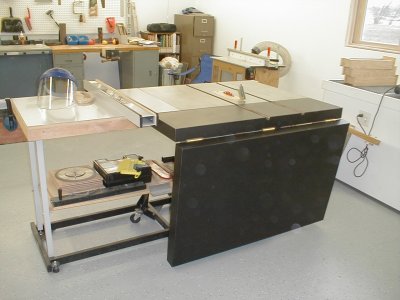
View of the outfeed table fully extended. This wasn't to bad a project after I finally got moving on it, but like all of the things I've done in the shop it always seems to go slower and harder than I think it should. Still, I think I'm coming up to speed as more projects get accomplished and I'm really happy with the way the table turned out.
The only thing that I don't really care for is how heavy it is. The folding portion of the table is extremely heavy, but then I guess that's what you get for using MDF. Still, it's solid and should hold up to a lot of abuse.
03-13-04
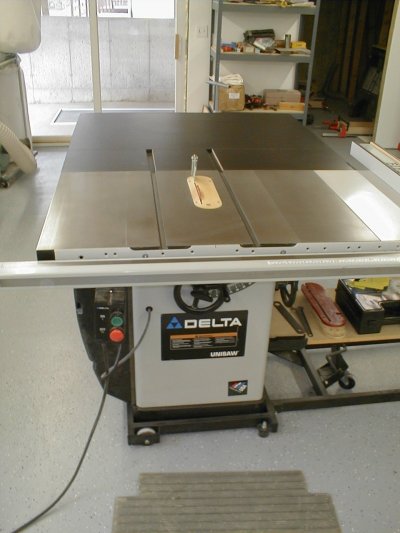
In time I plan to replace the OEM Delta extention with a table similar
to the outfeed. I like the folding aspect of this table because sometimes
I need the extra space to work on something. I have a pretty good sized
shop, but like everyone elses, floor space is at a premium.
Thanks for looking!