I'm long overdue to get this posted. I had started this update in April, but had a subsequent hard drive crash (IBM Deathstar) the day after I had to put my dog down (What a great weekend that was) and haven't been motivated to work on it again until now. I was fortunate to have burned a CD with all of these pictures to go with the chest. I had to borrow it back to get started on this again.
This is my first real commissioned piece of furniture. My wife has a friend (Pat) out to the horse barn that, having seen the tack trunk that I built for Eliza, wanted me to build a chest for his wife's 50th birthday. I sent him several photos that I had collected prior to building the tack tack trunks and he selected this design. I only had six weeks to get this finished before her birthday. Not having a design I did a little searching on the web only to find out that this is the Wood Magazine Heirloom Hope Chest. I happily paid the $6 and downloaded the plans. This was my first project to be done from plans. Pat pretty much game me latitude to pick things as I saw fit. I decided that it would be nice to do this piece in walnut with quarter sawn oak panels.
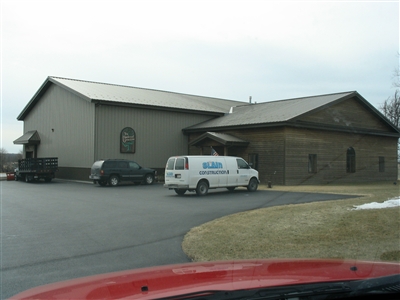 |
02-19-05 I had stopped up at Badger Hardwoods and wasn't impressed with the selection of walnut that I saw up there, so I headed over to The Hardwood Connection in Sycamore, IL. They're a bit more expensive, but they have a nice selection and a climate controlled showroom. |
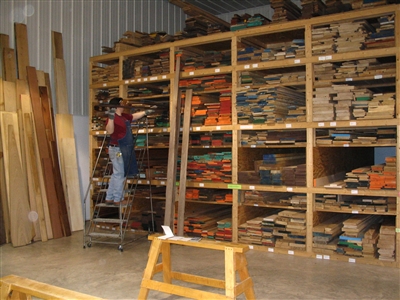 |
02-19-05 They are really helpful at THC and pulled out a bunch of wood that I sorted through to pick the pieces that I wanted. |
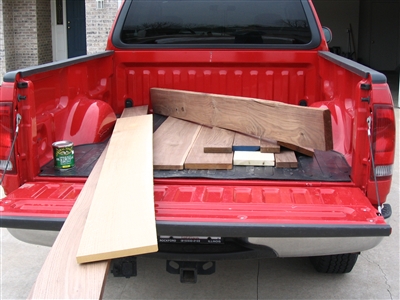 |
02-19-05 This is what I ended up bringing home. |
 |
02-26-05 I spent some time dimensioning lumber. I had a real problem with chip out while running some of the walnut through the planer. It seems that the grain changed direction, causing chip out - no matter how careful I was. I later read that spraying some water on the wood should help with this - I'll try that next time. |
 |
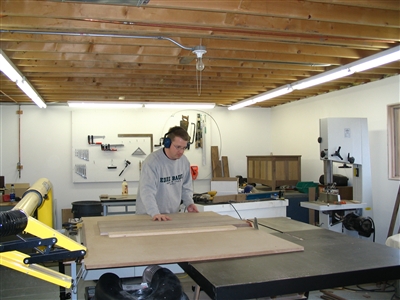
02-26-05 Here I am cutting all of the lumber to plan dimensions. Each piece got labeled with a letter to make assembly easier. |
 |
03-04-05 The panels are now all cut to size. The wood magazine plans called for using two pieces of plywood per panel, but I decided to use QS oak. I ended up having to get some more quarter sawn oak to make enough panels and ran down to the Kirkland Sawmill to see what they had. Turns out that they had a pretty nice selection of domestics for quite a bit less than I paid at The Hardwood Connection. |
 |
03-06-05 I dry fit some random pieces together to see how things would go together. This might actually look ok. |
 |
03-06-05 Here you can also see the top of what will soon be a great utility/assembly table. |
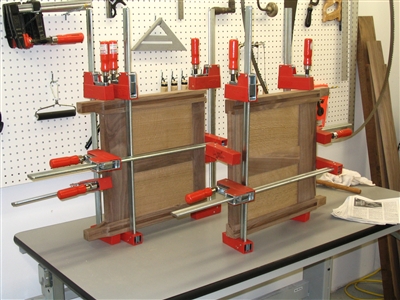 |
03-12-05 The sides were glued up first. It's nice to have so many clamps. |
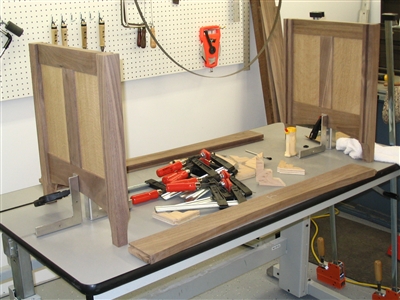 |
03-12-05 I needed a way to hold the sides up while assembling the rest of the chest. I recently acquired these 90 degree aluminum squares. Making a sandwich secured by a clamp was a great way to get the stability I needed to complete the assembly. |
 |
03-12-05 A much better shot of the assembled assembly table. The table height is adjustable and the top is dead flat. I acquired this from a previous employer during a plant shutdown and it has been sitting at my brothers house for 10 years. It's been idle in his basement for three years now, so I finally liberated it and am putting to work in mine. I can set it equal to the height of my table saw, making it ideal for feeding sheets of plywood or other large pieces of wood. |
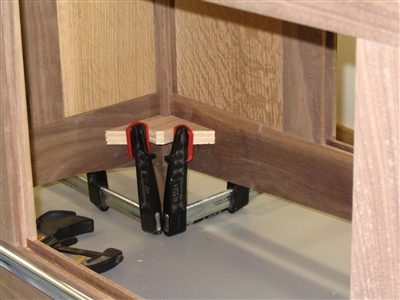 |
03-12-05 I made these corner blocks to help keep the lower rails square. |
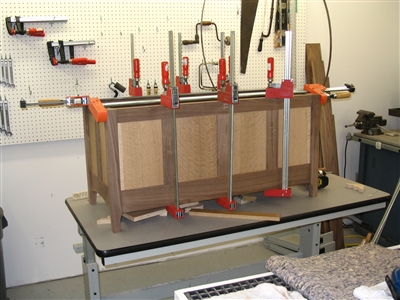 |
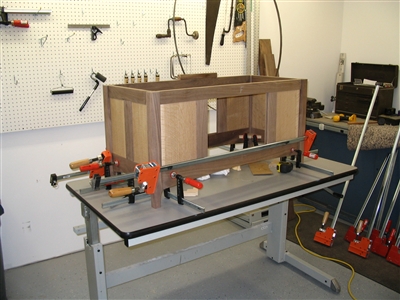
03-13-05 Final glue-up of the main body of the chest. |
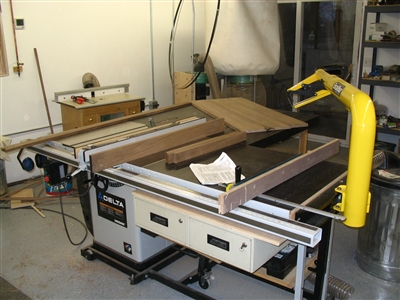 |
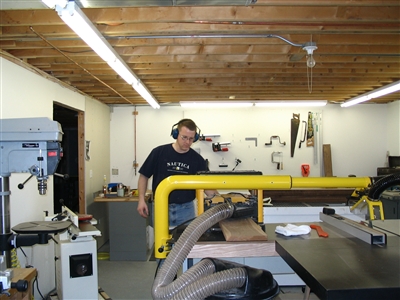
03-13-05 Despite all of the photos of my Excalibur - it's never been hooked up to the dust collector - I simply do not have the hose to run to it yet. It is one of my very next projects! |
 |
03-18-05 Cutting the lid to final dimensions. |
 |
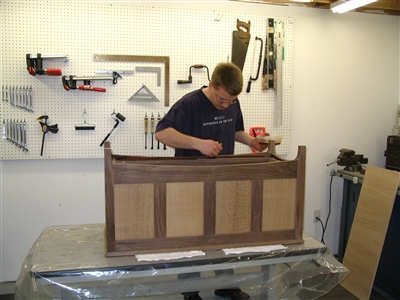
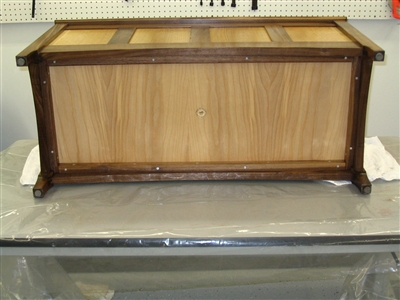
03-20-05 Final assembly. Time to get busy with some sanding. |
 |
03-21-05 Starting the first coat of General's Seal-A-Cell. |
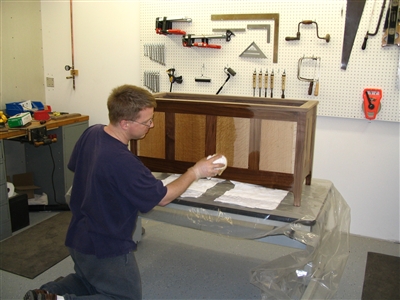 |
03-21-05 The first coat of Seal-A-Cell continues. I seem to recall that I did 2 coats of Seal-A-Cell followed by 2-3 coats of satin Armor Seal. |
 |
03-27-05 I left my "mark" on the bottom of the chest. |
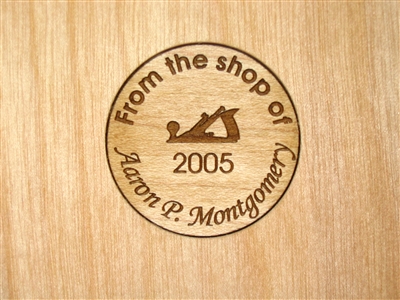 |
03-27-05 I wanted to start marking my work with something nicer than a sharpie. I believe that these were made by Steve Krim over at Sawmill Creek. I can't verify that because I lost all of my e-mail when my hard drive crashed in April. I want to say that I paid about $1 each for these - well worth the price, they look great! |
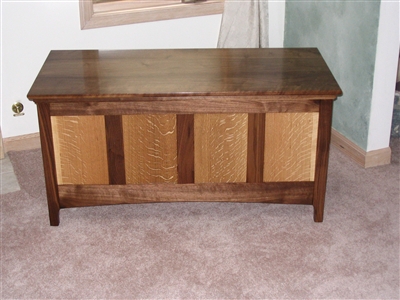 |
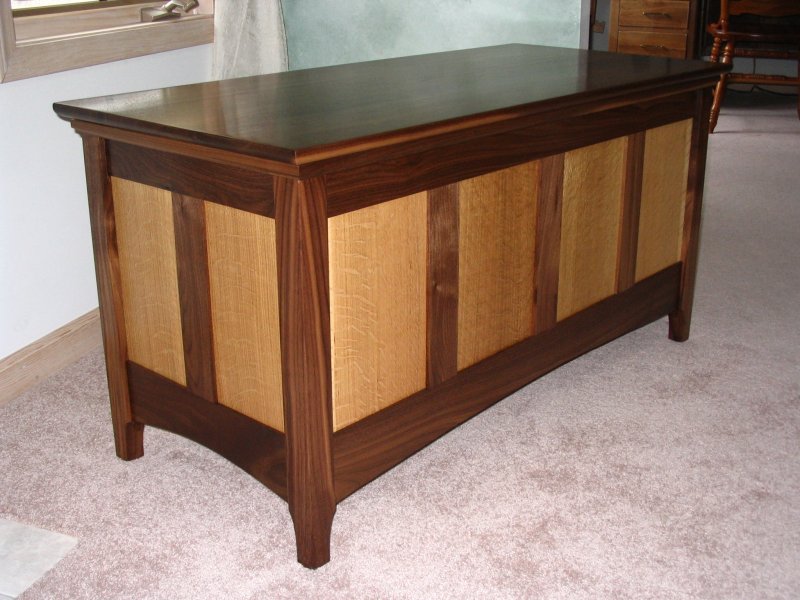
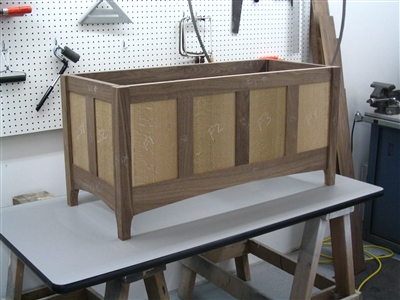
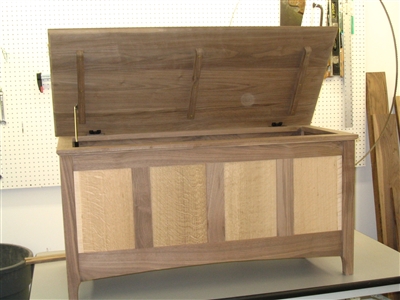
04-01-05 Finally finished - and just in time. Looks pretty good sitting in my living room. Maybe I should keep it.. |
 |
04-01-05 I have to say that I was very happy with the plans. They were detailed and held my hand every step of the way. I was quite pleased with the way this project turned out and I'll be looking for more downloadable plans in the future! |