
SINCE AUGUST, 1999 |

Library Extra |
 After
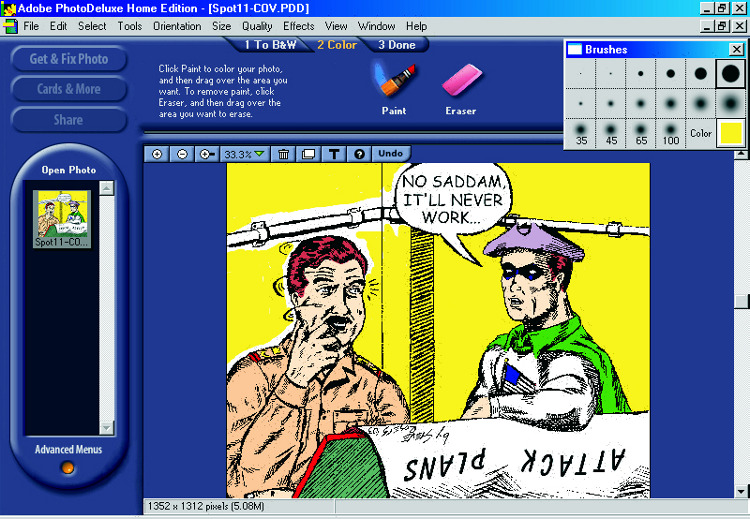
I've restored art on the cover, I rescan it, remove any greytones, and
save. The black and white image is then opened up in Adobe PhotoDeluxe,
which I use to color it. (The only thing I use this program for.) The colored
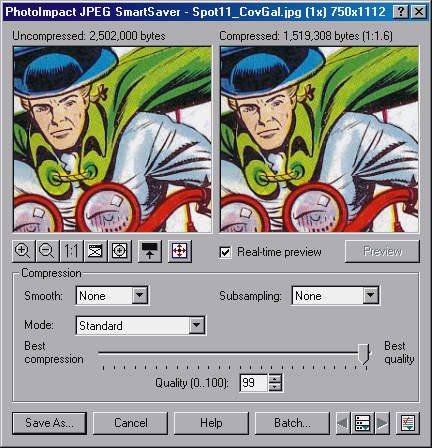
image is then inserted into a cover template (In a second program, Ulead
PhotoImpact), the issue number and date are inserted, and the resulting
image is like the one seen on the home page (although much larger). After
I've restored art on the cover, I rescan it, remove any greytones, and
save. The black and white image is then opened up in Adobe PhotoDeluxe,
which I use to color it. (The only thing I use this program for.) The colored
image is then inserted into a cover template (In a second program, Ulead
PhotoImpact), the issue number and date are inserted, and the resulting
image is like the one seen on the home page (although much larger).
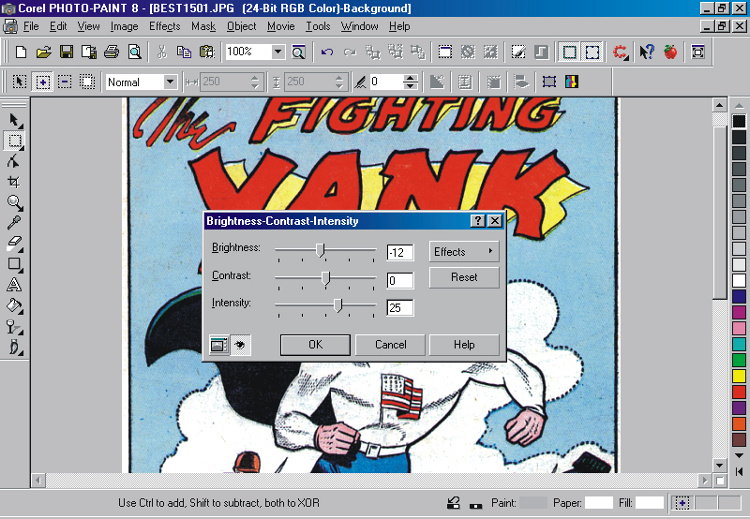
With the cover out of the way,
I move on to the individual comic pages. For those, I use a third imaging
program, and my best, Corel Photo-Paint.
At this point all of the hard work is finished, and I get to move on to the next phase, a tedious one, creating all of the web pages! Next step: HTML. Home
|
|
This site was designed with Microsoft Internet Explorer 6 and Netscape Navigator 4.7 with 800x600 High Color (16 bit) monitor display. If you have another browser and something doesn't look right please notify me of the problem. Thank you.