Rejetting Saga:
Never being one who could leave things alone, I went through several gyrations before I was happy (for now...LOL). I installed the K+N filter and V+H pipes fairly early on and realized that a rejet was needed. I first tried the Dynajet kit myself without much success. The bike always seemed to run lean. Even had a "professional bike shop" try it and they didn't seem to know what they were doing. I then found the Dial-A-Kit and ran that for a year or so and it was ok but I never seemed to have top end power. After 85-95 mph it wouldn't pull any more. Then recently, I got the Factory Pro Jet Kit ( http://www.factorypro.com/ ) which has a greater range of main jets than the Dynajet kit (and includes a larger pilot jet) and it seems to have done the trick. I finally ended up with #180 main jets front and rear, #45 pilot jets and 3 turns out on the mixture screws. There is very little popping now and the bike pulls strong throughout with no flat spots. It took a couple of tries to get there but there is plenty of info on the internet on how to rejet. It's not difficult but takes time and some mechanical ability. A service manual is a must to taking out the carb and getting it back together right again.
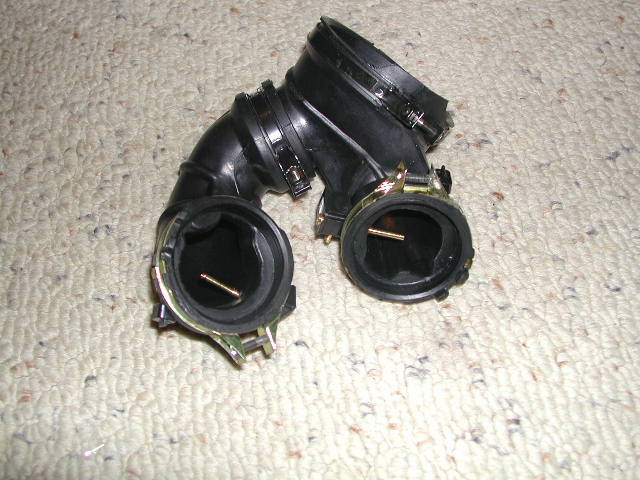
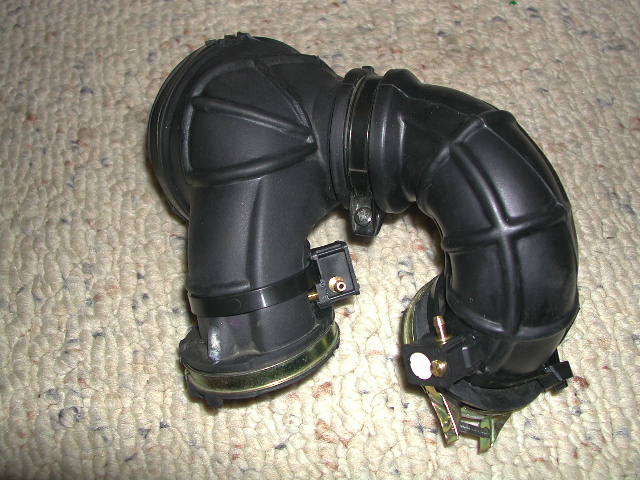
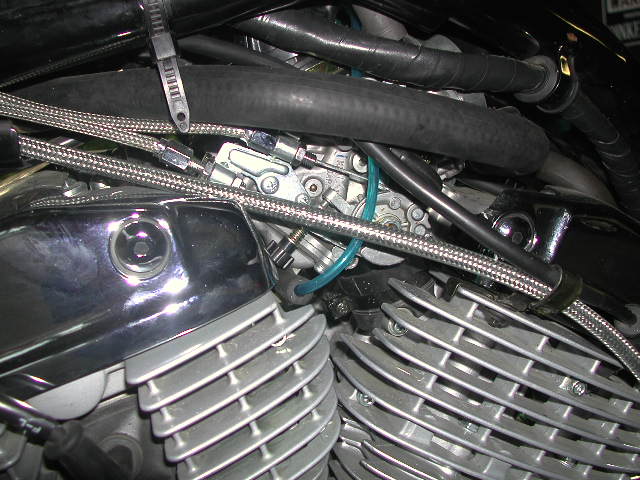
One thing to note is that the screws holding down the vacuum chamber cover and float bowl cover are cheap Phillips screws. After a year of operation, the screws were seized up and I stripped a couple of the stock Phillips screws and had a difficult time getting them out. The Factory Pro kit comes with 8 stainless socket head bolts to the replace the screws holding down the vacuum chamber cover. I also replaced the screws for the float bowl cover with hex head bolts. The hex head or socket head bolts will make removal a lot easier in the future. They are 4 mm bolts and should be available at your local hardware store. In addition, I also replaced the screws on the bands for the rubber connection tube (see first picture below) with socket head bolts. Makes loosening and tightening a lot easier when you're taking the carb in and out..
My Dial-A-Jet Installation for those who want to go that route:
DAJ Jets attached to rubber intake boot. I placed a small washer between the jet body and tie-warp to allow me to turn the jet to the ideal position to connect the hose as you can see on the right hand jet which is pointing up at 45 degrees.
Jet mounting and hose connections.
I added a short piece of fuel line to protect the DAJ hose from the engine heat. After about 6-9 months the blue hose turned green in this area from the heat. The hose is still pliable and seems ok after over a year of use. Maybe after a couple of years it's worth replacing the hose as cheap insurance.
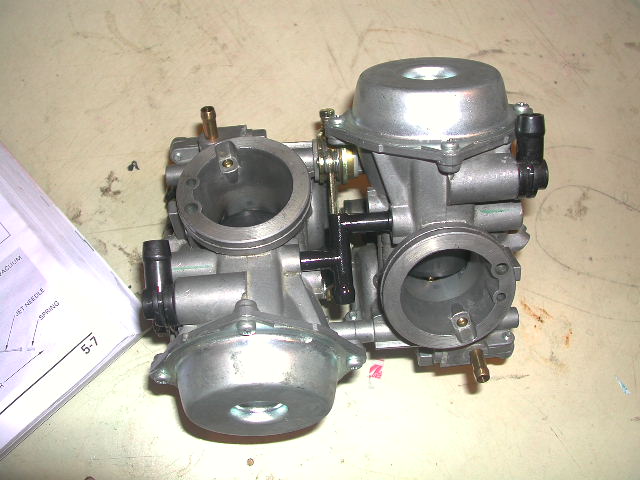
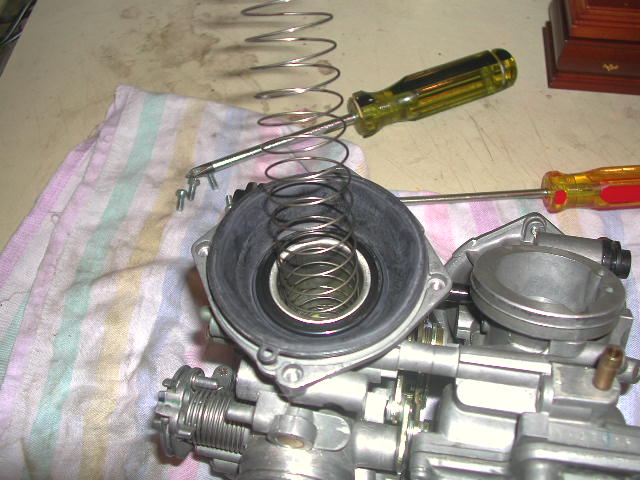
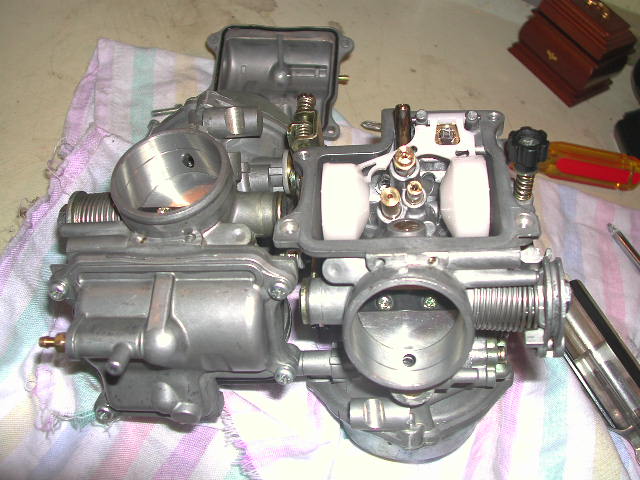
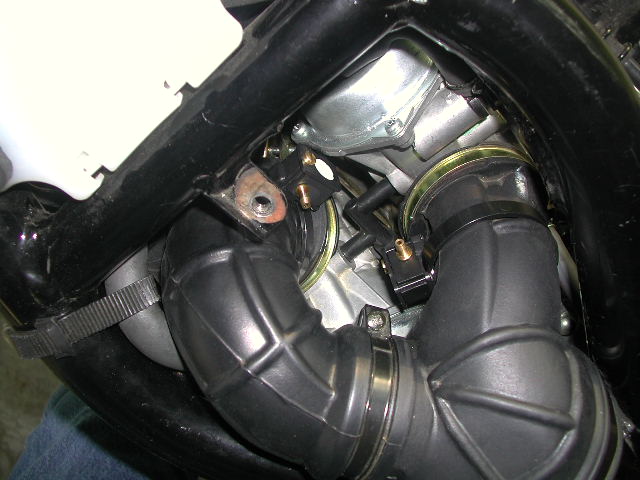
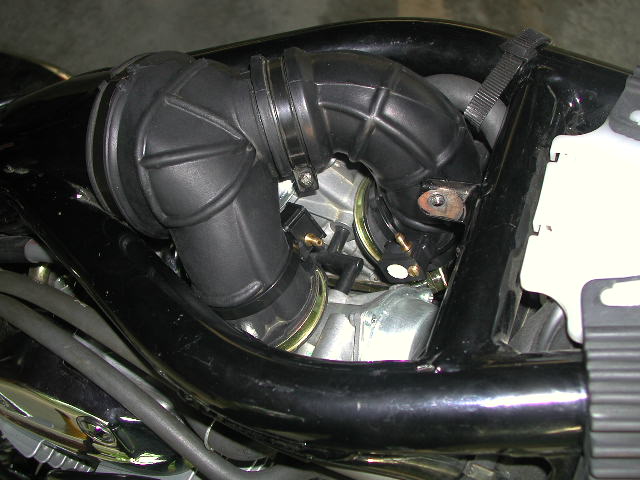
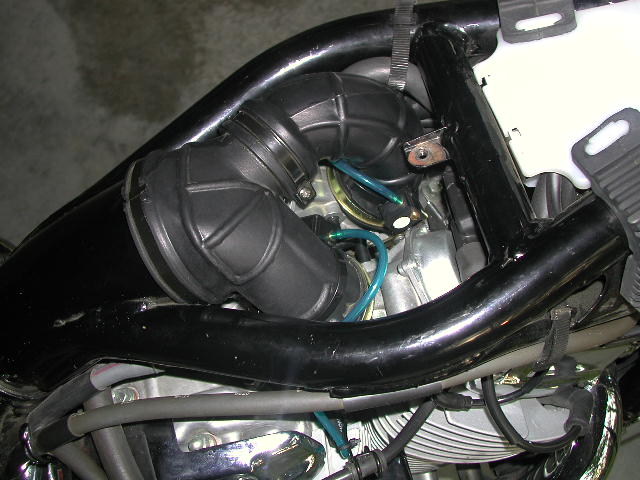
For those who are interested, here are a few pics of the carburetor.