Fork Seal Replacement (Update 01/2006):
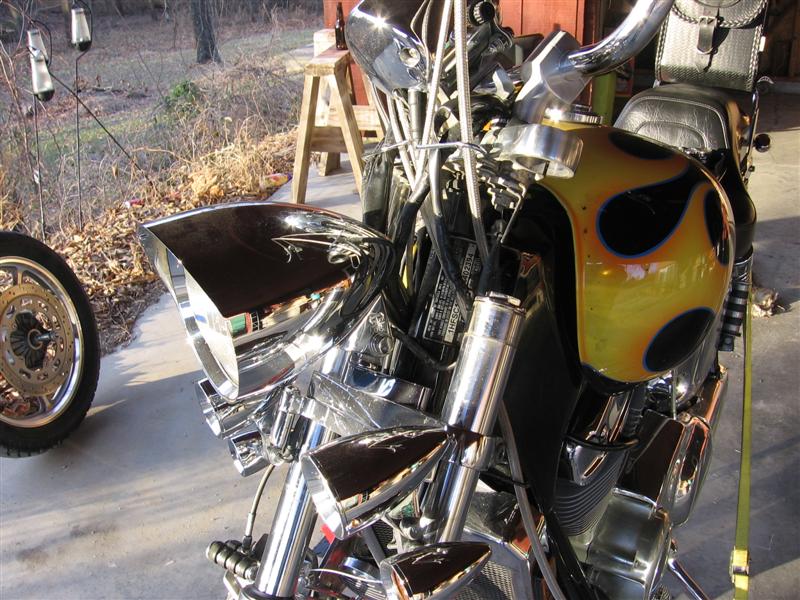
About a month ago, I traced the oil all over the tank, radiator and footpegs to a leak in the right fork. Also, front suspension was almost non-existent at this point . One worry was that since it was the right fork, there was oil all over the brake and rotor. I therefore also replaced the front brake pads. They had a fair amount of wear anyway so no big deal.
Time to take the forks apart. Mileage at this point was just over 50,000 (or almost 5 years). It's a relatively simple job and if you don't have a manual, there are several web sites that explain the process:
http://www.motorcyclecruiser.com/tech/forkseals/
http://www.sportrider.com/tech/146_9906_fork_seals/
http://www.motorcycle.com/mo/mcnuts/forkseal.html
http://faq.f650.com/FAQs/ForkSealReplacementFAQ.htm
http://www.dansmc.com/forks.htm
http://motorcyclistonline.com/howto/howtoforkseal/
The last link is particularly useful as it shows the replacement of a Honda fork seal.
The following shows how I did the repair. Total cost was about $150 for parts and oil. I ordered the parts from Bikebandit and got them in about 5 days. The most work was making a driver for the seal. You can purchase a metal one for about $80 but for about $5 worth of PVC parts you can make your own as I show below.
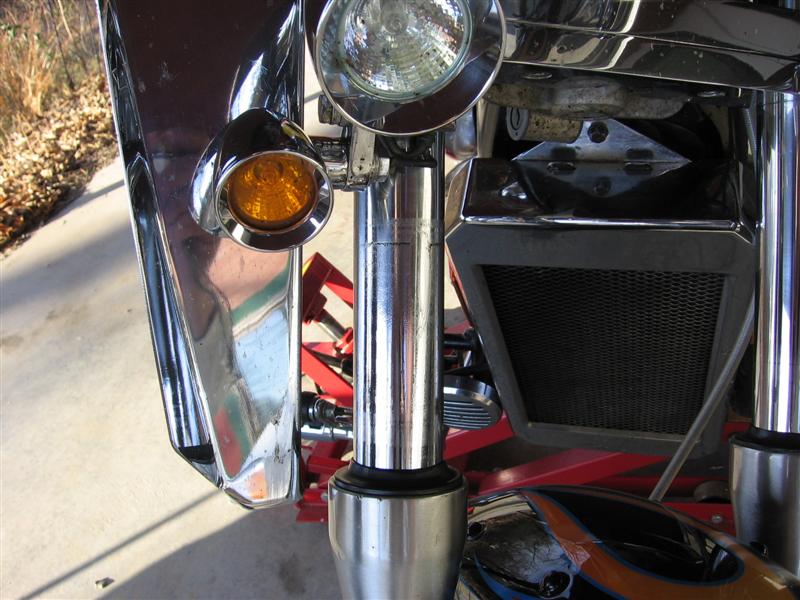
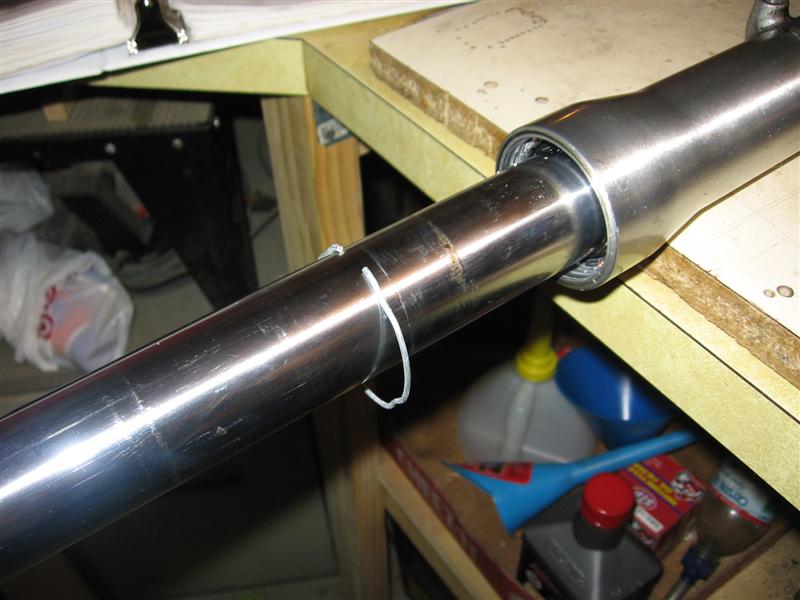
The obvious leak and the travel is over twice what it normally is.....
I removed the windshield and lowers, front wheel and brake caliper. Make sure you tie the caliper to the footpeg so it doesn't hang from the brake line. Loosen the upper and lower triple tree clam holding the fork and the forks slide right out.. The plastic chrome caps on the bolts can be removed by carefully prying them off with a small screw driver.
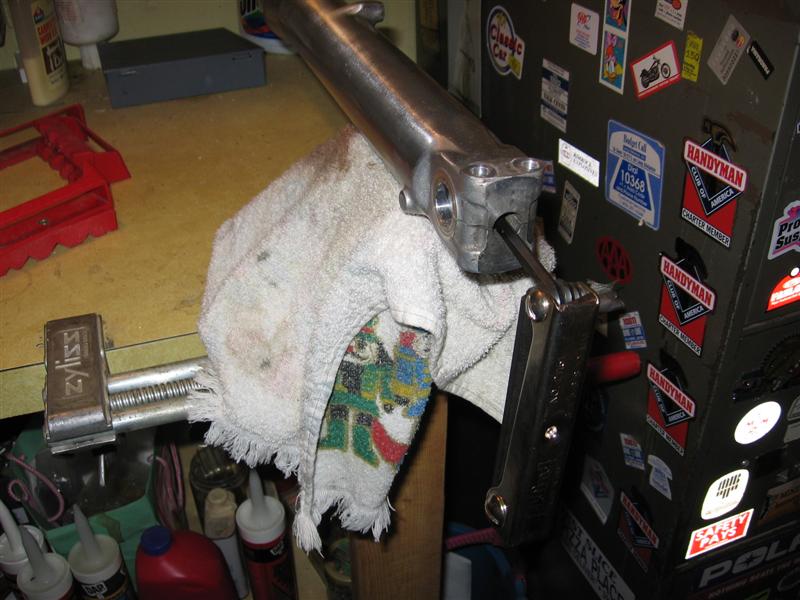
Before taking the springs out, loosen the bolt holding the fork piston as shown in case it turns when the springs are out.

After removing the fork cap, spacer, and fork spring, pour out the oil and remove the bolts loosened above to allow the fork piston and rebound spring to slide out.
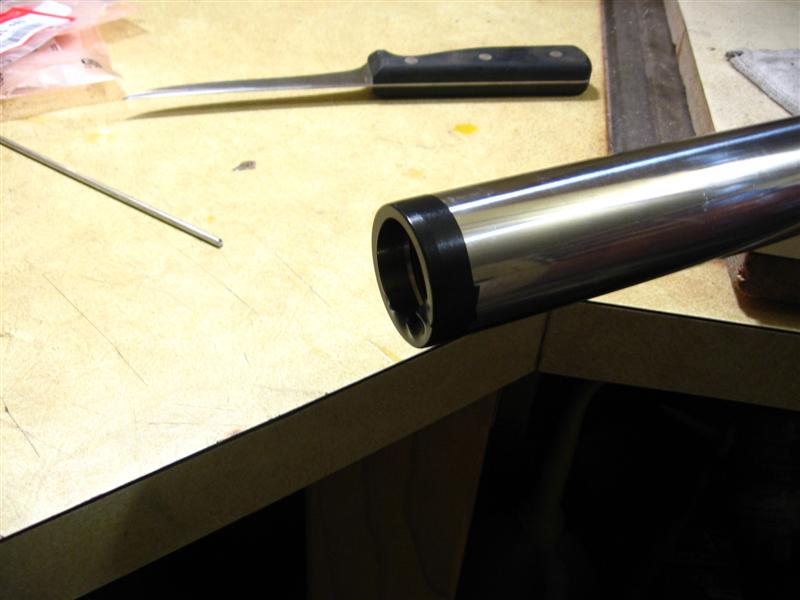
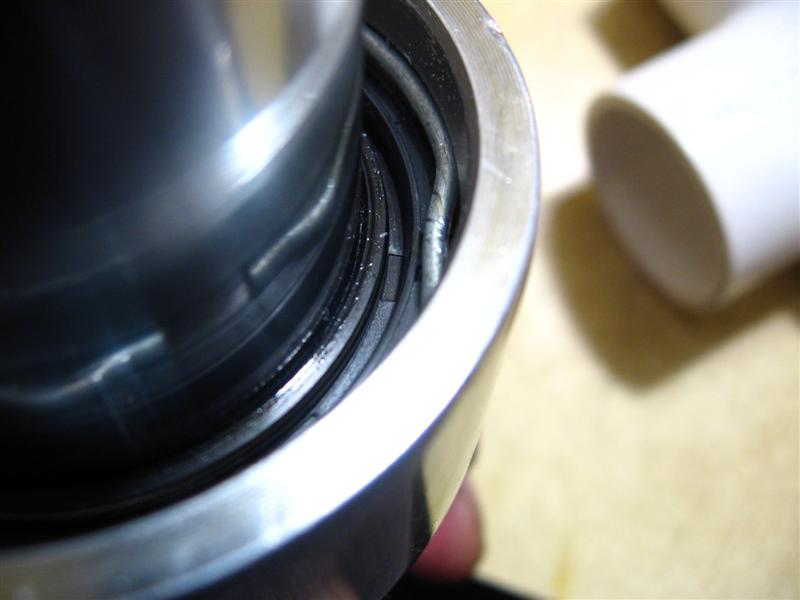
Pry off the dust seal and remove and discard.
Carefully take out the stopper ring as you'll reuse it if it's not damaged.
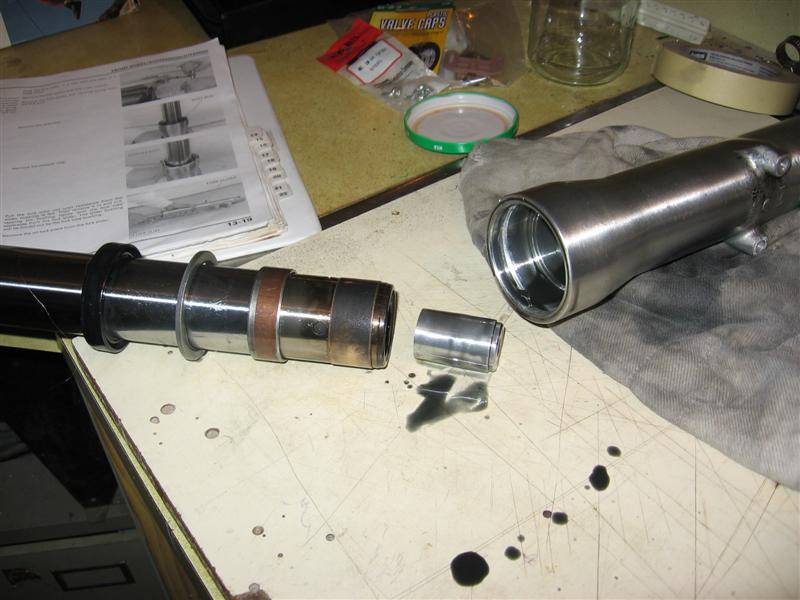
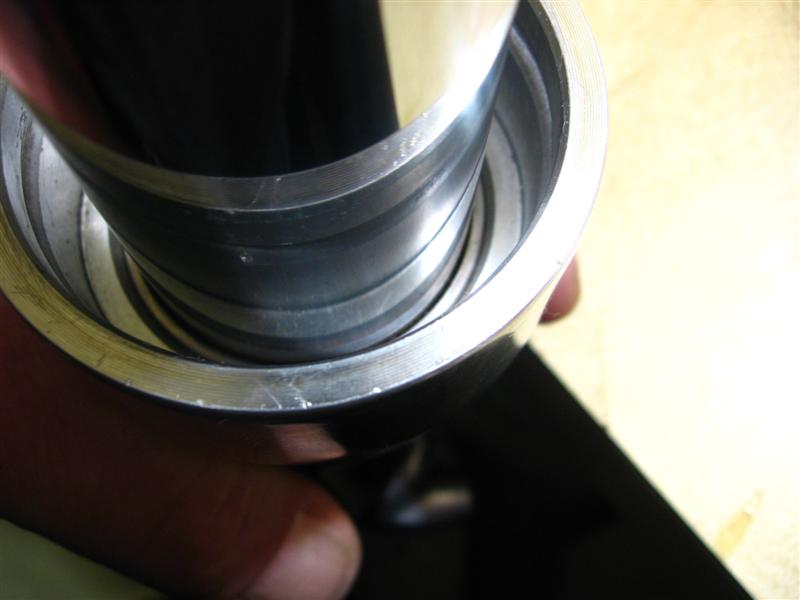
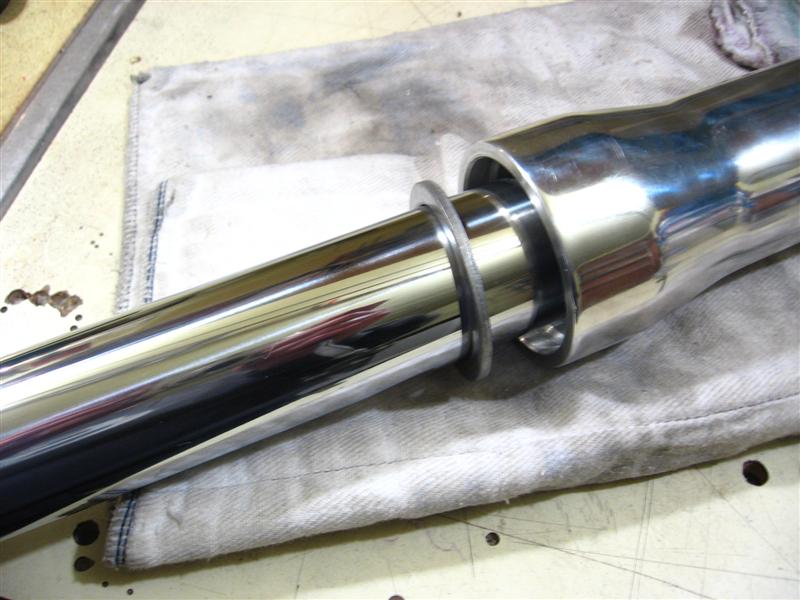
To remove the fork tube, hold the fork tube and fork slider in both hands and pull them apart, tapping the bushing lightly until the fork tube separates from the slider. It will take about a half dozen time to tap the bushing out. From left to right you'll see the fork seal, back up ring, slider bushing and fork tube bushing on the end of the fork tube. The slider bushing is the one that you had to tap out. The other piece is the oil lock piece at the bottom of the fork piston.
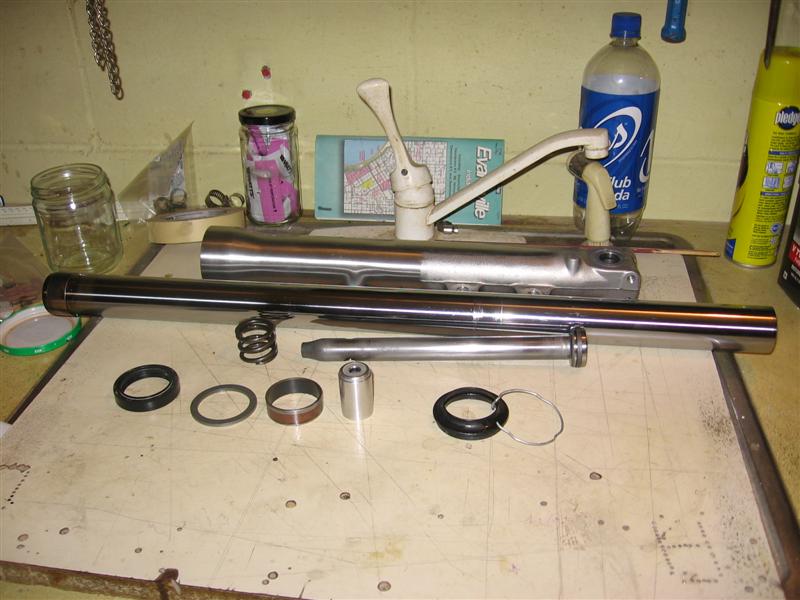
These are all the parts making up the fork assembly.
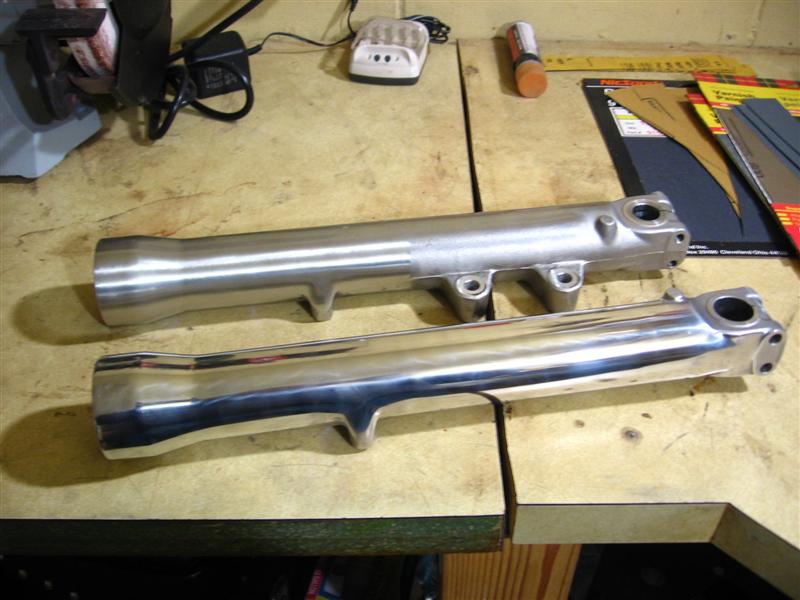
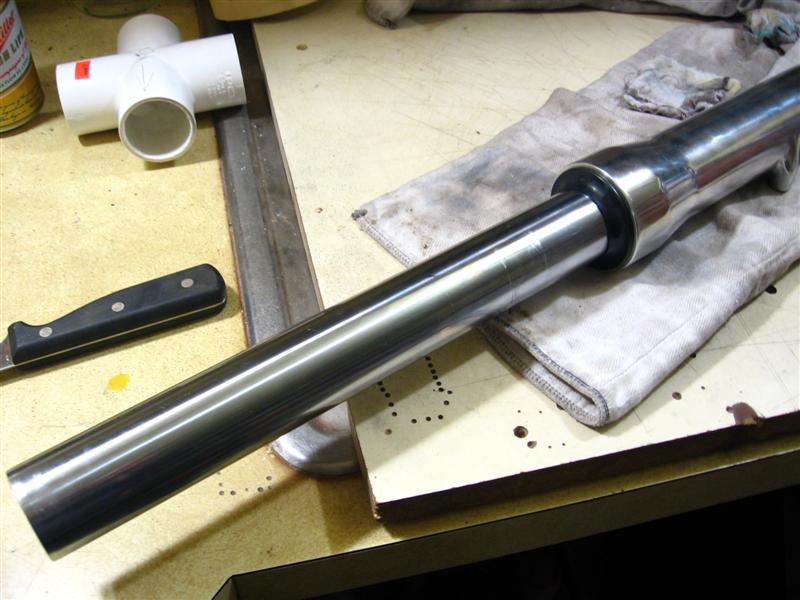
While I had the forks apart, I polished the slider too!
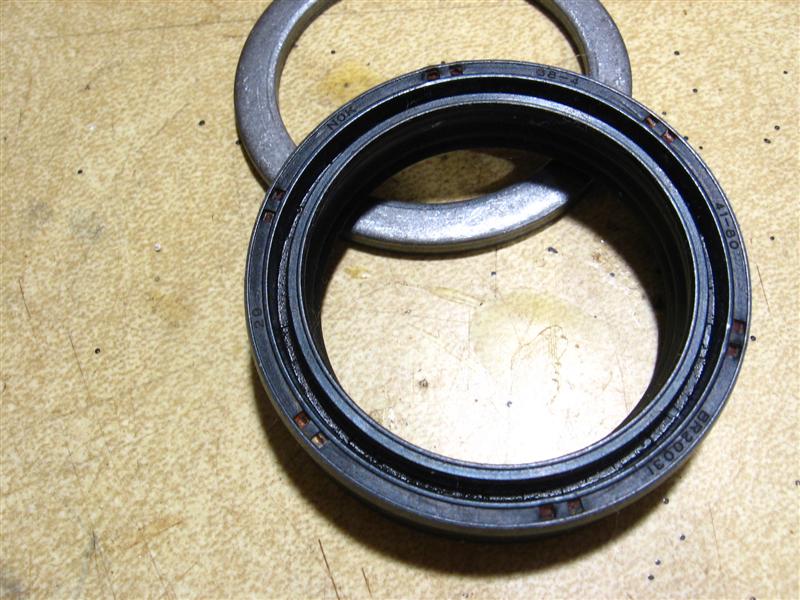
An important thing to note is the orientation of the fork oil seal when you remove it. It has lettering on the up side. The instructions with the new parts also remind you.
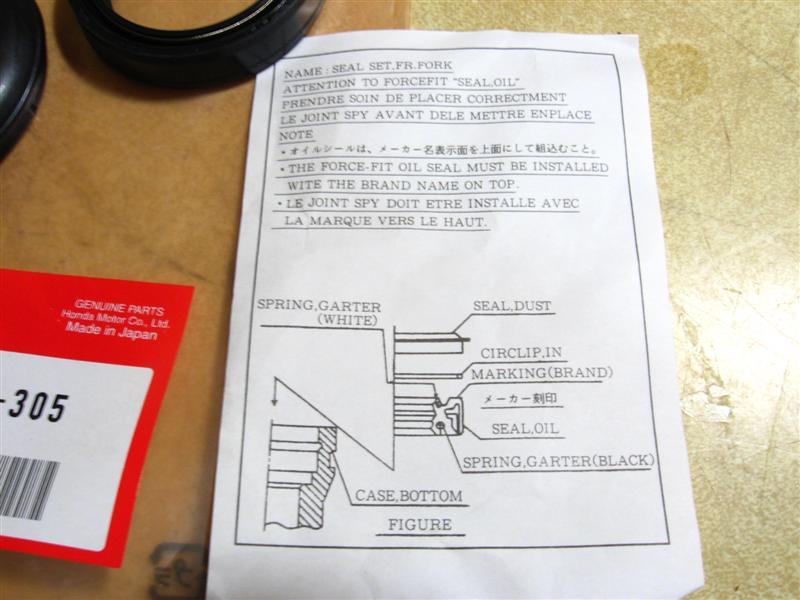
For those that care, this is a section through the seal.
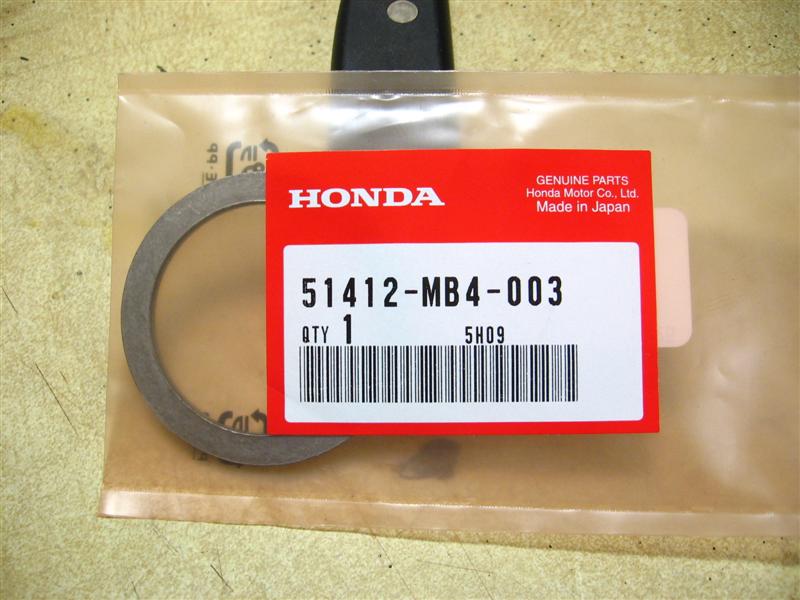
The following are the parts I ordered. Total cost from Bikebandit was about $128 including S+H.
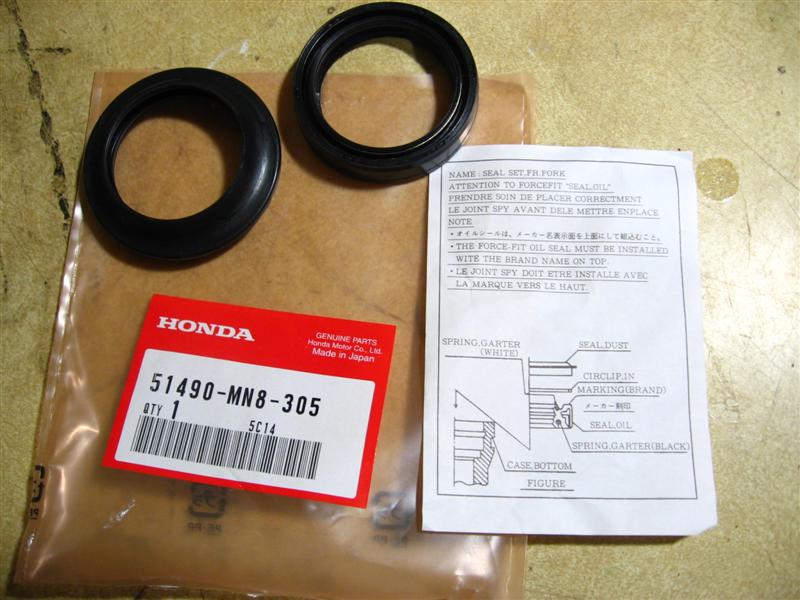
The fork oil seal and dust seal come in a kit together.

The new and old slider bushings. Note the wear on the old one.
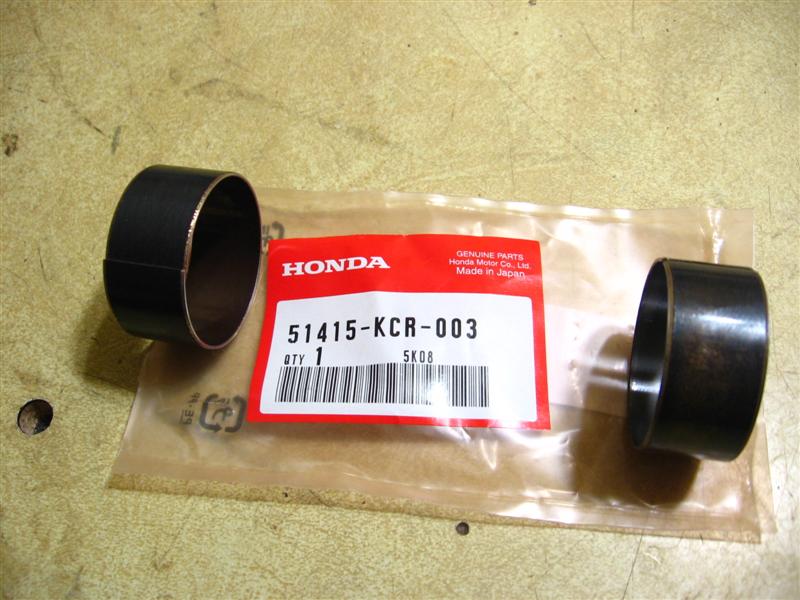
The new (left) and old fork tube bushing. Again, some wear was evident on the old one.
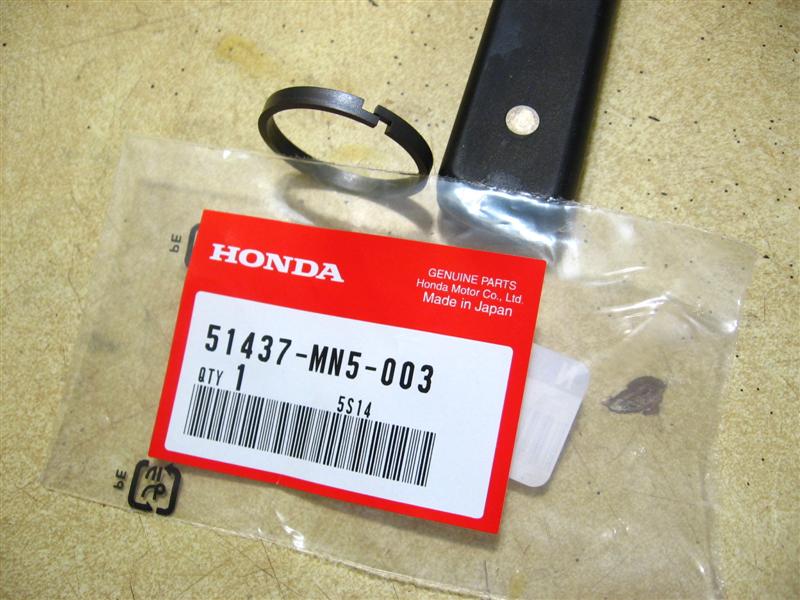
New fork piston ring.
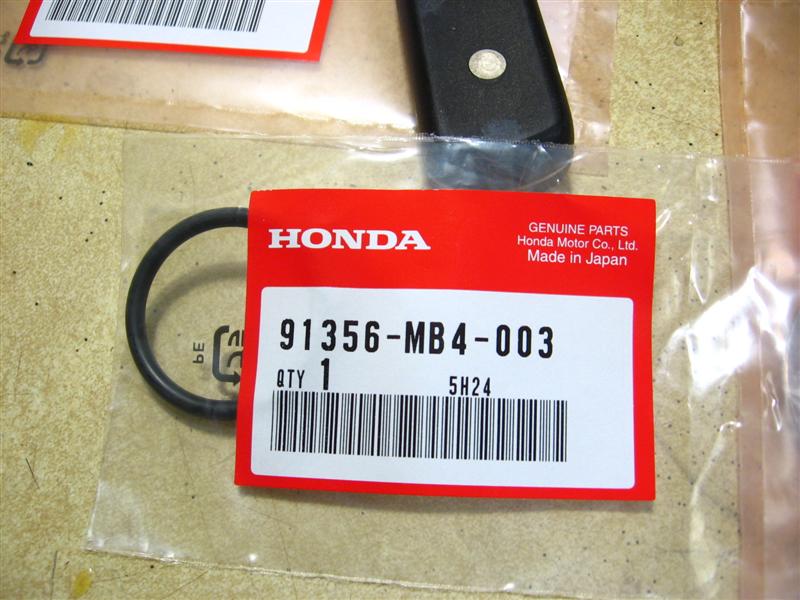
New O-Ring for the fork cap.
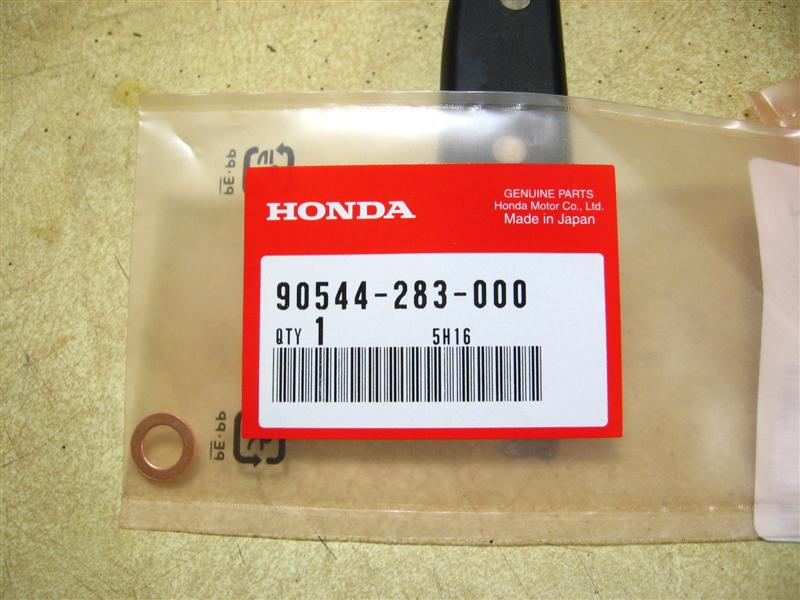
New sealing washer for the bolt holding in the fork piston.
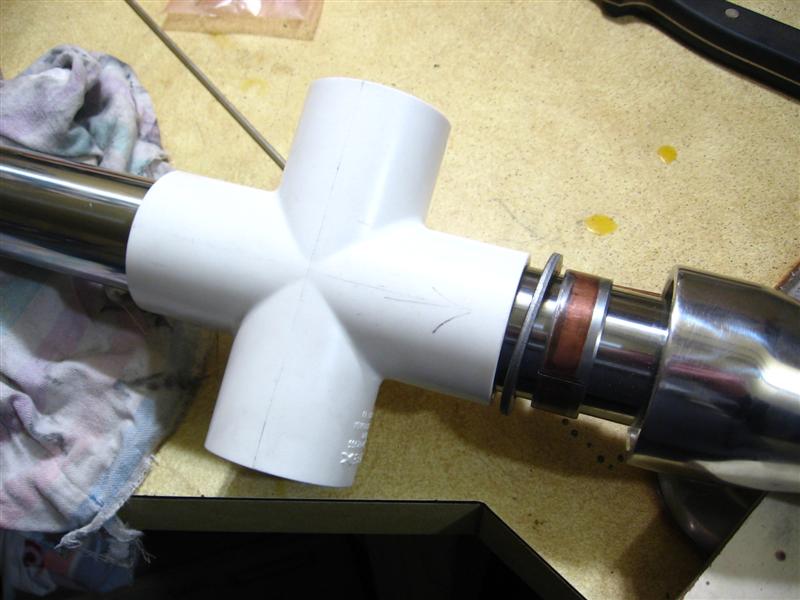
This is a new Back-up ring. I didn't have to replace them but I ordered a spare to use as part of the driver for the oil seal as it fits it perfectly. See below.
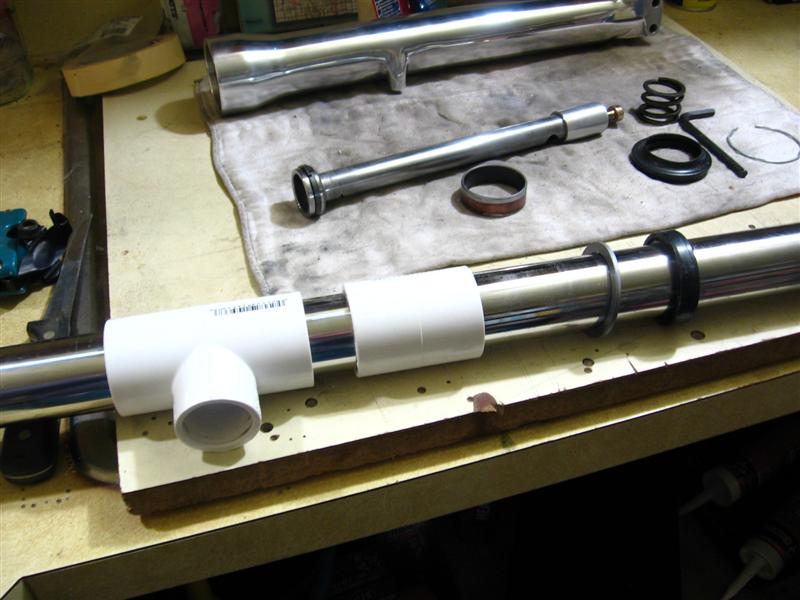
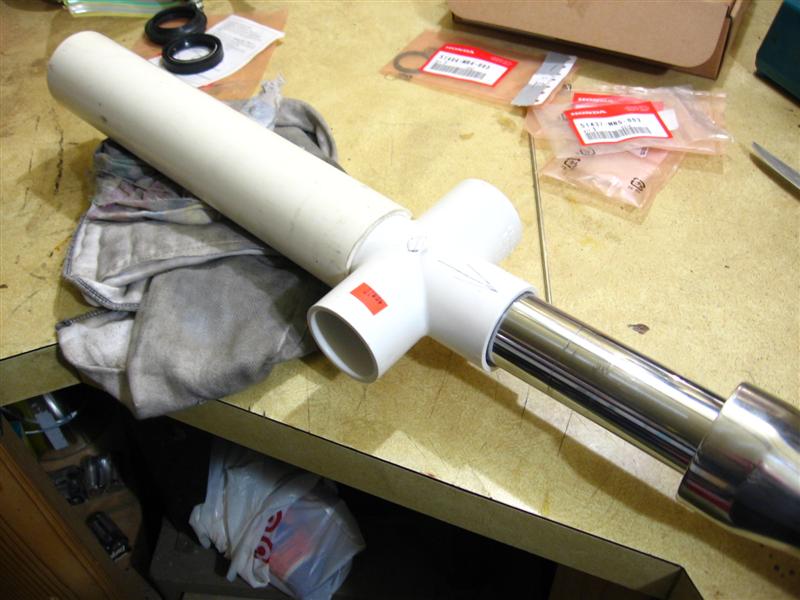
This is the first driver system I came up with. I found that 1-1/4" Schedule 40 PVC pipe fittings will fit almost perfectly over the fork tube. I thought a pipe coupler and Tee would work. You will have to do some filing on the inside to remove the pipe stops but once those are gone the fit is just right.
After studying it some more at the hardware store, I decided to change to a cross-piece (again 1-1/4") to give better leverage and use a 2" Schedule 40 piece of pipe about 12 inches long to fit over the cross-piece as a driver. I figured using a mallet on the pipe but it turned out that just lifting both pieces together and driving them back down with one hand worked perfectly. In fact, for the slider bushing, about 6 punches with the Tee alone using the setup in the picture below, drove the new bushing in without problem. I used the old bushing and the back up ring to drive the new bushing into the slider.
This shows the new slider bushing seated in the fork slider.
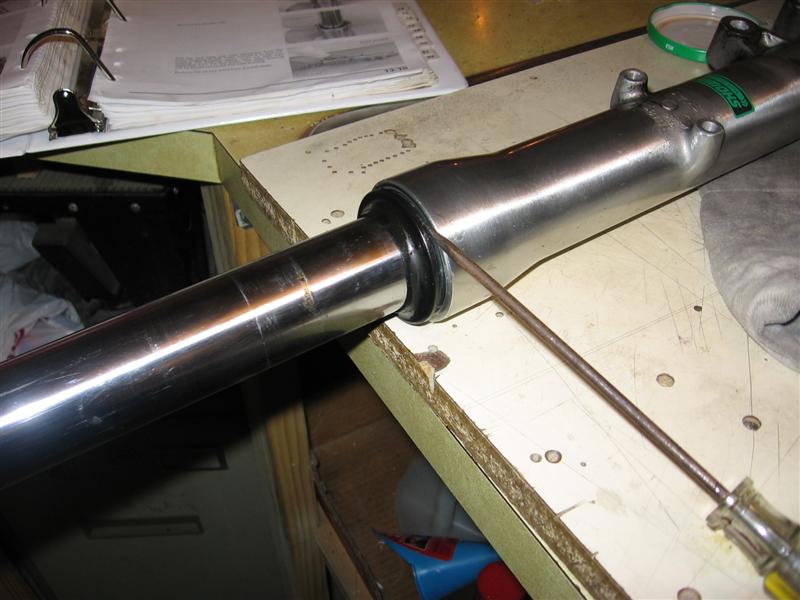
Before sliding on the new fork oil seal, tape up the end of the fork tube to prevent damage to the inside of the seal as it's a tight fit. Some fork oil on the seal will help slide it on and drive it into the fork slider.
I used the spare backup ring between the seal and PVC driver.
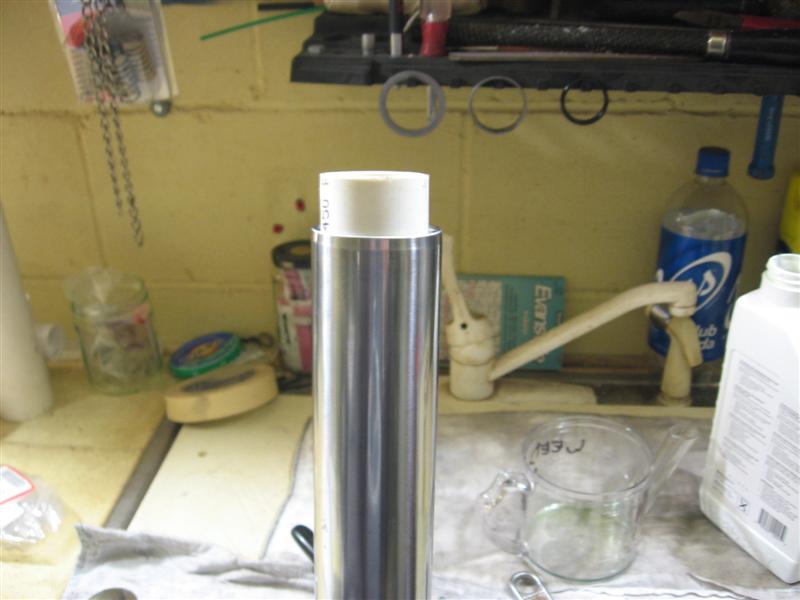
This is the driver for the seal. Works perfectly.
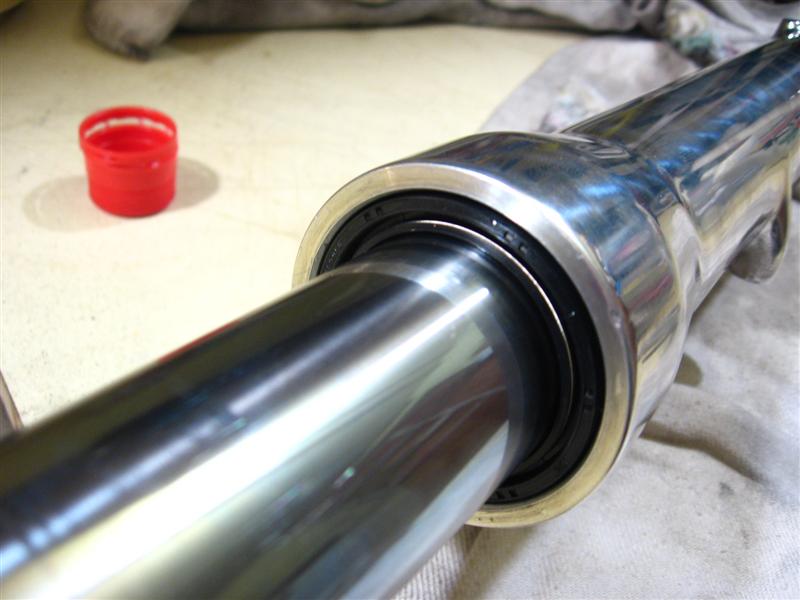
This shows the seal seated in the fork slider.
Install the stopper ring.
Dust seal installation. Use some oil and keep the tape on the end of the tube!
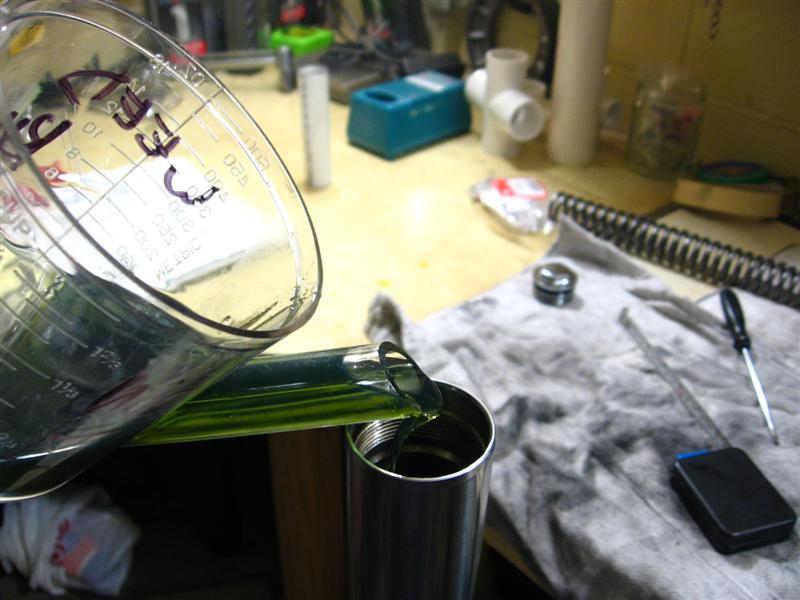
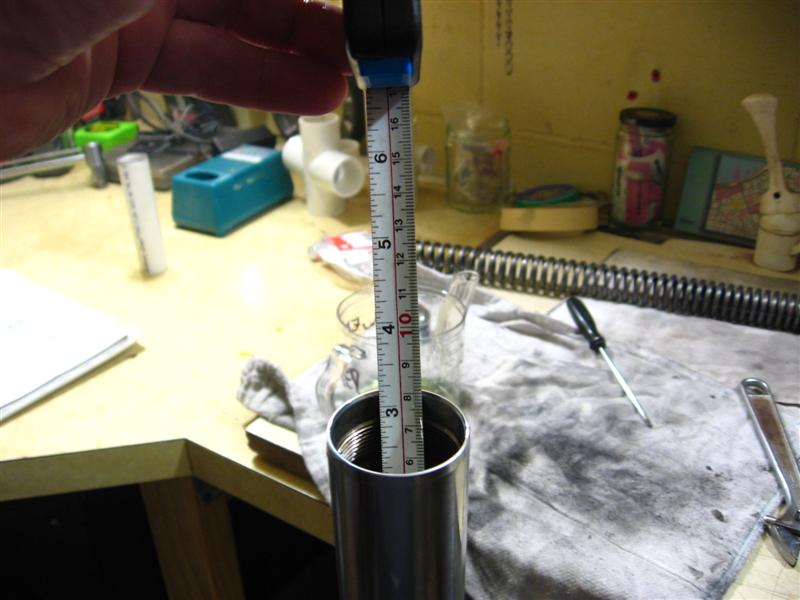
Fill with oil. I have the progressive springs, but the instructions recommend filling to the level recommended in the manual - 6.8" / 173 mm.
Install the spacer and put on the fork cap. Put everything back on the bike and you should be good for another 50,000 miles or more!