MC Enterprise Saddle Bag Top Rail Installation:
I think the saddle bag top rails are a nice
addition to the bags but I didn't want to spend the $200+ for the Kawasaki
F&S ones. I decided on the MC Enterprise ones
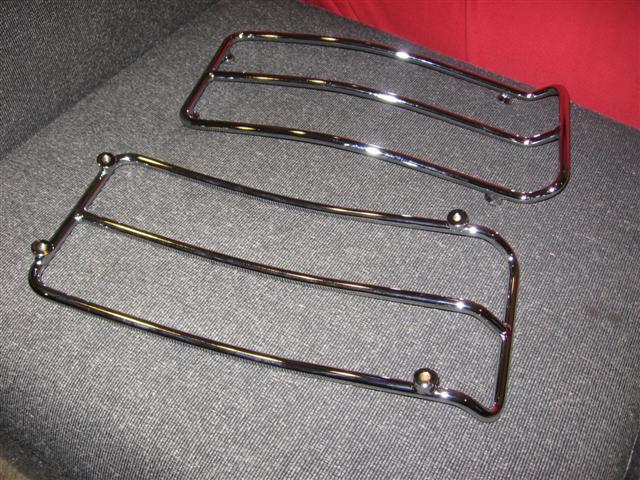
which looked good and cost about half. These have only three rails versus the
four of the F&S ones but the overall quality seems excellent. The kit
comes with the two rail assemblies and the mounting bolts, grommets and sleeves.
Each assembly has four mounting points (i.e. four holes per bag).
I took my time with the installation as you
only get one chance to get it right! Basic steps are:
- Take the passenger seat off to allow a
clear view of both rails on the bags for lining up
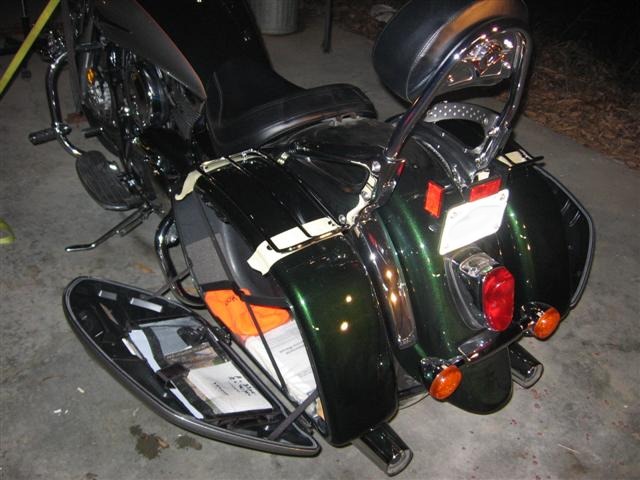
- Use masking tape across the bags where the
mounting points are
- Carefully line up the rails on the
bags. Look from the side and especially the back to make sure the
rails are parallel with bags. Have another person look too. It's
hard to get a good measurement from any points on the bike so do it by eye.
- Don't locate it too far forward or the
rails will touch the bag because of the curvature.
- Once you have it located, mark two holes
and drill one hole in each bag at a time. I started with the rear
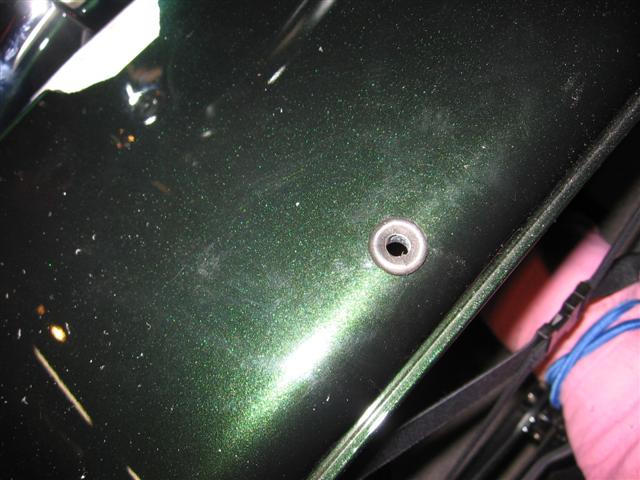
holes and drilled the outside hole first. Drill with a 1/16"
pilot and enlarge to 15/32" per instructions. Make sure your bits
are sharp.
- Insert grommet and the little metal
spacer/sleeve and bolt down the rail (hand tight only!). Align again
and check! Mark the other rear holes accurately. Measure the
center-to-center distance on the rail and the marks to make sure.
- Drill the other rear hole, grommet, sleeve,
and bolt down. The rails should now be set. You can adjust a
little side-to-side when marking the front holes.
- Repeat one hole at a time at the front.
- I put loctite on the bolts for final
installation and hand tightened using a socket. Don't overtighten or
the bags may crack. You need some give for vibrations.
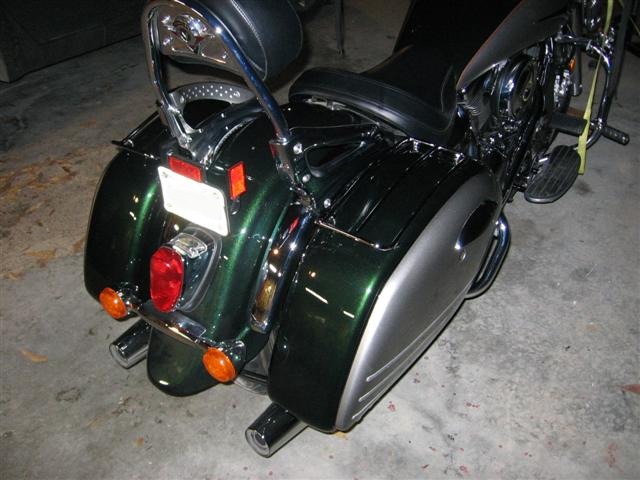
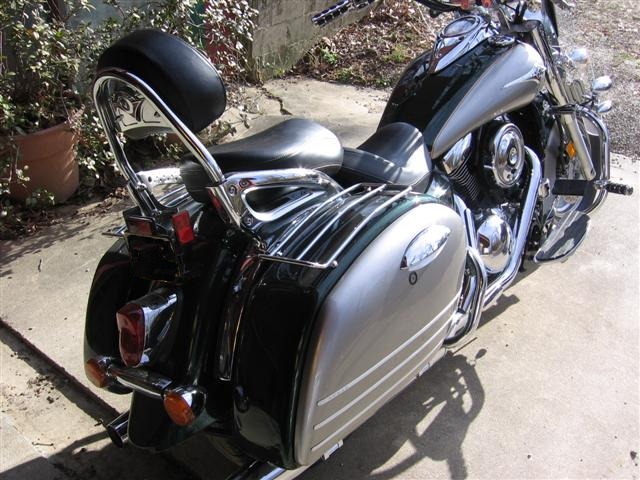
Below are a couple of pictures of the installation.
Back to Nomad Page: