Dutch Bypass Installation:
I really dislike the "Goat Belly" pre-muffler hanging under the bike and decided to install the "Dutch Bypass" replacement to clean up the underside of the bike and get a little more sound out of the exhaust. I ordered the system from Motorshop de Mammoet in Holland since that seemed to be the only option available. I didn't want to gut the pre-muffler since it would be irreversible and I didn't want a full after market system with all the other mods it would spawn (eg. TFI mods, etc.) so this seemed the best option.
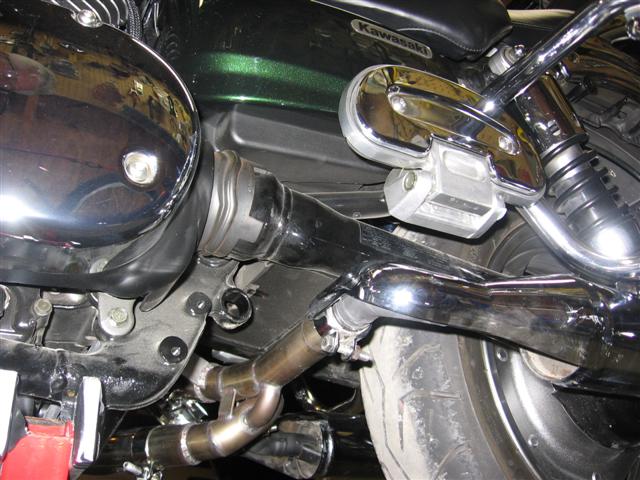
The result is a cleaner look under the bike. The sound is not too much louder than stock as has been discussed on the VRF but definitely louder than stock. It's a nice "potato-potato" rumble.
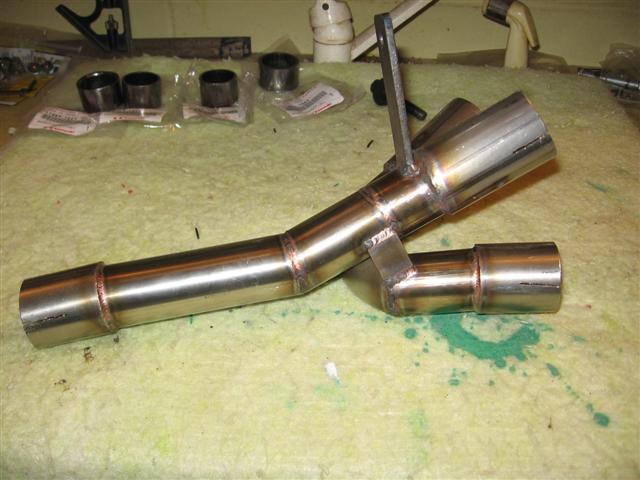
There are some issues with the installation which I'll describe here. First I'll say that the fit is excellent. I didn't have any issues with getting the header pipes and mufflers to fit and the mounting plate for the bypass matched the stock location perfectly. The thing is well made and stout, too stout as I discovered. However, read on.

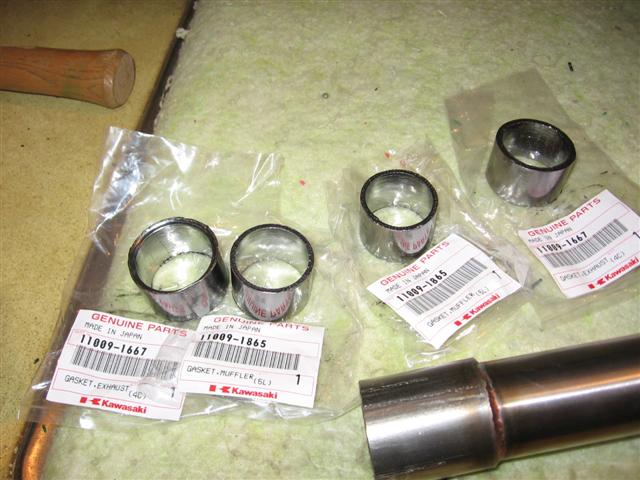

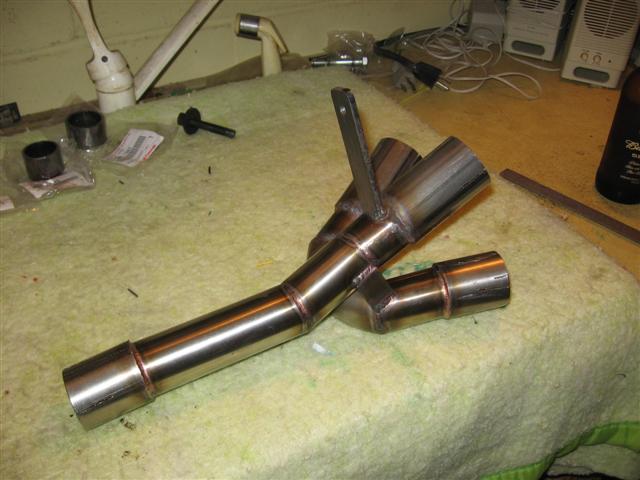
This is what you get in the kit. The bypass is extremely well made from stainless steel pipe and I ordered the gaskets as well. It turned out that since my bike is new, I could have removed the gaskets from the "Goat Belly" fairly easily but this way was easier. There are two gaskets for the header pipe connections and two for the mufflers. The muffler pipes are smaller diameter than the header pipes and hence the two part numbers.
Installation was fairly straight forward. I followed the instructions that came with the bypass and Gadget's excellent comments. Everything fit well. I had none of the "creative verbiage" issues that Gadget had getting the mounting tab to line up or putting the heat shields back on.
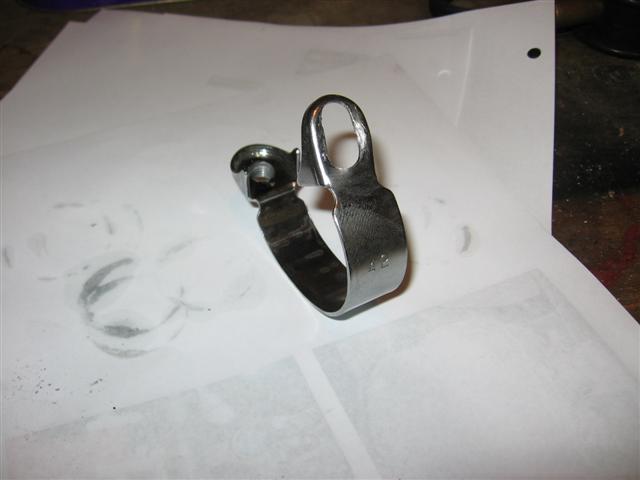
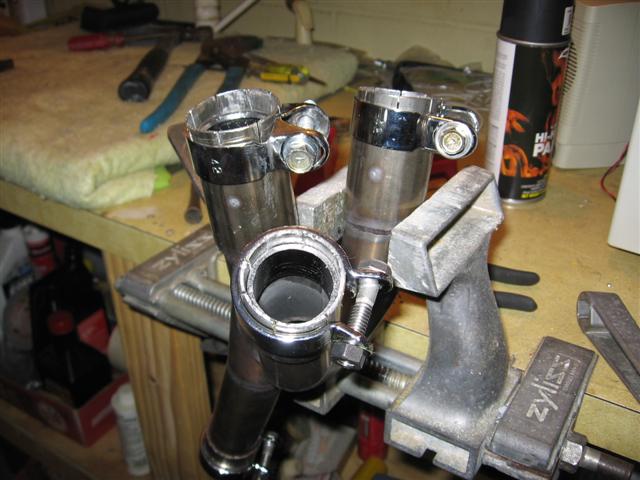
I did discover a problem with clamping the connections. I tightened up the stock clamps and over-tightened one of the header pipe clamps, so be careful or you'll end up with this mess. I managed to salvage this one. Taking the bolt off and inserting a washer so the bolt head won't pull thru will help. Keep an eye one the clamp when you tighten it, though. If it starts to deform, quit.
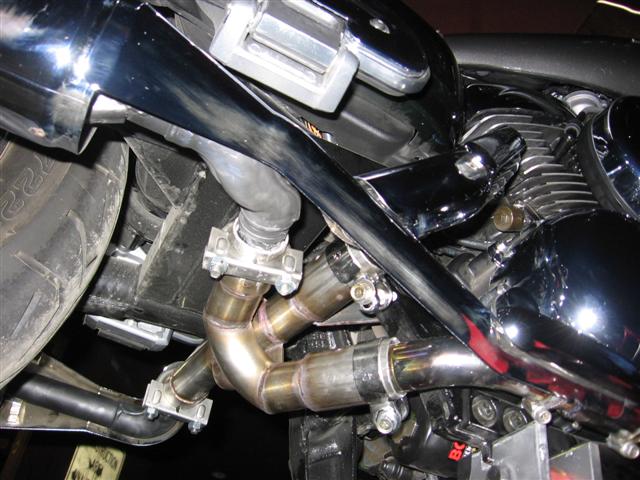
If you look at the bypass where the header and muffler pipes insert, you'll note that the two muffler connections are a much thicker pipe than the two header connections, presumably because of the smaller diameter of the muffler pipes. There are slots around the bypass connection to allow it compress around the gasket to seal the connection. However, the stock clamps are not strong enough to compress these connections because the wall thickness of the bypass pipe connection is just too thick. The header pipe connections are thinner wall thickness pipe but can barely be tightened enough with the stock clamps.
After I tightened the muffler connections with the stock clamps, I was still able to pull out the muffler pipe so I figured there would be a leak and tightened some more. I split one of the stock clamps.
Went to Plan A. I got a couple of 1-1/2" muffler clamps from the auto parts store but they look like crap and the left muffler heat shield won't fit properly with a regular muffler clamp, however, they did tighten the connections.
Plan B. I took off the bypass again after getting a couple of heavy duty clamps from a local bike shop. These are similar to the ones I got.
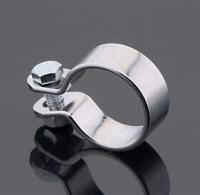 They need to be 1-1/2" diameter and about 1/8" thick
steel. You'll need to get longer (1-1/2", I got stainless) bolts
because you have to open them up a bit to fit over the muffler
connections.
They need to be 1-1/2" diameter and about 1/8" thick
steel. You'll need to get longer (1-1/2", I got stainless) bolts
because you have to open them up a bit to fit over the muffler
connections.
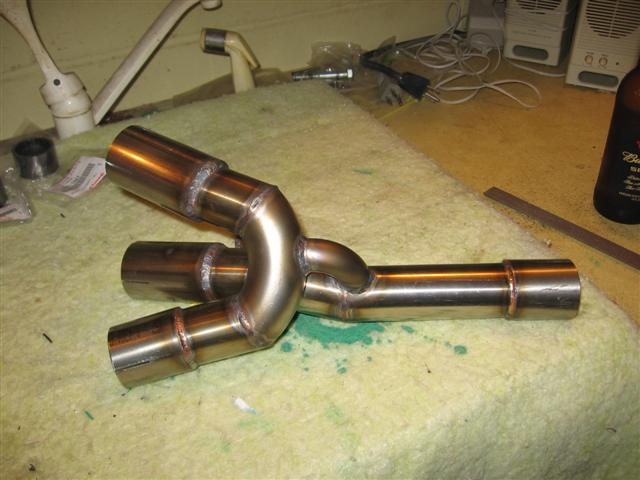
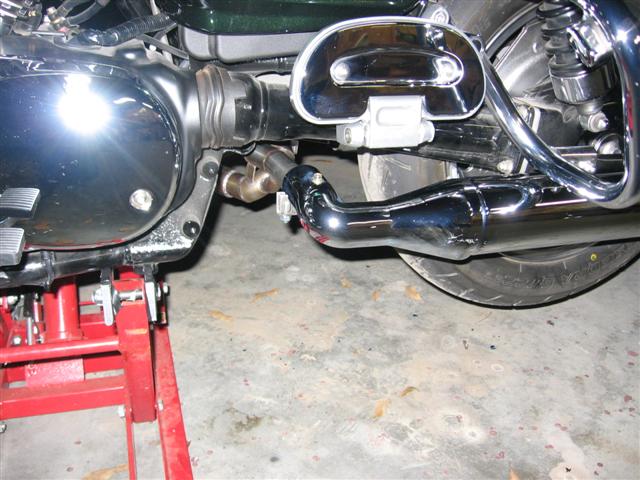
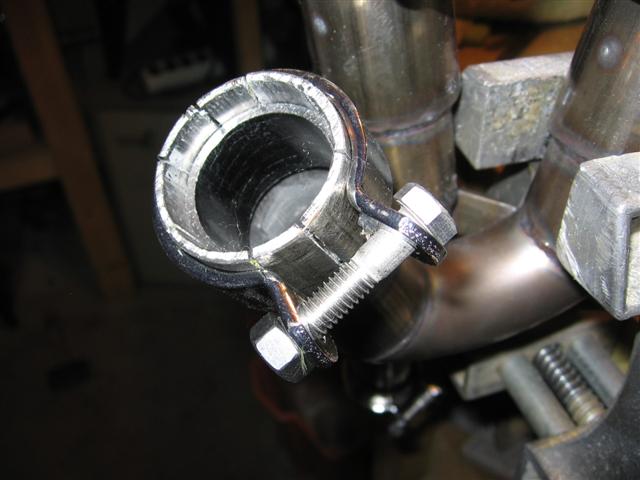
I also hack sawed an additional two set of slots into each connection to make it easier to compress around the gasket. This shows the final fit with the new clamps. Assemble all this before installing on the bike.
Reinstallation was a breeze. All connections are now tight and won't pull out. A lot is due to adding the extra slots in each connection, I think. The heat shields on the left muffler fit fine and everything looks a 100% better.
If you decide to go this route, a couple of things to consider: