Tire Removal and DIY Tire Change:
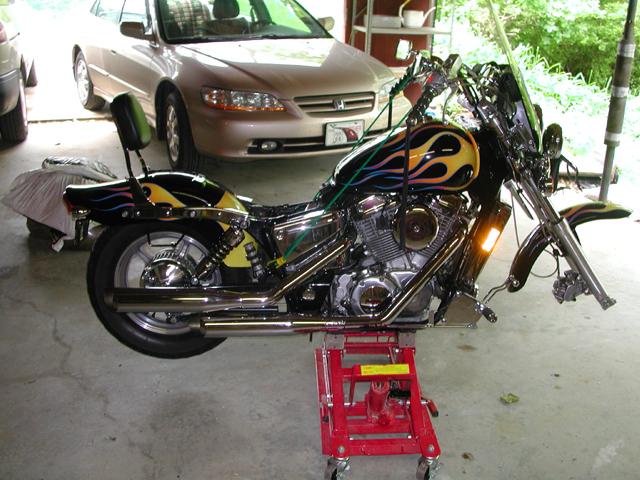
These are just a series of pictures to show what it looks like when you take the wheels off (at the end I added a section on changing your own tires). I took them off to have the tires changed to save some money. I would recommend that you have a jack, though. It makes taking the wheels off a lot easier, especially the rear one. After you take the rear axle out, you need to raise the bike to get the wheel out from under the fender.
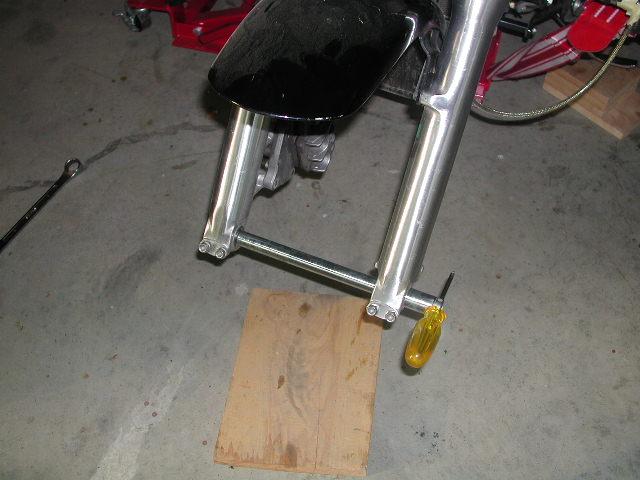
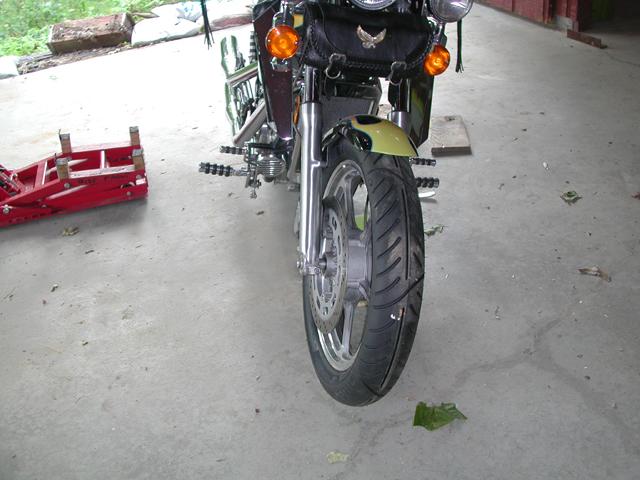
The front tire is easy. Just don't mess with the front brake so you can get the disk back in between the calipers.

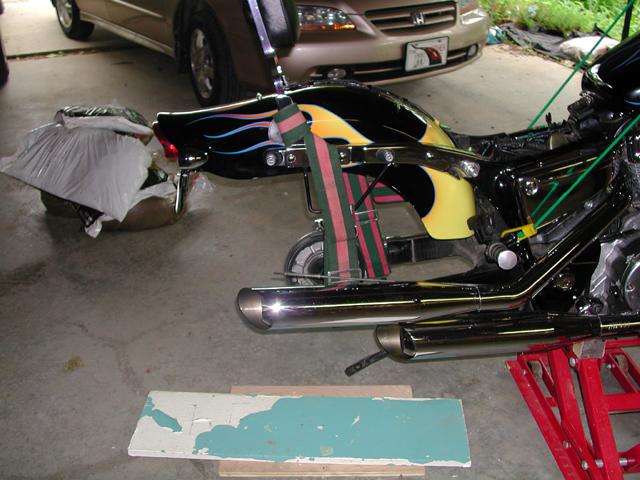
Remove the rear axle with the wheel just above the floor. Then raise the bike to slide it out under the rear fender (that works ok with the stock shocks. More on that below).
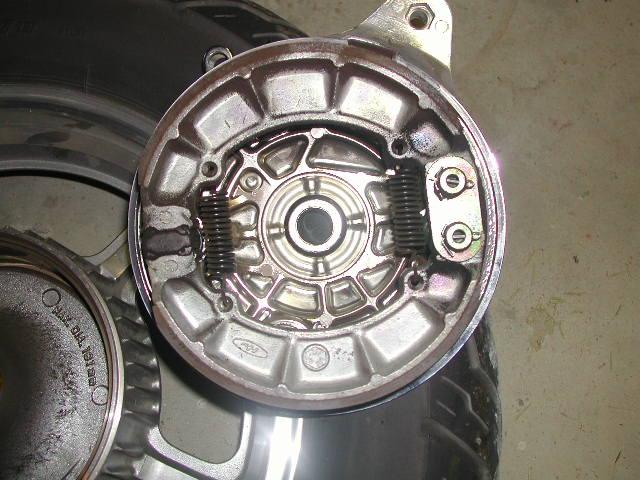
The rear brake drum.
The rear wheel brake side.
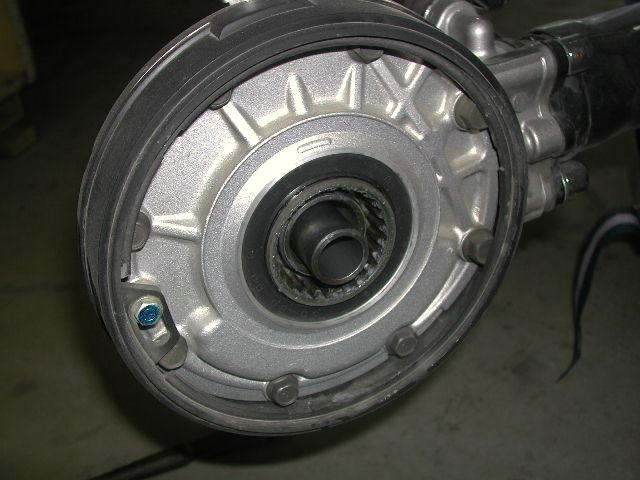
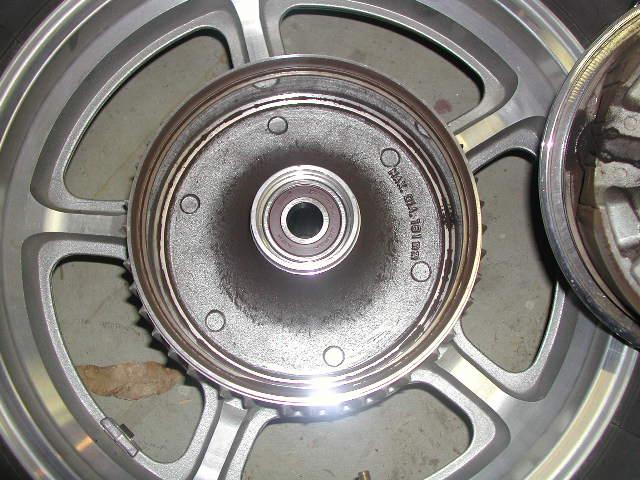
The rear wheel drive. Be sure to grease both gears before reinstalling the wheel.
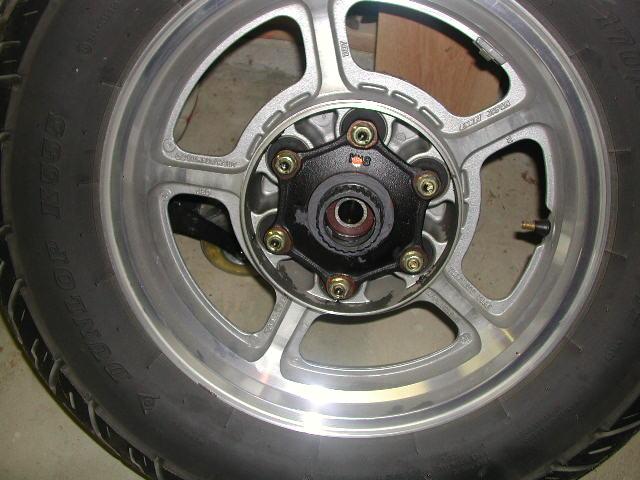
The rear wheel drive side.
An important point came up recently in Post 42733.1 on the SRF. When reassembling the stopper arm bolt make sure to put the cotter pin back in front of the bolt holding it to the brake panel. The bolt does not tighten and will come off without the cotter pin. The guy who posted the message forgot and ended up with a major mess when the stopper arm and break rod wrapped around the wheel.
Changing your own tire:
I have been toying with the idea of changing the tires myself for a while but was always a little worried about it. After all there's a lot riding on those two skinny pieces of rubber. I got the final push, though, when I could not get the dealer or other bike shops in the area to put the new tires on for me since they all said they don't put tires one that you haven't bought from them. I guess we have the fact that we can buy the tires cheaper on internet to thank for that. Well, screw them, I said, I'll just do it myself. There are a lot of good sites on the net where people have posted various home made methods for changing your tires. I have a few on my links page. Below is the setup I ended up with after looking them over. This is the first time I did it and it worked out just fine. I took my time and made sure it was done right. Basically, for the price of one tire change, I now have the equipment needed and can change them whenever I want for nothing.
The following are some pictures of my setup and a few comments on things I learned as I did this. I basically used the ideas I found on the web pages and winged some things as I went along.
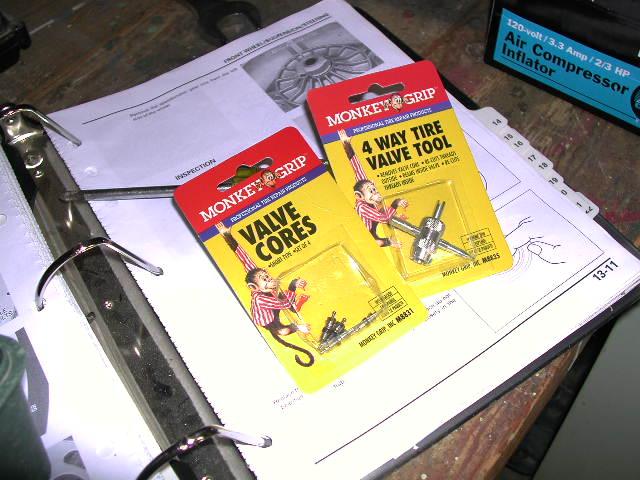
First I got a some new valve cores and a tire valve tool at the local auto parts store for about $3 for the lot. You'll need the valve tool to remove the core to let all the air out of the tire. The weights I got at a local wheel and rim store. Autopart stores don't seem to carry these nor the tire levers. Go figure.
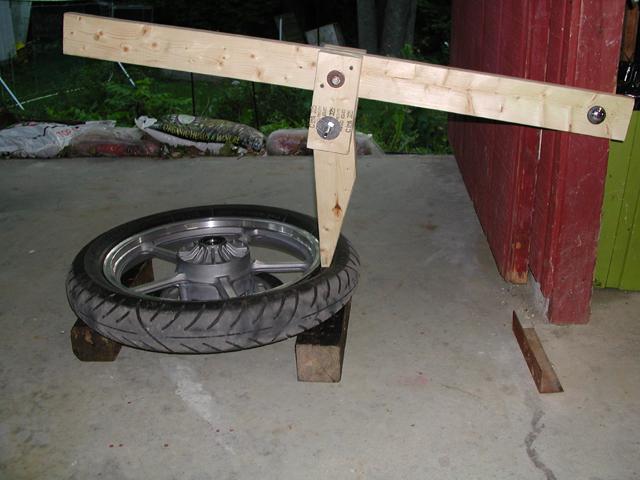
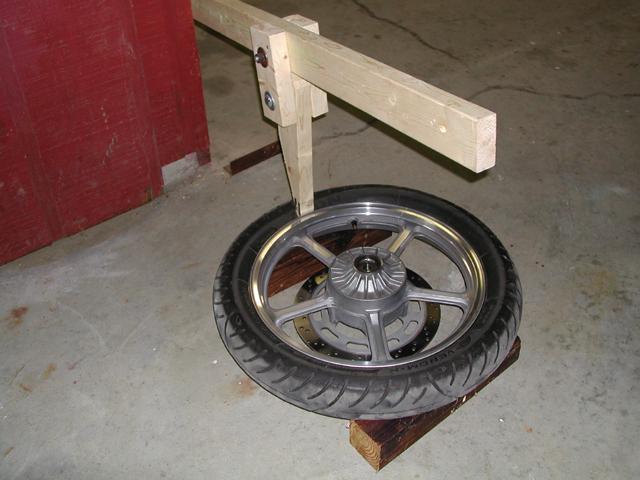
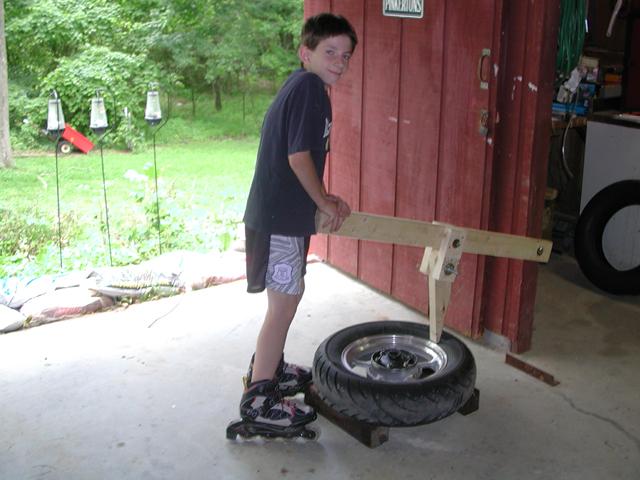
Then I built the bead breaker. This hockey looking setup works like a dream. It took about a minute to break the bead on both sides. I had my 9-year old son push the lever while I turned the tire. The main thing is only to be careful with the brake rotor. A couple of 4x4's work great to support the wheel and protect the rotor. I used 2x4's for the lever but 1x4's would work too and be a lot less bulky. It really does not take a lot of force to break the bead.
This is the tire removal station. Pretty self-explanatory. This is the first tire I ever removed and I learned a couple of things right away. I used two tire irons and a heavy, short screw driver. I cut up a milk bottle into six strips for rim protectors. I got the two tire irons to the stage you see in the picture and then it was a bear to get the next strip of plastic in. Lesson #1: Cut up enough strips for about half the tire perimeter and insert them BEFORE you start prying the tire off. Then, when you get to this stage, you can leapfrog the screw driver and a tire iron until you get about 1/3 of the top bead off the rim without problem and the rest of the bead will just pull off by hand. Lesson #2: Make sure that you only get the top bead unlike yours truly who managed to pry up both tire beads with the first tire iron and dinged up the rim a bit by pushing too hard. The damage was not bad and I filed it down to where you can't see it. (Once I got the tire off and inspected the rim, I noticed that I did a hell of a lot better than the dealer who changed the tire the last two times. There was a strip about 6" long that they had filed to cover up their f$$$$-ups and dings. Another reason why I'll never go back to the dealer for a tire change.) One thing that really makes it easy is to make sure that the bead on the opposite side from where your prying is seated in the center of the rim. This gives enough "slack" on the side where you're working to the point where you don't have to use much force to pry up the bead. Once you get the top bead off, again insert enough rim protector strip for about 1/3 of the perimeter and start prying. I found that the screw driver worked much easier and after you get about a 1/3 of the lower bead off, the rest can be pushed up by hand. Lesson #3: Use lots of soapy liquid. Everything will slide off a lot easier.
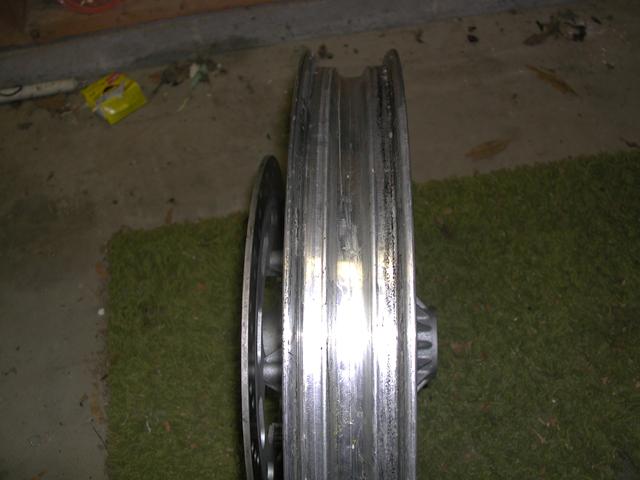
Once you get the tire off, inspect the rim. There will be a lot of crud in the bead seating area which you'll need to clean off to make sure the new bead seats properly. I used some mineral spirits and it cleaned up real nice.
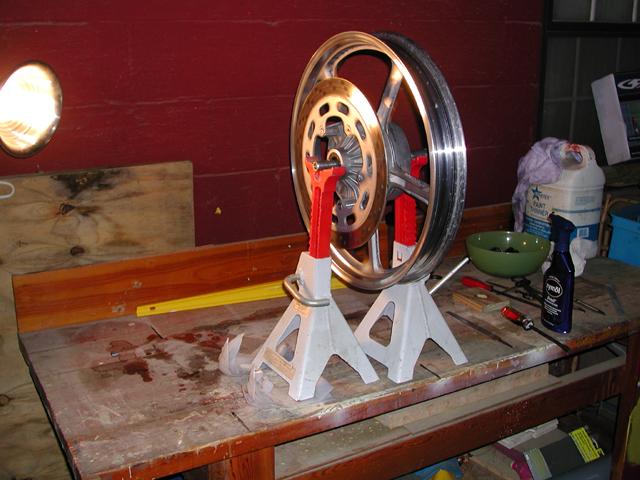
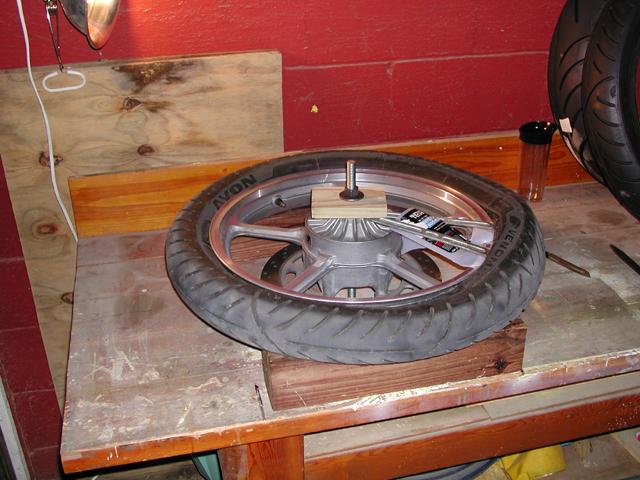
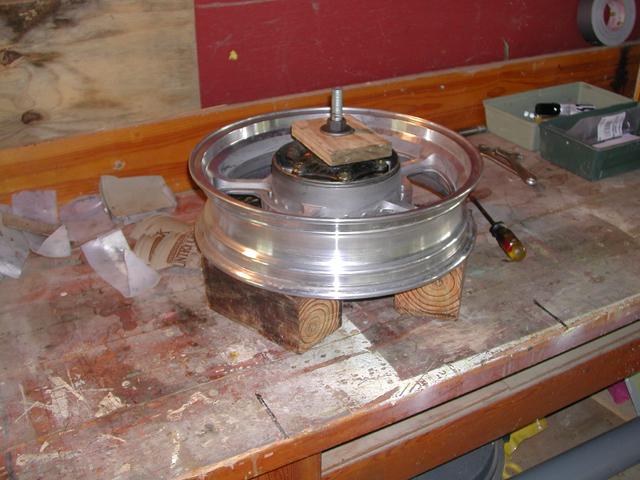
This is my tire balancing station. Pretty sophisticated, huh! Works like a champ. I checked the balance of the rim to find the heavy spot but it was all over the place so I guess that means it's balanced. There was a ticking noise when I spun the rim so I figured the bearings where suspect, however, after closer inspection, it turned out to be the speedo gear retainer flopping around as the tire turns. I did the check of the rim but really didn't need to because the Avon tires did not have a mark on them to indicate the light spot. This was for the front tire. When I installed the rear I noticed a sticker with a handwritten letter on it and figured this may indicate the light spot. No basis for that assumption but in absence of a mark on the tire as good a theory as any. The manual says to put the spot on the tire if there is one next to the valve.
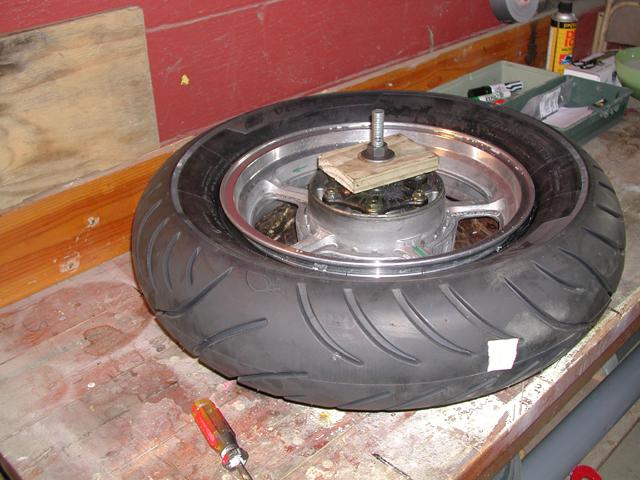
Putting the bottom bead on. Again use soapy water to lubricate things. Don't soak it as you don't want any water in the tire throwing off the balance. This part is fairly easy. The top bead procedure is the same. The only thing to remember which will make the installation really painless is that when you get about 1/3 of the top bead on and levering gets a little hard, push down on the part of the bead already installed so that it sits in the middle of the rim. Again, this gives enough slack to make popping the rest of the bead on a snap.
Before you get to this stage, you need to seat the bead onto the rim properly and inflate the tire to the correct pressure. You need to do this at the gas station. I bought a little compressor big enough to pressure up the tires but it does not have enough volume to fill up and seat the bead onto the rim. I took the tire and rim to the gas station and pressured up (without the valve core) and you get two distinct pops indicating the bead is seated properly. Check the raised lines around the tire near the rim to make sure of an even seating all around. Put in the valve core and pump up to operating pressure. You can do this right the first time by putting on some soapy water around the rim or do it dry because you're in a hurry and then have to go home, break the bead, go back to the gas station and do it again properly! That was Lesson #4.
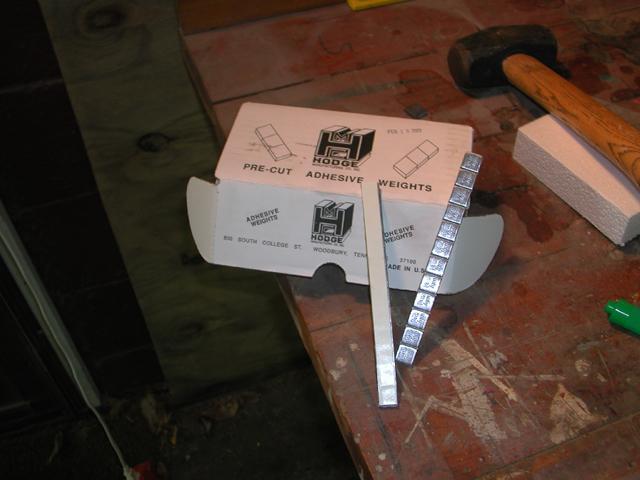
To balance the tire I ended up with 4 weights of 1/4 oz. each. Must have lined up both heavy spots! That was it. I reinstalled the tire and it was time to do the rear.
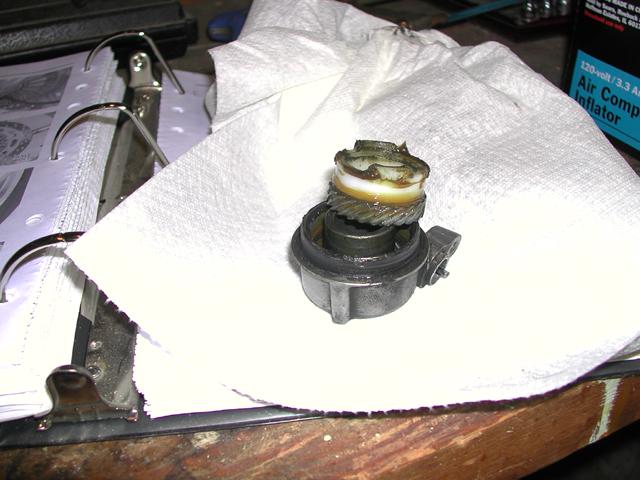
This by the way is the speedo gear box. I cleaned and regreased it before reinstallation.
Getting the rear axle out was a little involved because I installed the 412 Progressive shocks and lowered the rear end. The axle was now in line with the upper muffler. With the stock shocks, the axle just cleared below the muffler. I therefore needed to either raise the muffler or take off the shocks. I opted for removing the shocks as the more painless way.
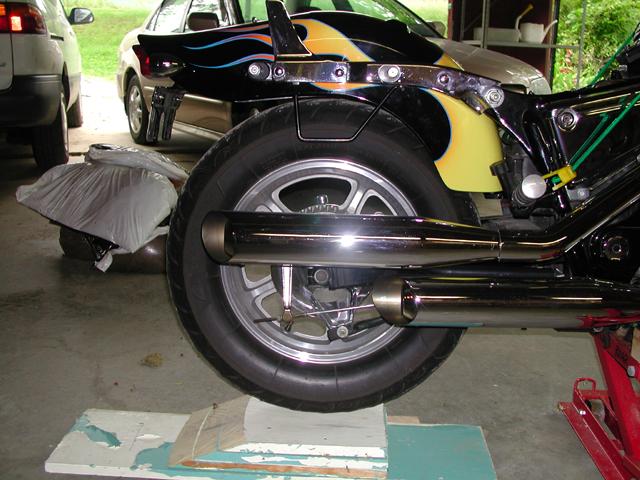
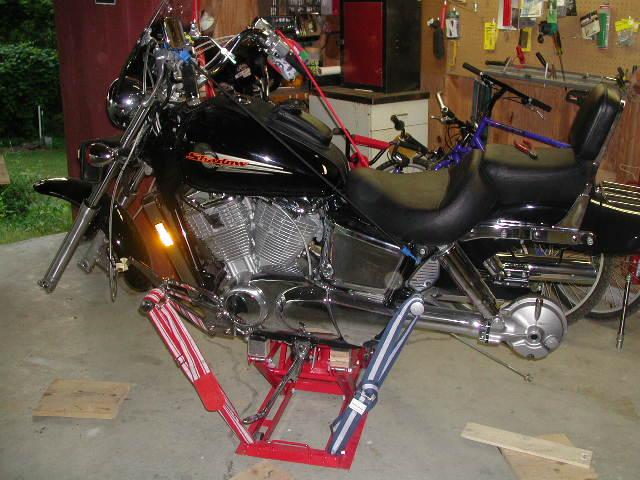
This is where you really need a jack. Support the bike so you can take off the shocks and then raise it to where the axle clears the muffler.
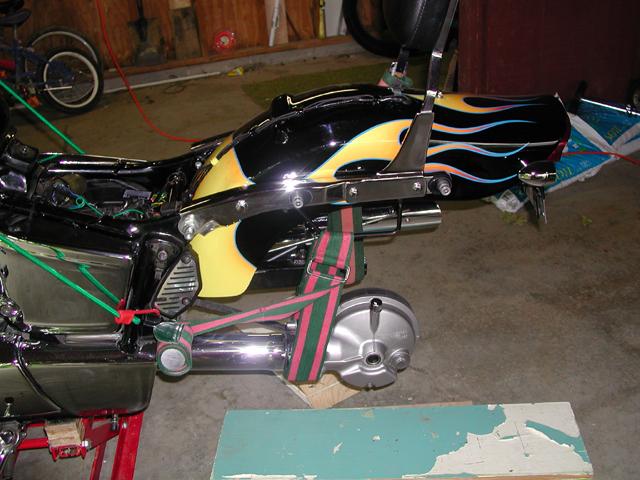
I used a couple of luggage straps but anything that's fairly strong and non-flexible will work. Pull the tire as described above or in the manual.
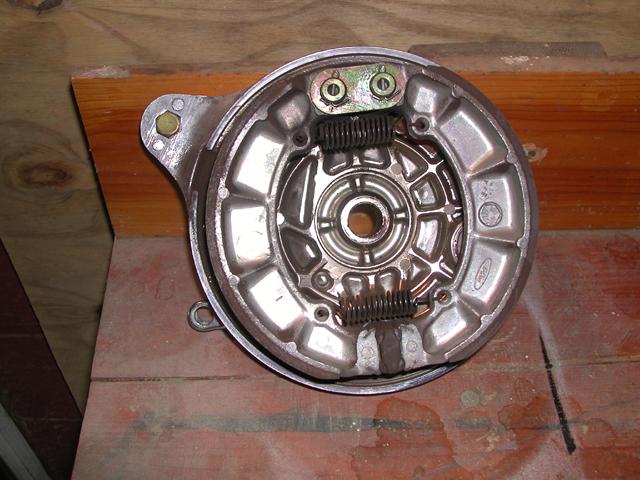
This by the way is the brake panel. As you see, the brake shoes are still in good shape after approx. 25,000 miles.
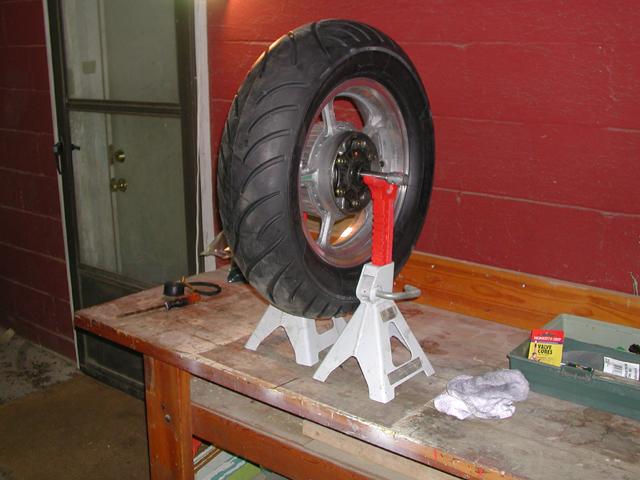
Trying to break the bead with the rear tire supported as shown will not work because the 4x4's are supporting the tire and not the rim (even with his and my substantial weight combined...LOL). The rear tire is a lot wider than the rim and breaking the bead if you don't support the rim will be difficult. I ended up cutting the 4x4's into three 7" long pieces to support the rim and it worked without difficulty.
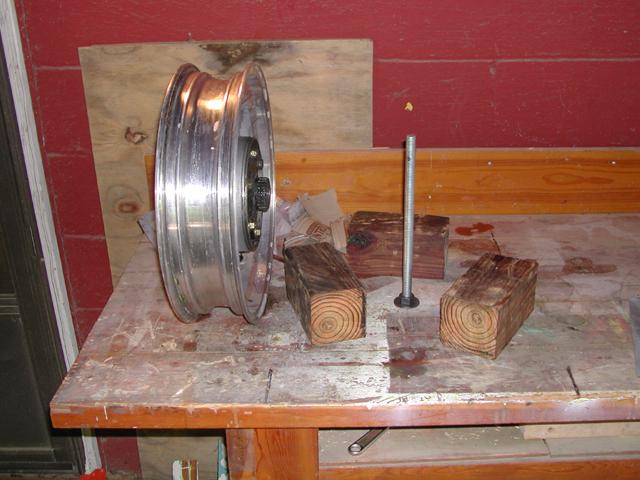
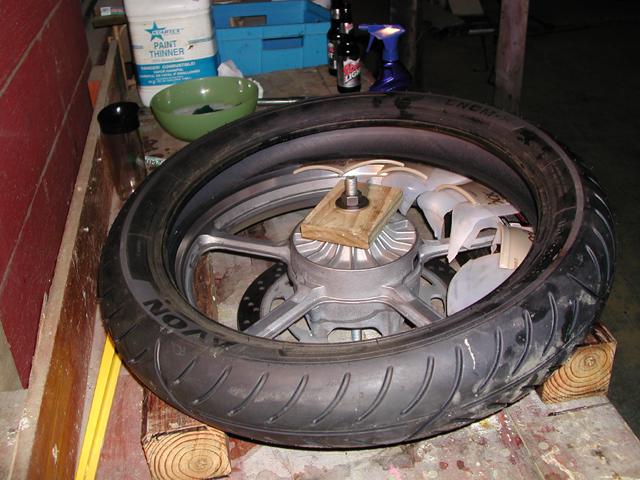
This is the support for the rear rim during removal and installation. Three 7" long pieces fit exactly if you have the gear side up. Removal of the tire is the same as for the front and went a lot quicker (and with no dings on the rim!) because of my experience with the front tire.
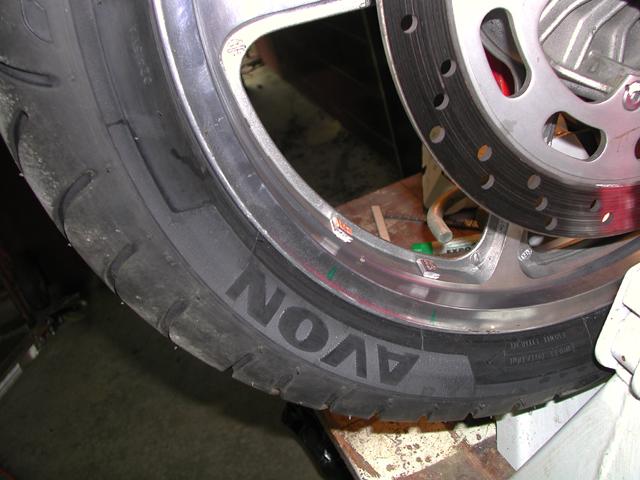
You go thru the same cleaning and balancing act with the rim as for the front and then install the tire in the same manner as the front. Again, it went a lot easier because of the things I learned with the front. Critical again is the bead lubrication with soapy water and pushing the bead into the center of the rim. I never mentioned the directional arrows on the tires but obviously you install the tires to match the wheel rotation on the bike.
Seating the bead was again done at the gas station and the tire was ready for balancing.
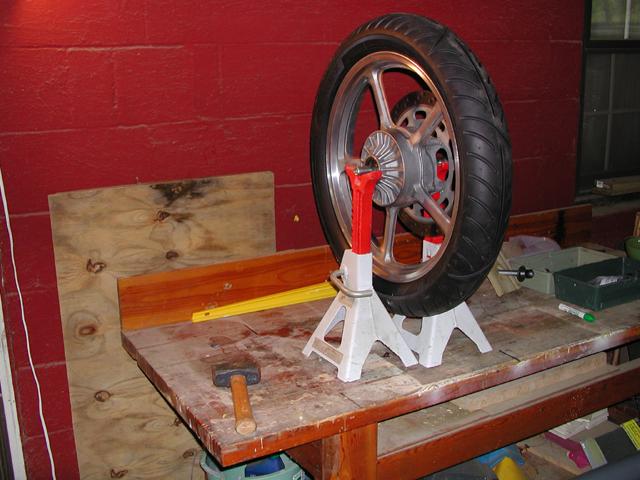
Same high-tech balancing and she's ready to reinstall. Installation of the tire is the reverse of installation so I won't detail it here.
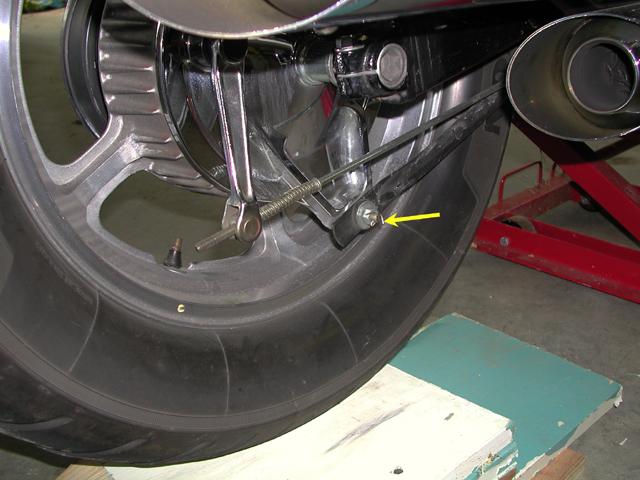
This is the cotter pin I was referring to above which you must not forget to install.
And that's it. Go get a beer and admire the new rubber!