Installation of Headwinds Headlight and Lightbar
and 16" Ape Hanger Handlebars:
I've always wanted to try ape hanger bars just to see what they feel like. Lots of people
I talked to swore by them and said they were more comfortable. Other, however, did
not like the look, etc. etc. But, like the flame paint job, it's not a necessary thing but I
just had to try it...LOL. So, I got some 16" bars and went to work.
During my cruising on the net, I also came across the great looking installation at the
Headwinds site (they make the sleek looking headlights) where they had installed
a new light bar on a Spirit. It looked too good to pass up. So, I got some more
parts and this page shows what I ended up with.
The ape hangers I purchase through a local bike dealer for $44. They are Custom
Chrome bars without the knurls or holes for wiring. I drilled the bars myself and ran
the wiring through the bars.
The control cables will needed to be about 7" longer than stock
except the clutch cable which I ordered 8-1/2" longer because of the stiffness of the
cable. I ordered all the cables from MotionPro except the brake line.
I tried local dealers for the MotionPro cables since they seemed to prefer going through
dealers but the dealers all said to order direct since they didn't want the
hassle if they ordered the wrong length because I had messed up the measurements.
As it turned out, just call the number on their web site and they'll be happy to get you
what you want. The guy I dealt with was very knowledgeable and they got the order
out in about 4 days. It really not difficult to get it right. I took off the switches and
disconnected the cables from the switches, mounted the apes in position, positioned
the switches on the bars and then measured the additional length needed from the
end of the cable to the switch. Keep in mind routing and turning clearances. The
brake line I got from Dennis Kirk. They sell the banjo fittings and brake line
separately and they simply bolt together. I got two chrome 35 degree banjo
fittings (10 mm) and a 47" Goodridge brake line. Their metric catalog has all the info.
I bought all stainless cables and brake line.
The Headwinds parts are all excellent quality and fit well. Wiring is simple and ties
to the stock harness. The spot lights will require some additional wiring if you don't
have a light bar already. You'll find some sites on the web that will help with that.
I had an National Cycle bar and just used the wires from that. The turn signals
have only one wire (ground is through the mounts) and ties into the stock turn
signal wires. You won't need the ground or running light wires although I used the
turn signal ground wires for the spot light ground..
Now to business:
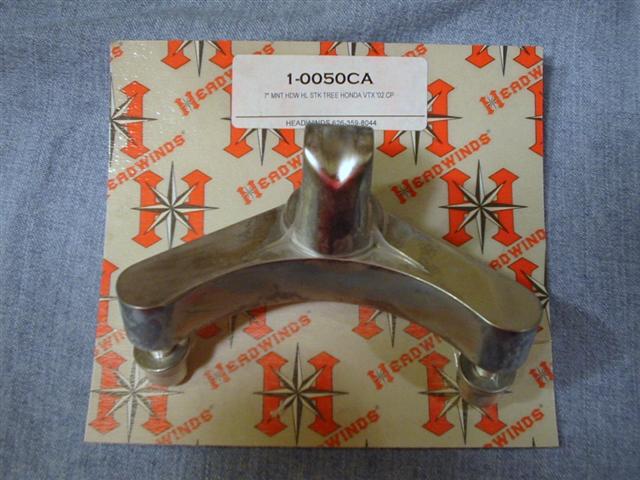
Headlight Parts:
These parts are needed if you only do the Headlight installation.
Headlight Bracket and Mount Headlight Mounting Bolts
See the Note below!
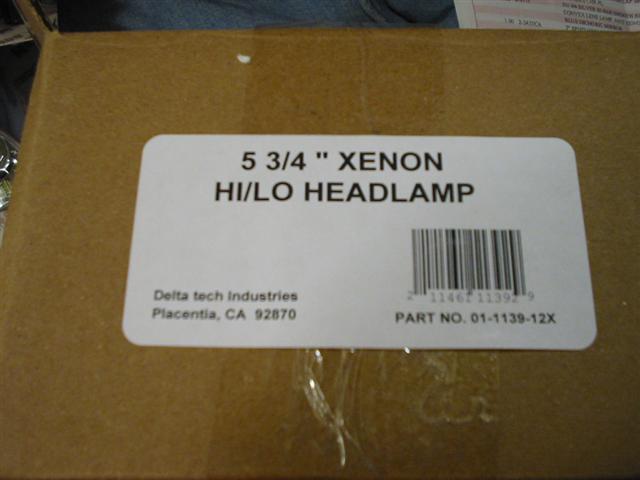

Lamp Details. There are various options available. I chose one of the cheaper ones.
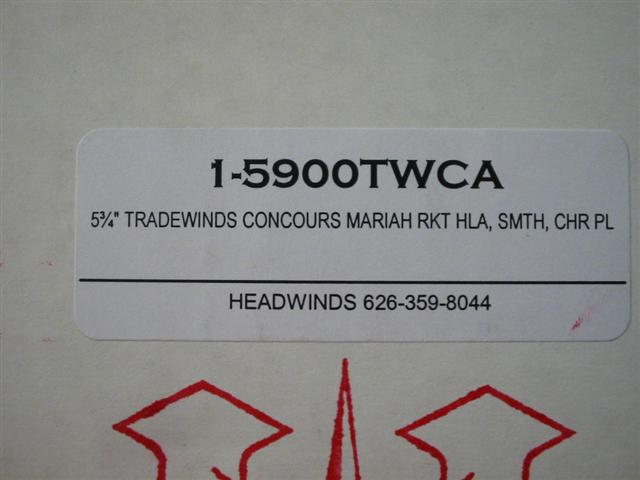
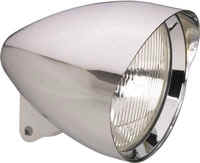
Headlamp Bucket. I chose the Tradewinds because they are cheaper. Quality is still very good.
Light Bar and Turn Signal/Spotlight Parts:
You'll need these if you install the light bar and spot lights/turn signals only.
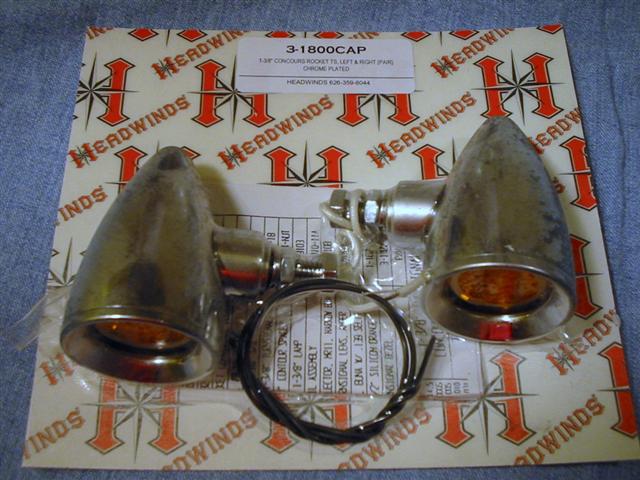
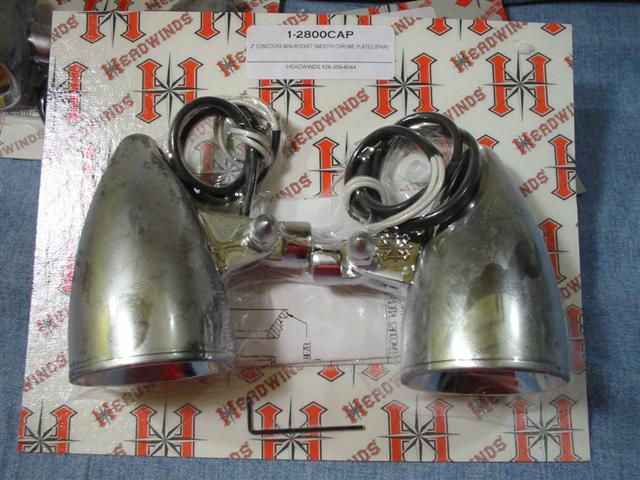
Turn Signals Spotlights
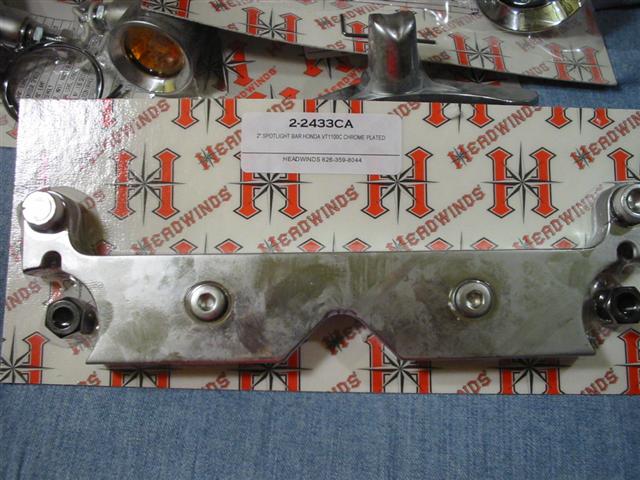
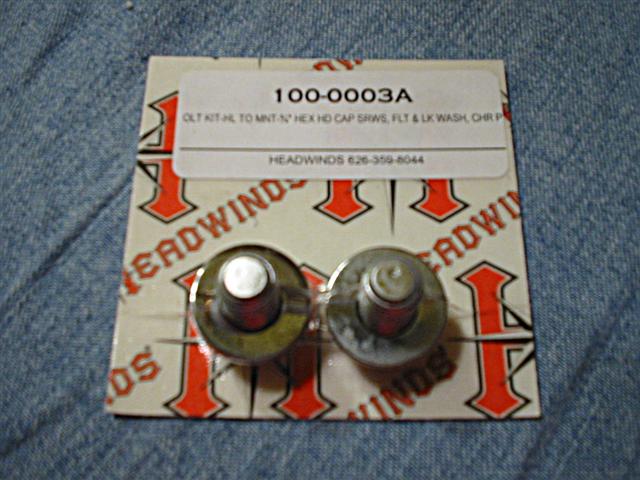
Lightbar (Note the two black coupler nuts.) These replace the nuts on the stock headlight
and then allow the light bar to be fastened to the underside of the lower triple tree. Not needed
if you install a new Headlight too.
Light Lowering Kit:
Note: These parts are not needed if you don't have a windshield. They lower the spot
lights and turn signals so they don't interfere with the windshield.
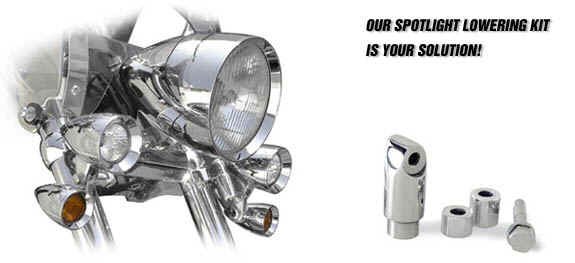
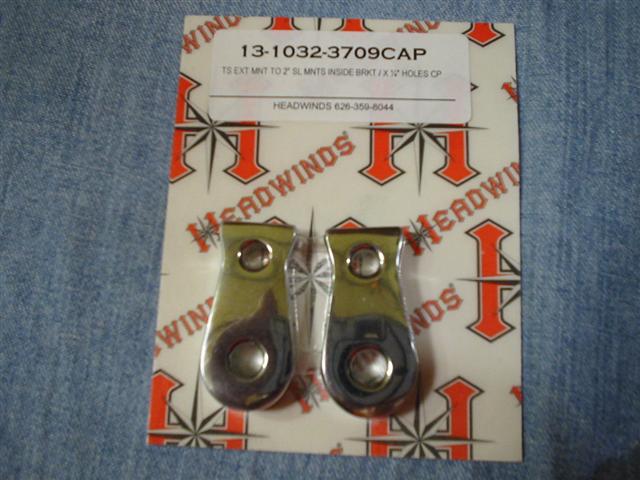
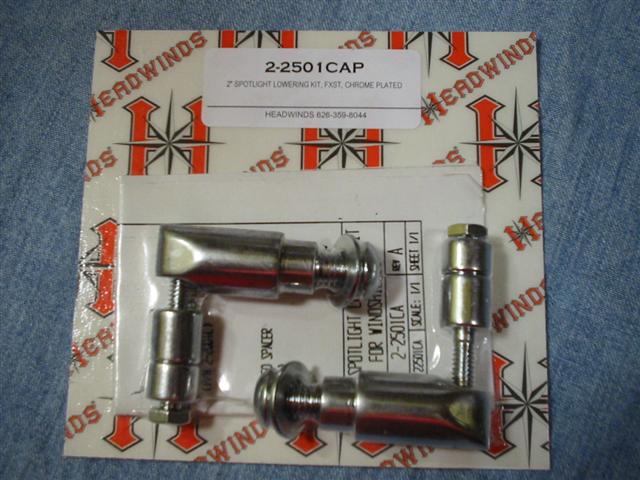
Turn signal mounts to go with Lowering Kit Spotlight Lowering Kit.
Important Note:
If you plan on doing both the headlight and lightbar, you need to make sure they send
you the right bolts to allow the light bar to be bolted to the headlight bracket through
the lower triple tree. It will either be an M8 x 1 x 45 or an M8 x 1.25 x 45. These
specifications are important since it will depend on the headlight bracket they send you.
They sent me an older bracket which had the M8 x 1, which is a fine thread metric bolt
and was the thread Headwinds machined into the headlight bracket. The newer brackets
have the more standard metric thread pitch of 1.25 (ie. M8 x 1.25)
which is is what Headwinds uses now to be consistent with the threads for the other
bolts on the lights. They did not supply any long bolts with the initial order so be sure to
ask for a set. They did finally send the right ones when they realized that my bracket
was the older version with the fine thread. It was an oversight by Headwinds but they
did work quickly to help me out. I think this should apply to most Shadows and VTX's
because the bracket is actually for a VTX. Just be sure to ask them to check that they
send the bolts and that they match the thread in the light bracket and are 45mm long.
I was impressed, however, despite this small oversight with the service provided by
Headwinds. I dealt with Tony and everything came thru as promised and emails were
answered promptly. They provided great followup service and did their best to sort out
the bolt problem out quickly. A good company to do business with.
Ape Hanger Installation:
The bars fit without problem. The hard part was obviously running the wiring thru the bars. Once you
get the switches located and drilled for the locator pins (more on that later), disconnect the wiring
harnesses under the tank and remove the bars complete with switches. I wrapped masking tape
over the entire bar just to protect from knicks and scratches. Below are some pics on how I did it.
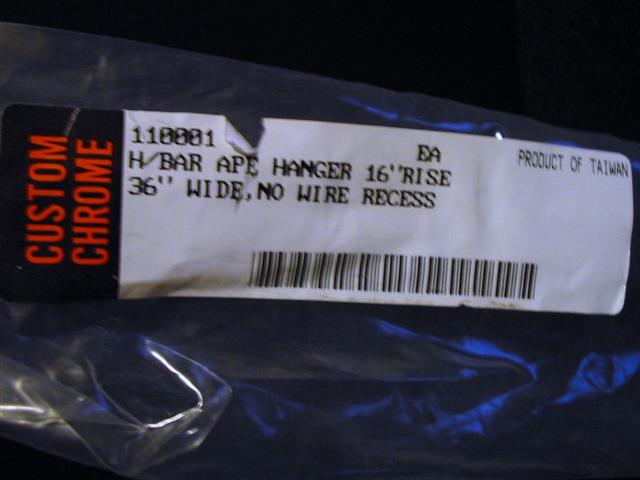
Custom Chrome Bars I bought through a local dealer for $44.
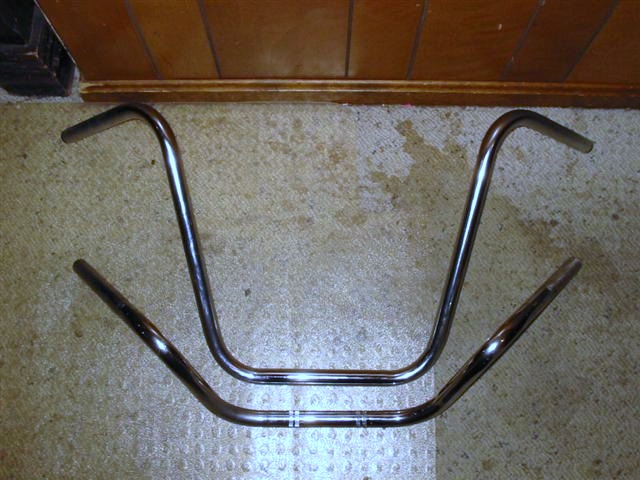
Comparison with stock bars.
Note the difference in the grip length between the stock and new bars. The new bars are about 1-1/2"
shorter so that the grips are only contacting about 2/3 of their length. I think I will be ok but it's something
to keep in mind when getting new bars.
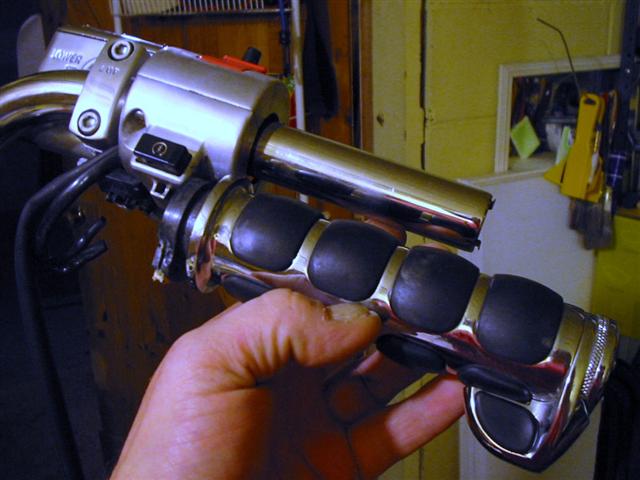
This shows the overhang of the grips on the new bars. The throttle side is probably not a problem because
of the throttle sleeve but on the clutch side, the contact (glue) area is less. I'll see how it works out.
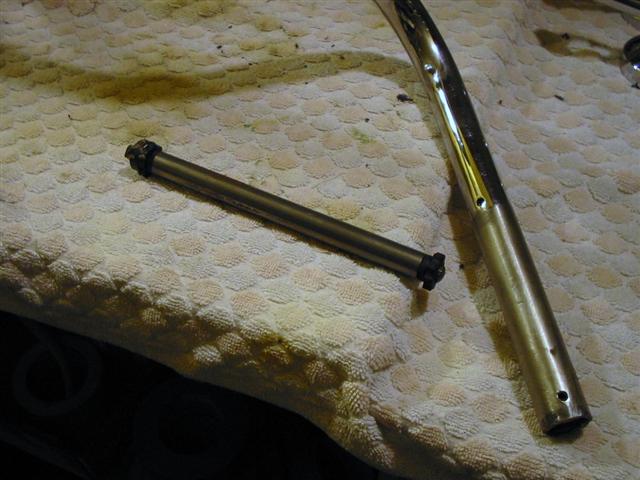
These are the stock handlebar weights which you should install to reduce vibration. I bet not many of you
know these were in there.. I certainly didn't. The stock bars have holes near the end for clips to fit into to
but they work without them too. I just pushed them into the new bars.
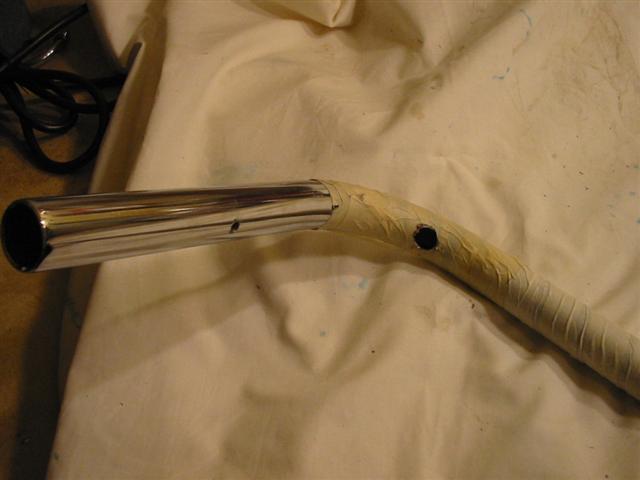
This shows the holes I drilled on each grip section for the switch locator pin and for the wiring. The easiest
way to position the locator pin hole is to wrap the bar with masking tape. Mount the bars on the bike where
you want them and then loosely put on the switches and position them. Then tighten the switch bolts and
there will be an impression of the pin on the tape which is where you need to drill. Check it twice. I
needed to redrill one side. The next series shows why.
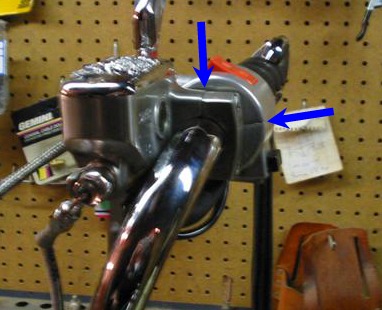
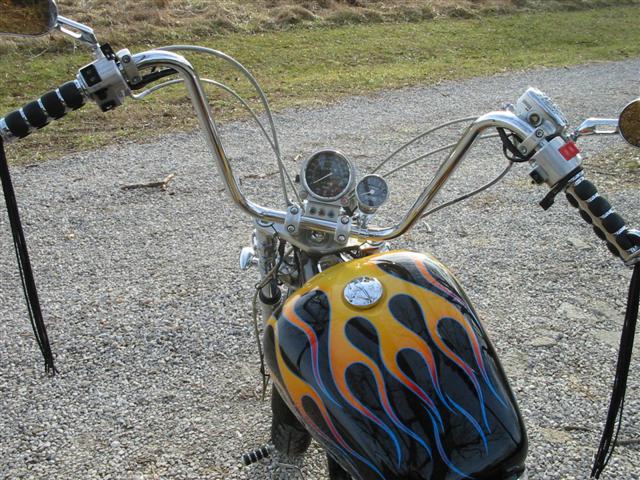
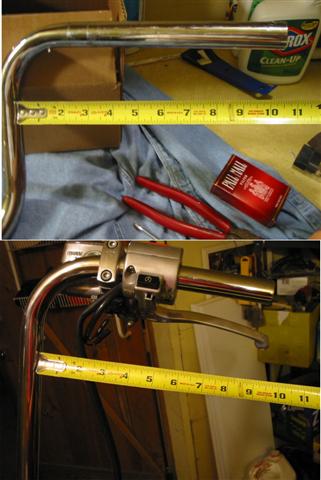
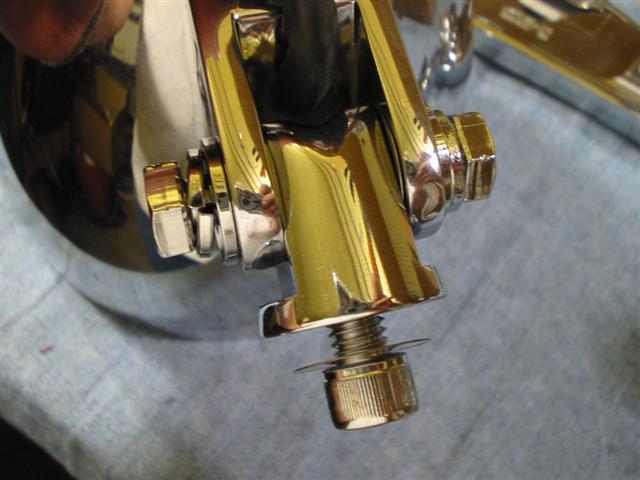
The best way to get the throttle side right is to line up the joints on the brake switch and control switch as
shown. Steer the bars all the way to the left and set the brake clamp so the joint is basically vertical.
This also makes the brake fluid reservoir sit in a horizontal position for fluid checks and changes. Then
set the switch so that it's joint is more or less at 90 degrees. I initially had the switch rotated further down
(to the right in the picture) to about 110 degrees or so. This was a little more comfortable to reach the
start and kill switches when sitting on the bike. However, when I installed the throttle cables
(7" longer than stock), they were unduly tight at the elbow connections. So, the solution is either to get
longer throttle cables (about 2" is my guess) or rotate the switch back to 90 degrees as shown.
The latter took care of the problem and, anyway, it's not a switch you should have to access during riding
so I feel it's fine now.

As you see, the cables line up fine now without undue stress. The clutch side seemed less critical but I still
ended up having the same joints at about 90 degrees but turned a little further towards me (as I sit on the
bike) to make it more comfortable to reach the switches. You can't rotate too far because then you get
the cables too tight on that side.

This shows the exit holes for the wiring. The throttle side is easy since there are only about 7 wires. The
clutch side is a bear because there are about 20 wires. Again, measure everything on the bike and don't
cut the wires before you're sure of the lengths. I ended up splicing about 10" to each wire once I ran them
through the bars. Measure on the bike because you don't want to be too long or too short. Be careful
when pulling the wires through the bars because the burs from the drill holes may cut the wires. I used heat
shrink tubing and electrical tape to protect the wires. Find an electrical supplier and buy the heat shrink
tubing in 4' lengths or so and in various diameters. It makes a neat job and protects the wires. The tubing
also makes a great waterproof protective tubing for your wiring going under the tank to the harness.
The exit holes need to fit between the risers so measure carefully.
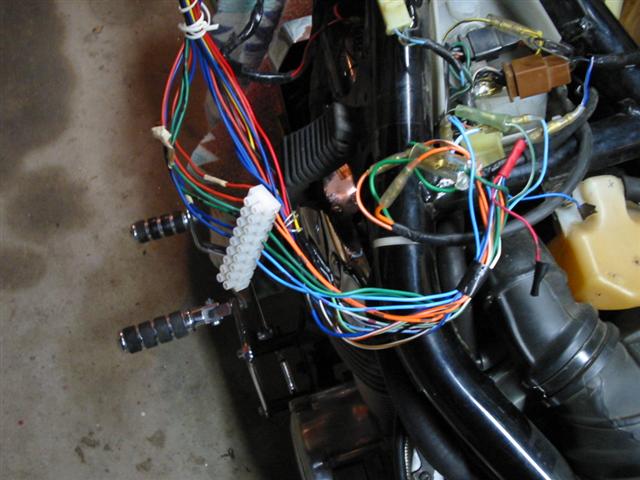
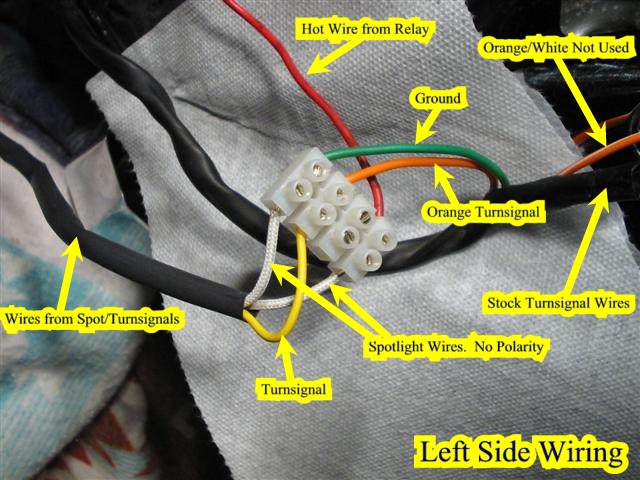
Get one of these connector blocks at a local electrical supplier. They will help in trouble shooting the
connections before the final installation and permanently soldering the connections. Before you cut the
wire harness on the clutch side, mark the wires. There are several that have the same color. I have a
feeling it doesn't matter which of these same color wires connect together because everything worked
the first time but maybe I just got lucky too!

This is a close-up of the fitting and brake line cable. I bought it through Dennis Kirk. I got two 35 degree
banjo fittings (10 mm) and a universal 47" brake line (Goodridge). Installation worked fine once I cleaned
out the master cylinder.
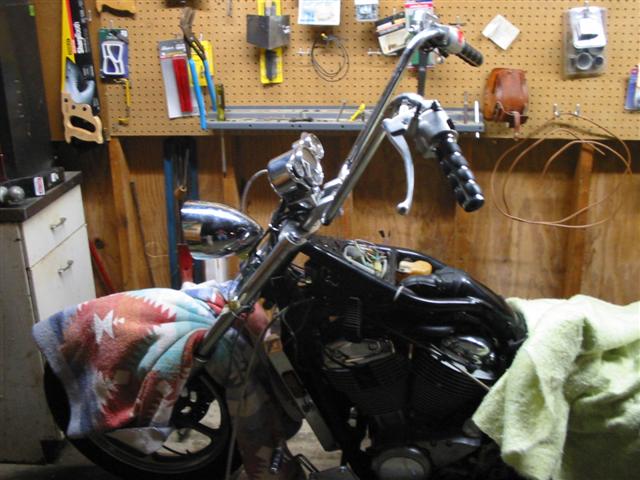
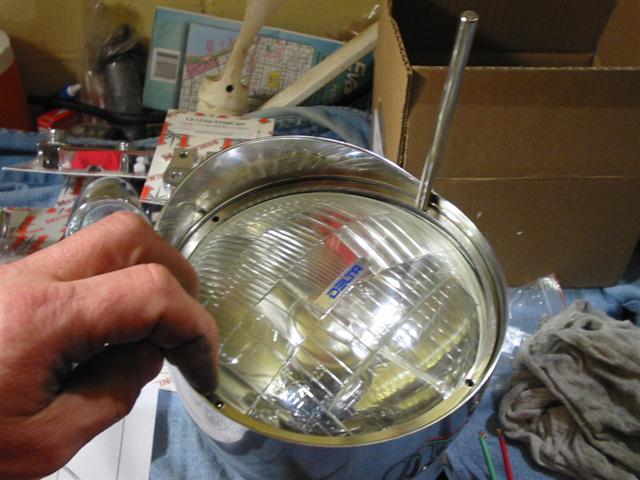
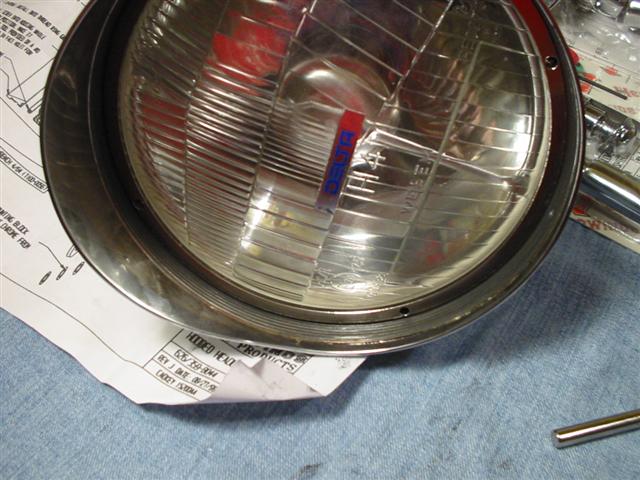
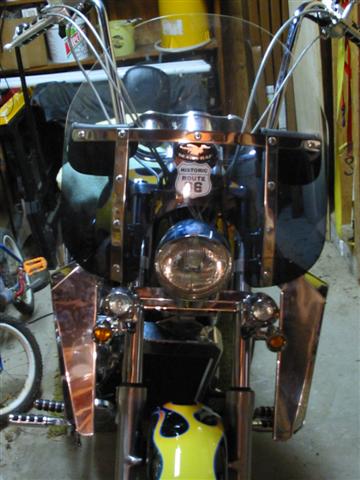
Trial fitup with the bars and headlight while waiting for the bolts and cables. I initially ordered a 7" headlight
but changed to a 5-3/4" and am glad I did. It looks a lot better and sleeker. I saw a picture of a Spirit
with a 7" light on the Cruiser Customizing December Calendar and it just looked too big.
But that's a personal decision.
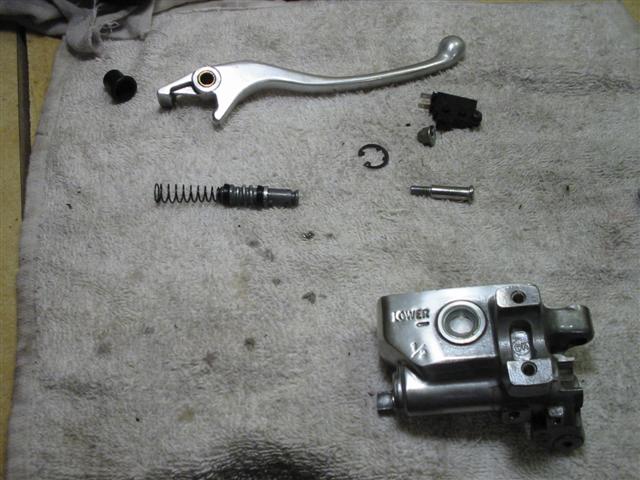

For those that are interested, this is the brake master cylinder taken apart. It needed a cleanup since
moisture had gotten into the system. A retaining ring removal tool is useful but I managed to take it apart
with a couple of nails, cheap bastard that I am....LOL.
Light Installation:
The headlight wiring is straight forward. The headlight lamp comes with a connector exactly like the stock
one and you just connect the wires to the corresponding ones on the stock harness. Just be sure not to
mix up the high and low beam. Here a some pics of the light assembly.
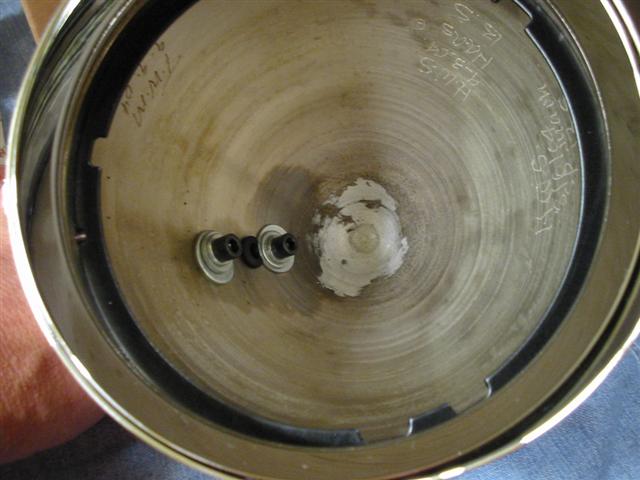
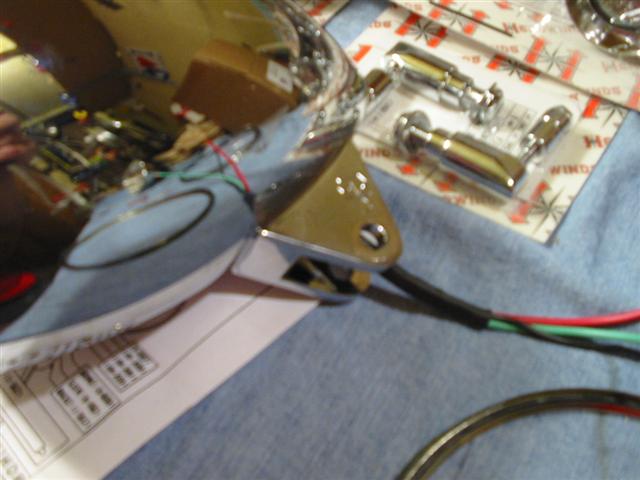
Inside of the light bucket with the connection to the mounting bracket. A unique touch is the inscription of
the initials and date of the fabrication.

You'll have to take the headlight apart to install the lamp. Make sure the black ring is seated properly or
the lamp will sit skewed and not install properly.
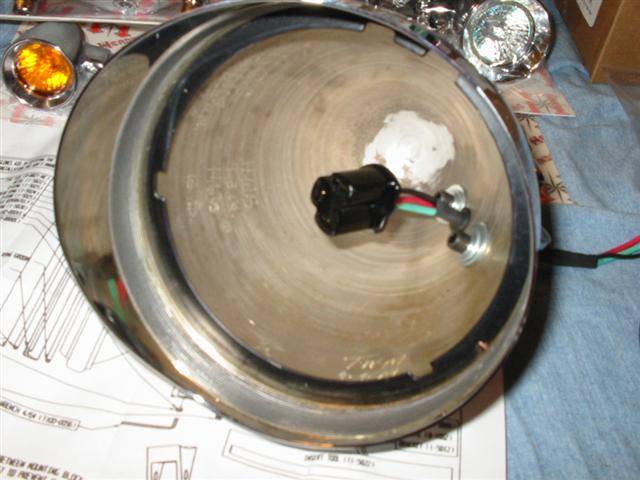
The supplied connect which you have to feed thru the wire hole. I used some shrink tubing for protection.
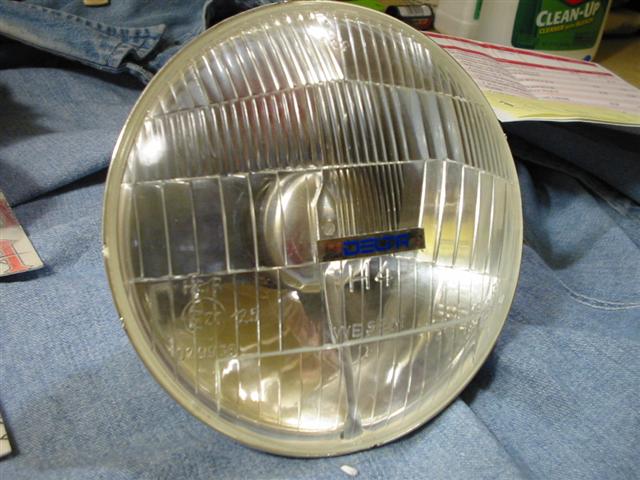
Installation of the lamp. Instructions are fairly obvious. Just be sure everything is seated and don't force things.
Don't forget about the O-rings. They supply an installation tool to install the retaining ring for the lamp.
Once the retaining ring is all the way on and tight, install the bezel.
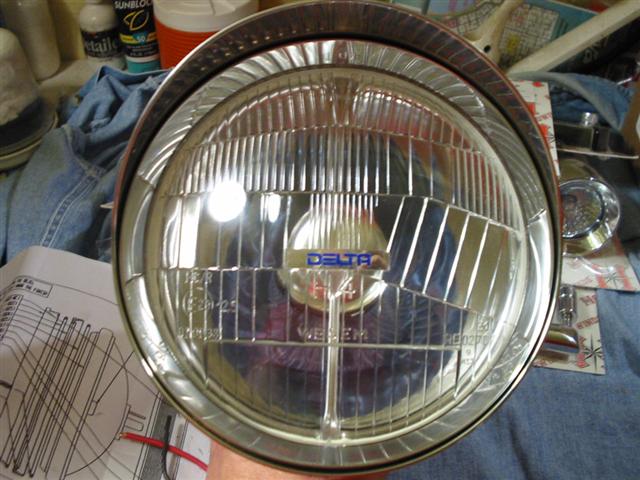
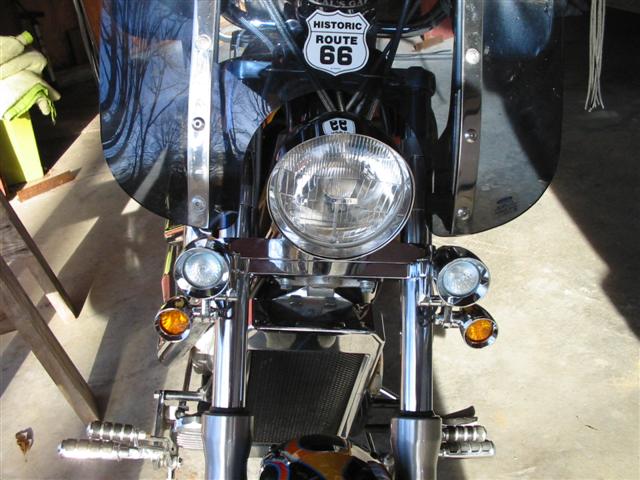
Final look with the Bezel installed. Notice no bolts or screws for a nice clean look. Final alignment of the
light is done with the mounting bracket and post. Much easier than stock.
Here are a few pics of the light bracket assembly.
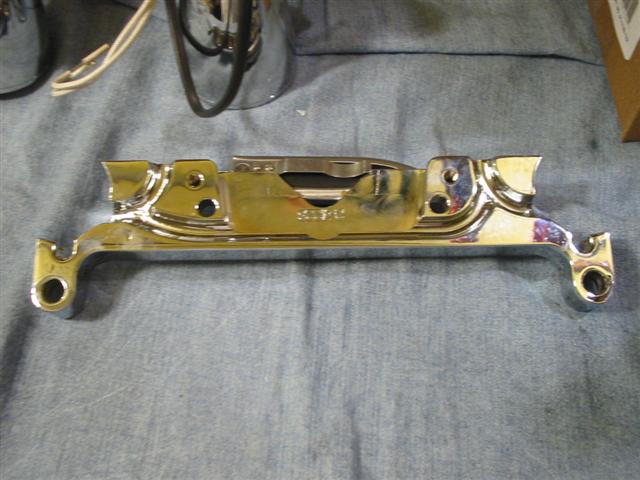
Underside of the light bar. Note the grooves for the wiring.
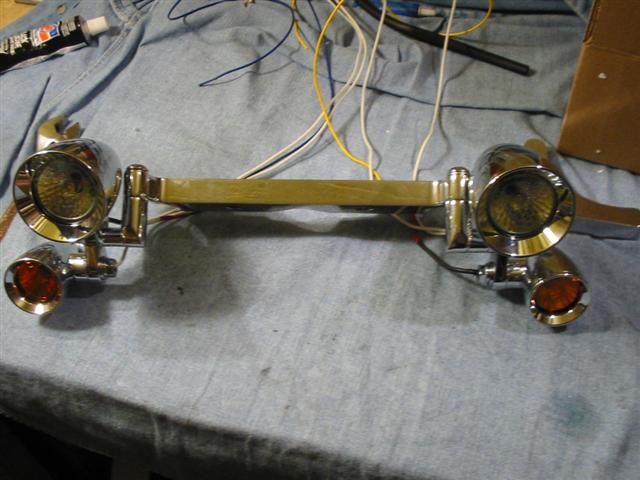
The assembled light bar. It's all fairly obvious how they go together. It you don't have a windshield, the
setup will be different.
Closeup of the assembly.
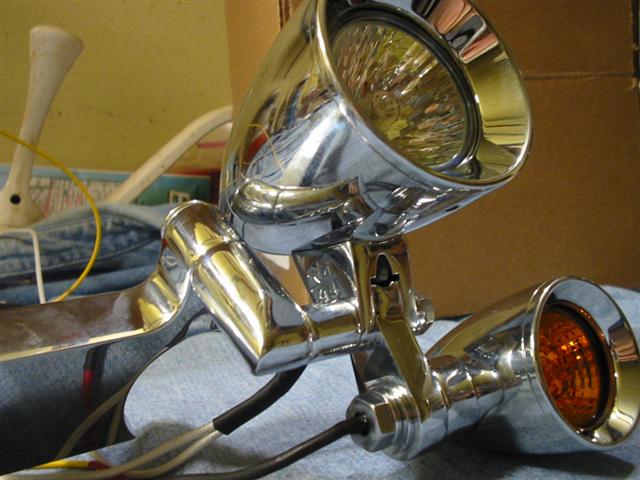
Closeup of the wiring I did. I used heat shrink tubing to protect the wires and hide the white and yellow.
The spot lights did come with a protective tubing but it was too bulky to fit it and the turnsignal wire
into the grooves. I let the wires loop a little between the light and the bracket on each set of wires so water
can't run into the light.
Final Fit:

Wiring of the spots and turnsignals is fairly simple since I had the National Cycle lightbar before and had
power for the spots.
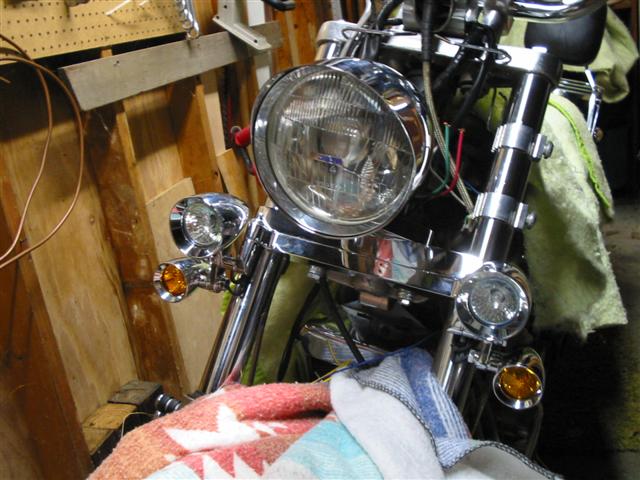
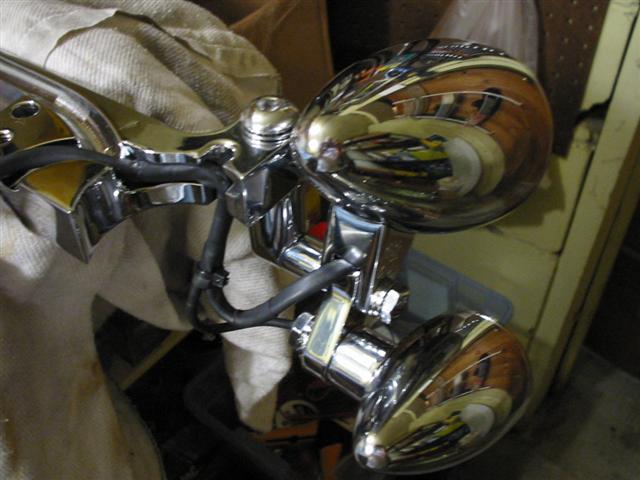
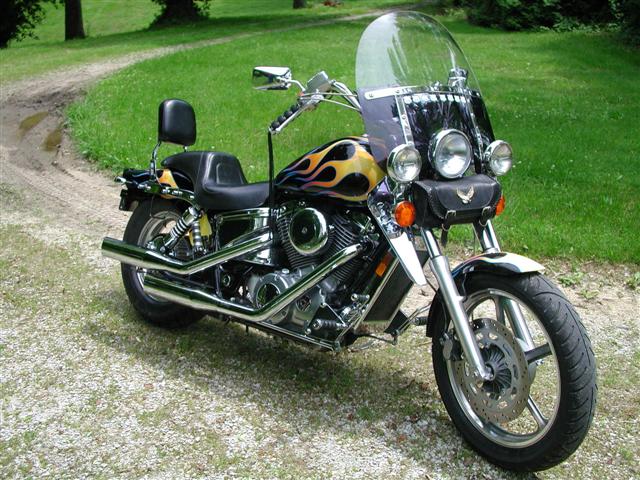
Finally got everything on the bike and everything fitted perfectly. I mounted the lightbar and spotlight bracket
temporarily with some bolts you see under the triple tree until the proper bolts arrive.
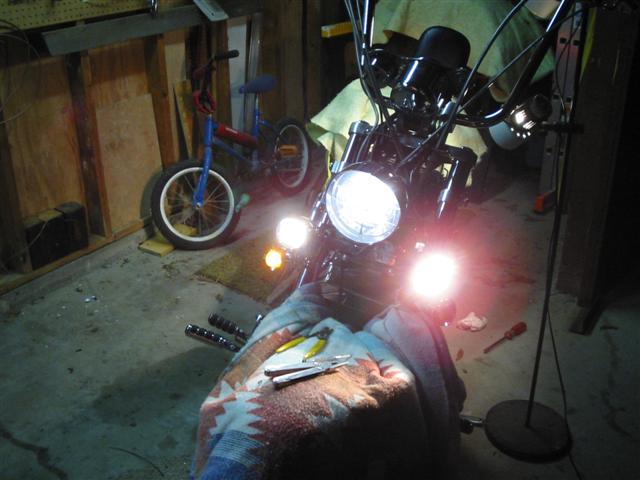
Power test and all work perfectly. My first impression was that the headlight and spots were a lot brighter
than the stock light and NC spots. Final adjustment and a night ride will tell.
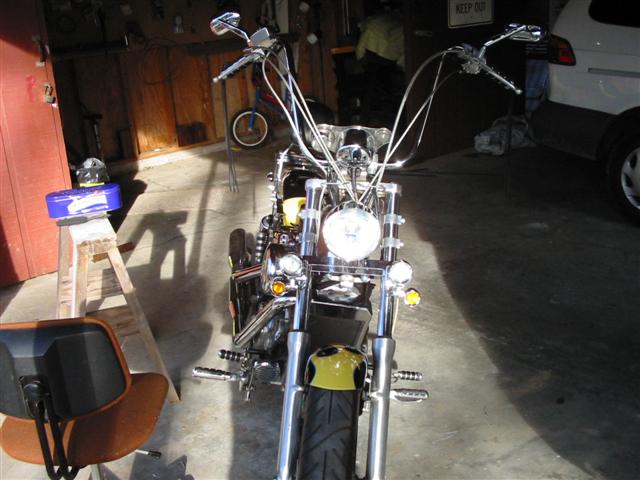
Everything installed. Cables were all the right length.
One thing I wanted was to use the MS windshield mounts again which I had replaced with a home made
bracket that allowed me to use the NC lowers in combination with the MS shield (see my home page).
I wanted the quick removal feature of the MS setup. I also wanted to replace the NC lowers with
some MS lowers to go with the windshield since they look better. I had some doubts about the fit but
ordered them anyway, figuring I could make them work. No dice. The spot and turn signals are right
where the MS lowers sit I can't see a way to make them fit. I will use the NC lowers but bolt them to
the MS brackets so the whole thing comes off in one unit. Without lowers, there's just too much wind
coming up under the shield so I'll have to go with the compromise. Fortunately, the NC lowers can bolt
right to the MS brackets without drilling and although they are positioned a little further off the forks than
I like, it doesn't look too bad with the new lights where they are.
Something to work on during the next cold spell!
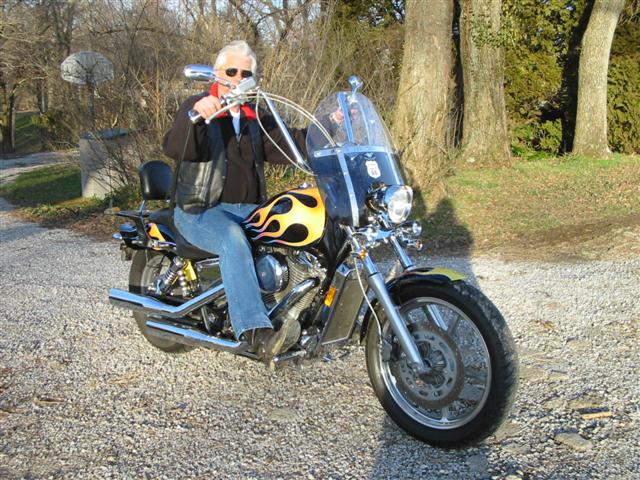
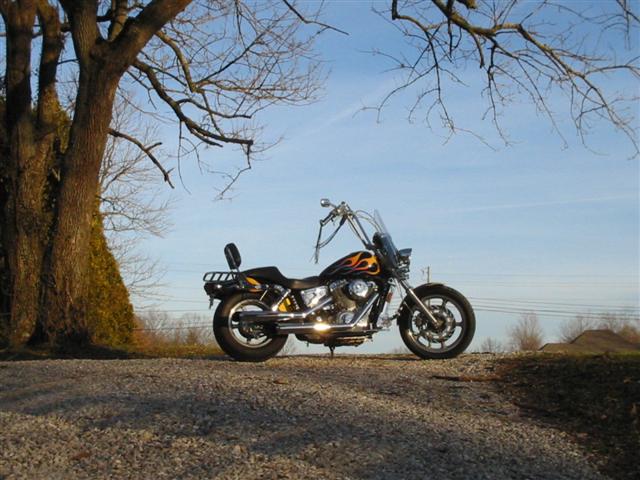
Now some final pics!
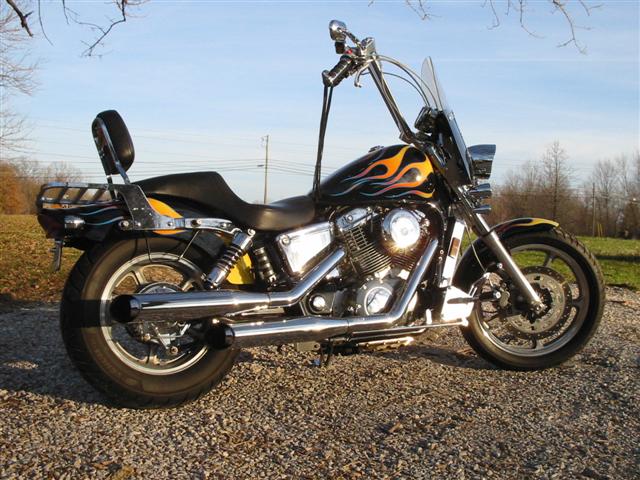
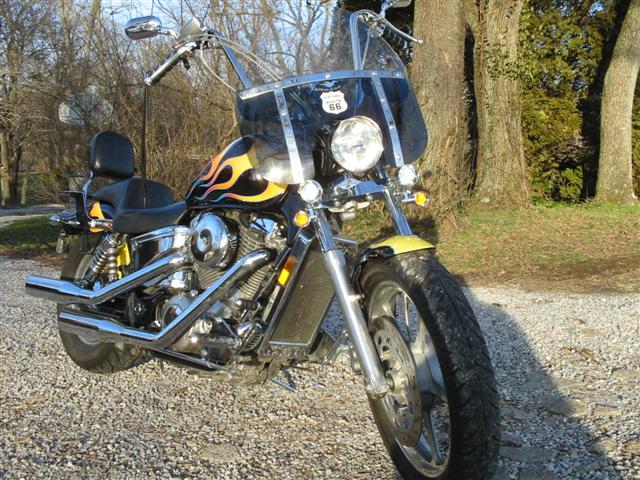
The old and the New.