
Harley Fairing Installation:
I've never been much of a fairing fan but after renting a Street Glide in South America for a couple of days, I decided I'd like one on the Nomad. So, I bought an inner and outer fairing off ebay. I knew the brackets would be the difficulty in the installation but I thought I could make it work somehow. I studied a lot of the web sites where folks had made brackets to fit the HD fairings to a Nomad. The obvious issue was that the Nomad forks were wider than the HD forks and major mods would be needed. I found some pictures of various brackets and started from there. Below are some pictures of what I did to mount the fairing on my Nomad.
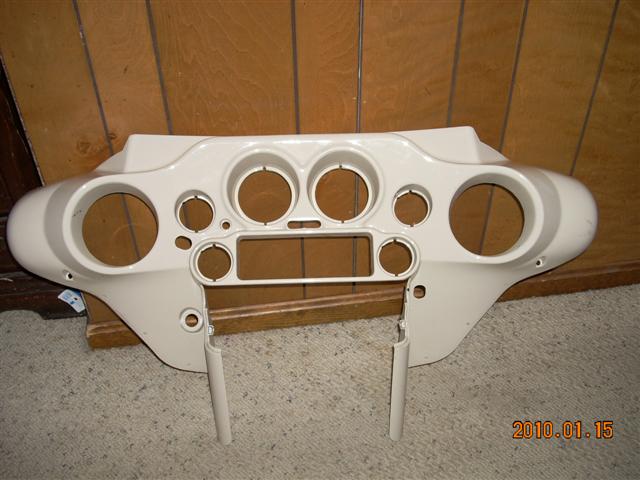
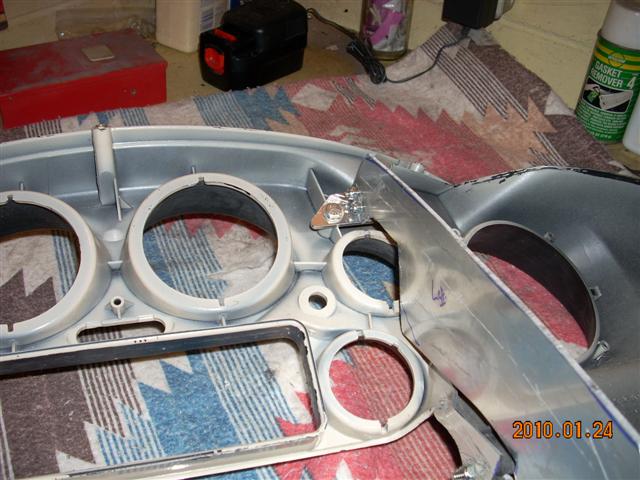
The Fairing as I received it:
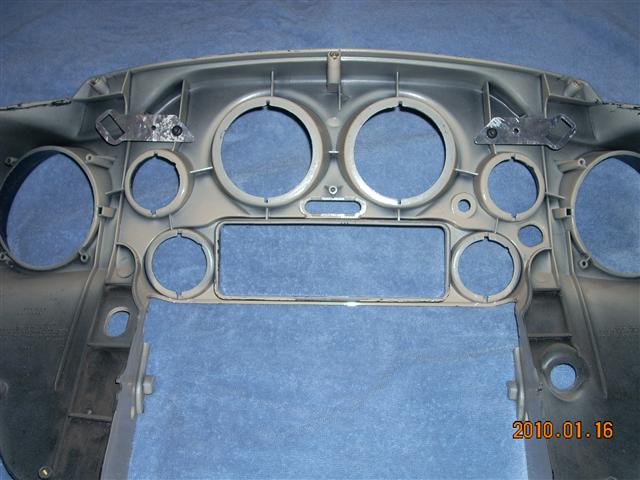
Both inner and outer fairings were in good shape and all mounting tabs were intact, which was the main criteria as I didn't want to mess with trying to fix those. The paint jobs were immaterial as long as there was not major damage since I would paint it to match the bike anyway. Look for post 1996 parts as the inner and outer fairings all seem to match. Both parts fit together without problem.
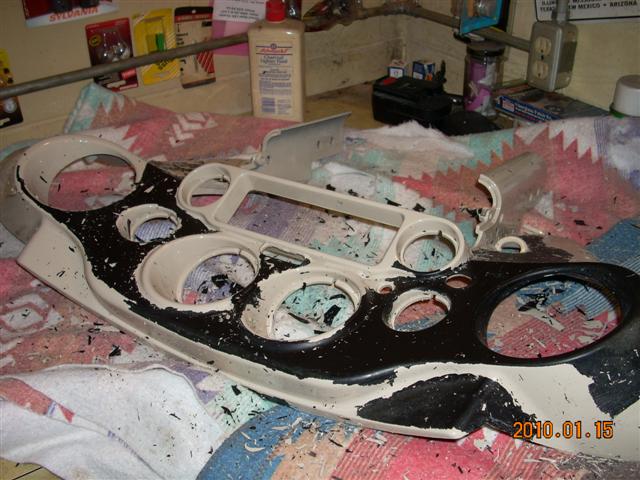
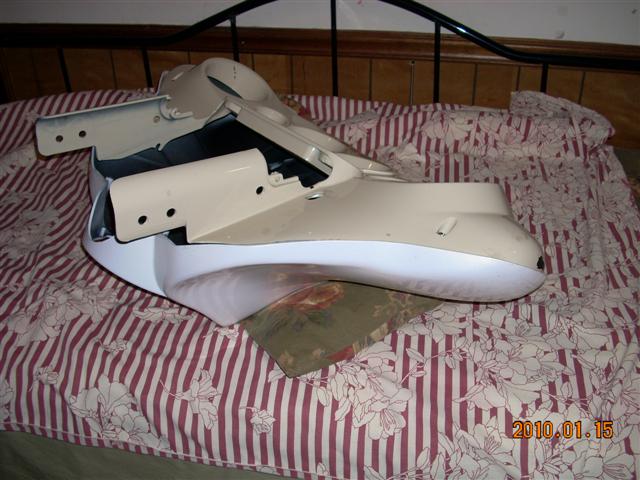
The outer fairing only needed sanding to prep for paint. I had to remove the paint in the inner fairing since it had been painted with a poor paint job and the paint just peeled off.
Brackets.

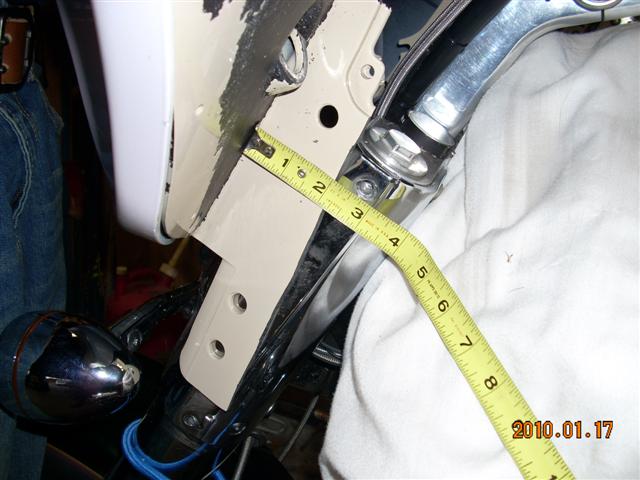
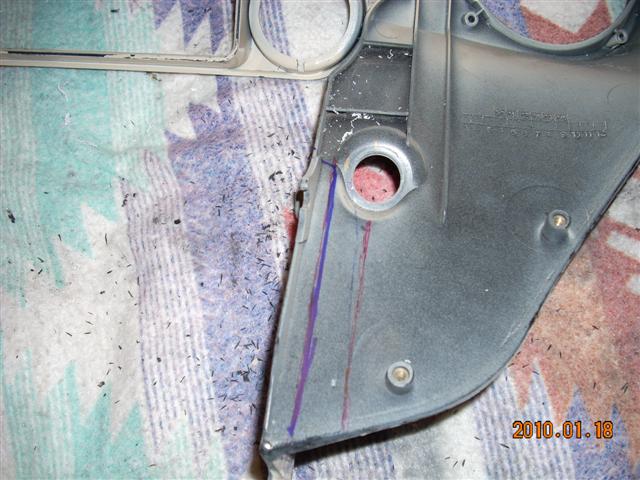
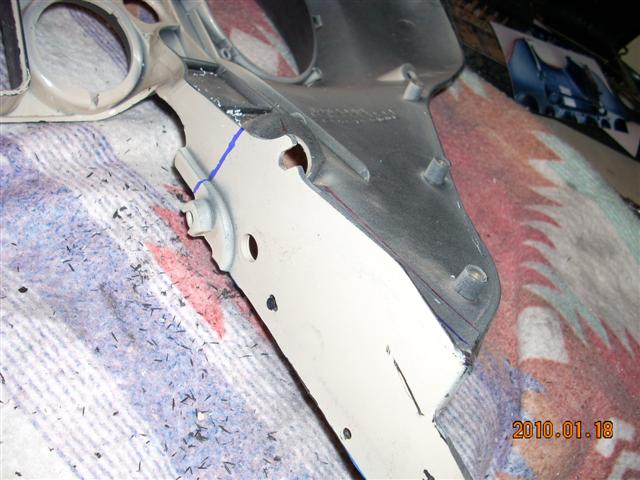
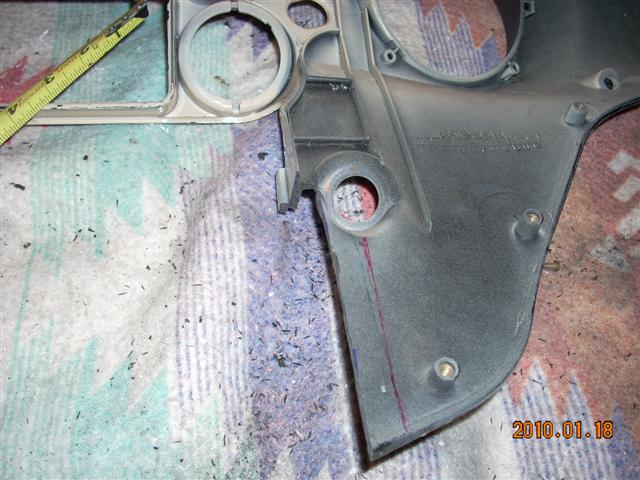
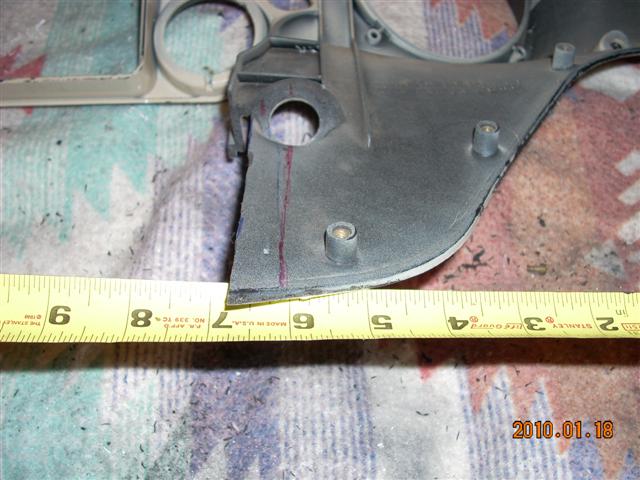
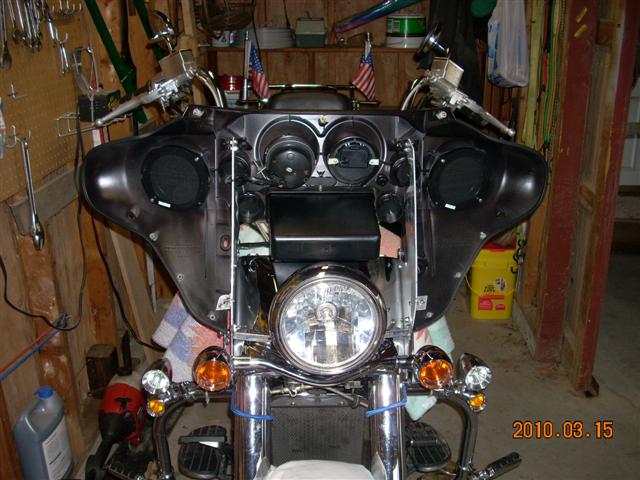
To make the brackets, there's a lot if trial-and-fit and trimming involved. The problem is that the Nomad forks are about 1" wider than the HD forks and I had to trim off a lot of the plastic from the inner fairing. You'll end up trimming the original bracket and part of the inner fairing to make it fit. Don't cut too much like I did. Start narrow and then trim top fit.
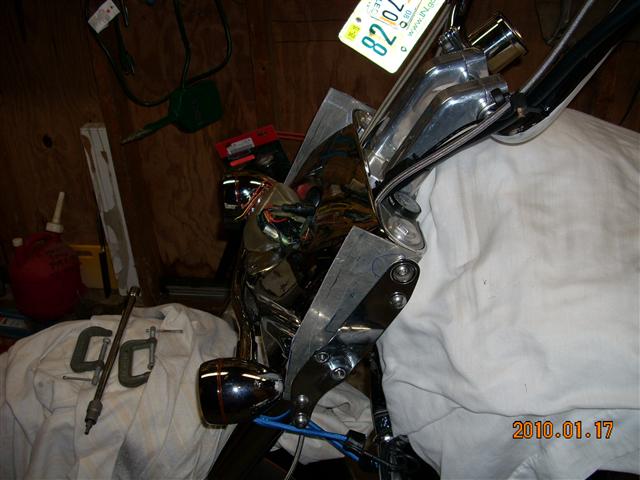


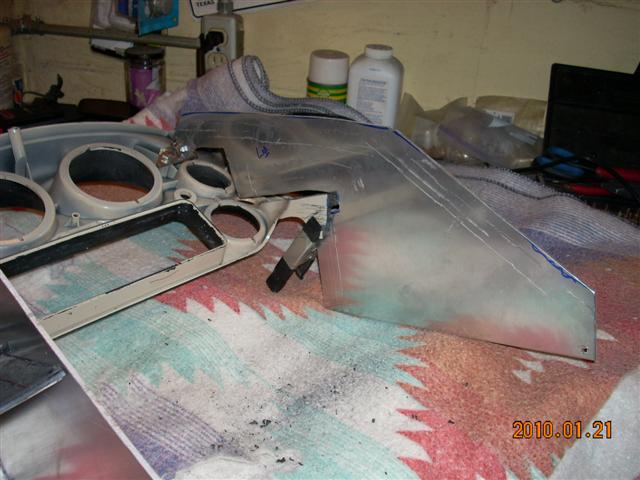

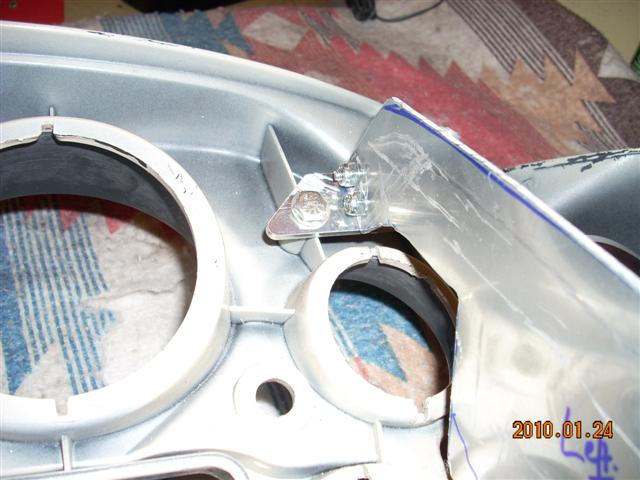
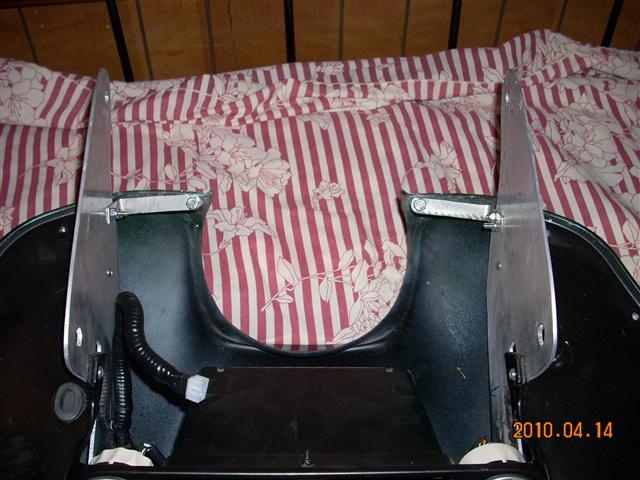
I cobbled together a template from cardboard and aluminium and with a lot of fitting and triming ended up with the final brackets.

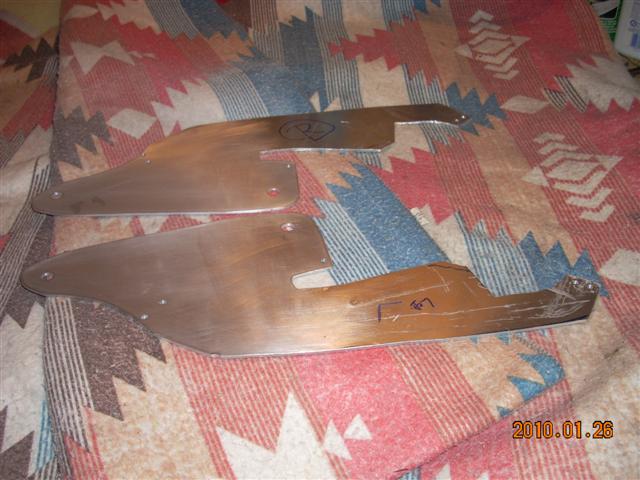
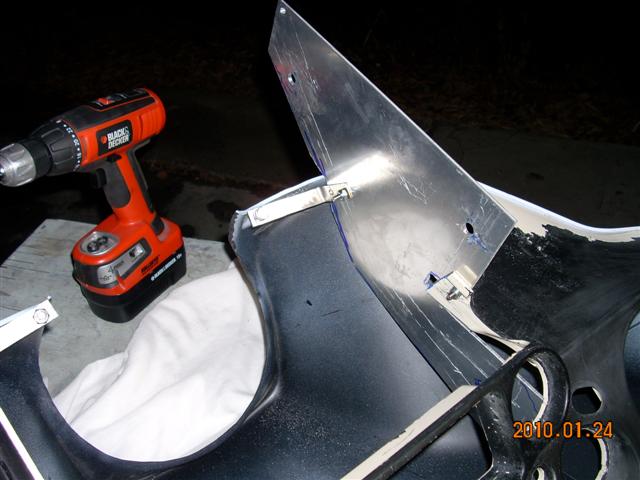
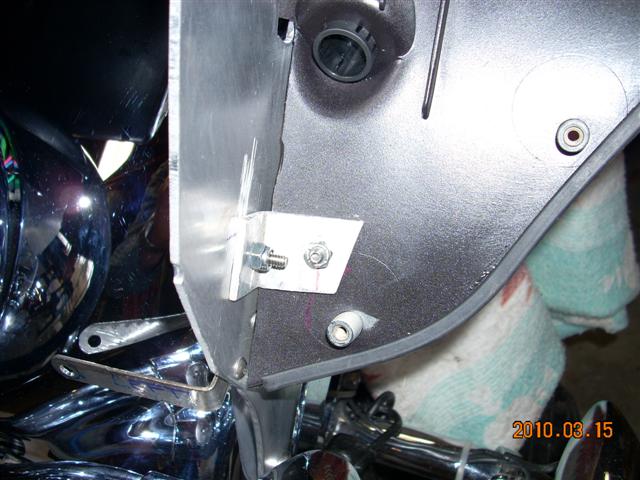
These are the brackets I finally ended up with. I made them out of 1/8" aluminium plate and they seem strong enough. Stainless steel would be better but it's harder to work with. Here are the brackets I ended up with. I also added a few extra angles to pic up the bolt holes at the head light cutout and to stablize the inner fairing.
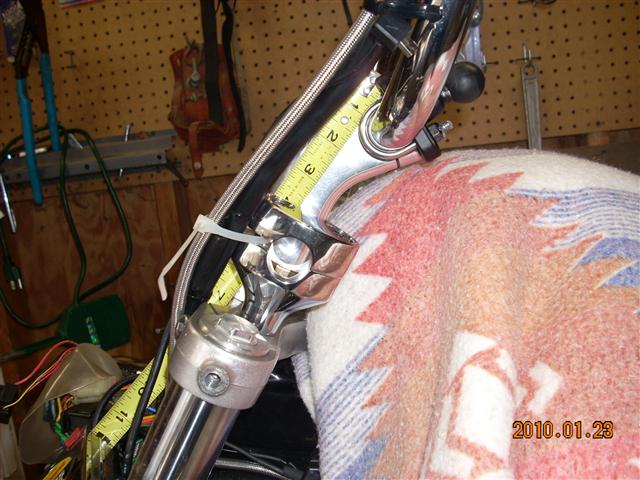

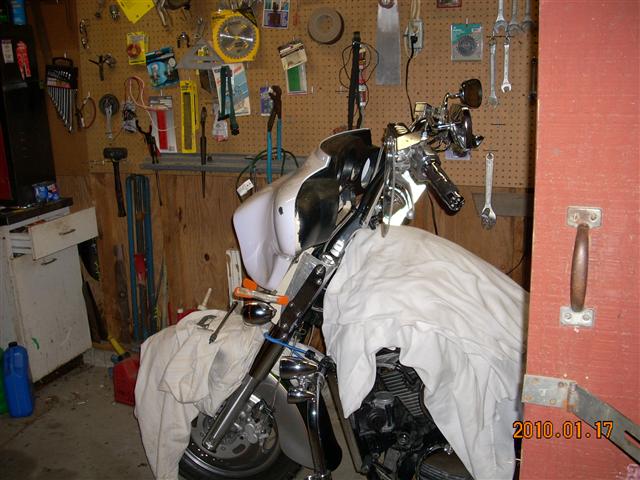
I tried to replace the Phat II riser with the stock riser to lower the ape hangers a bit but the fairing did not fit as well as with the Phat II's which surprised me. It sat too far forward as it hit the ape hanger bars and would not fit properly around the headlight. The left picture shows the difference between the stock risers and the Phat II's.
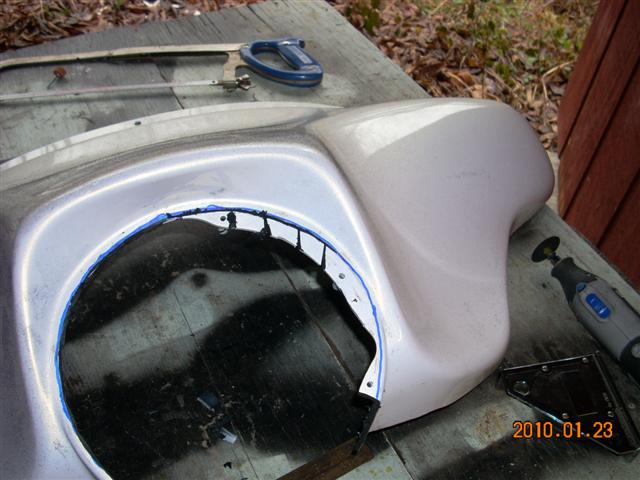
I looked into using an HD headlight but the costs was too much so I trimmed the headlight opening to fit around the Nomad headlight.
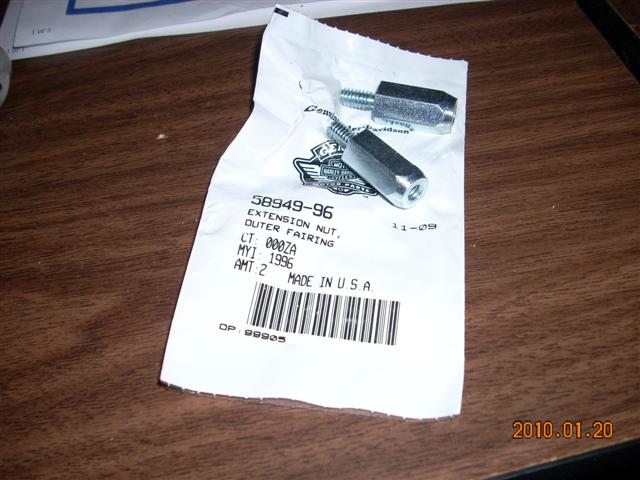
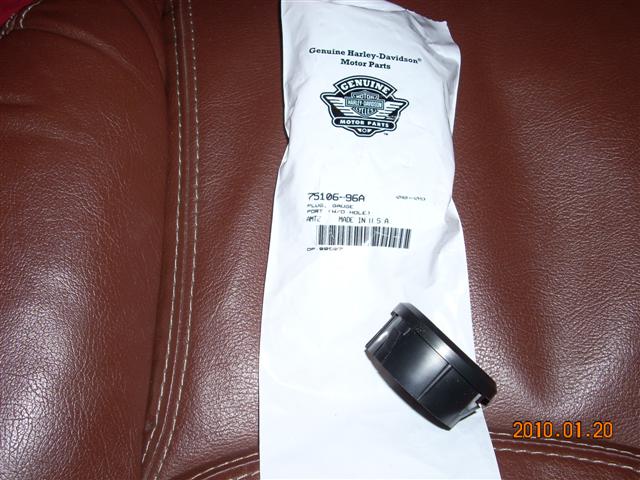

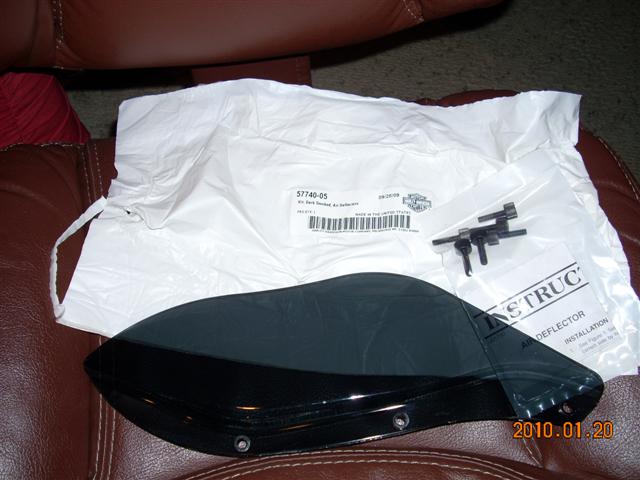
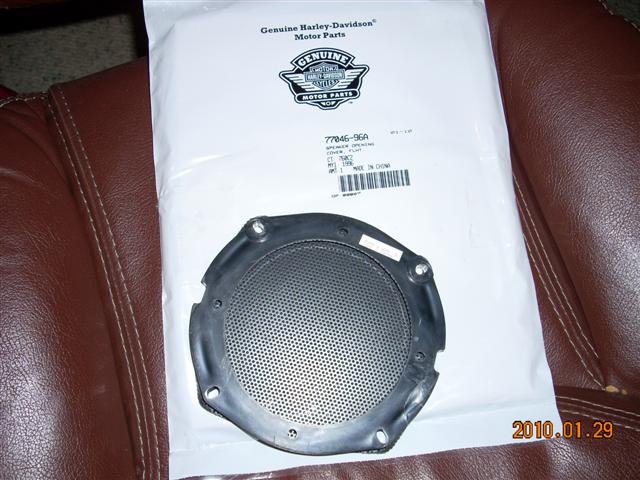
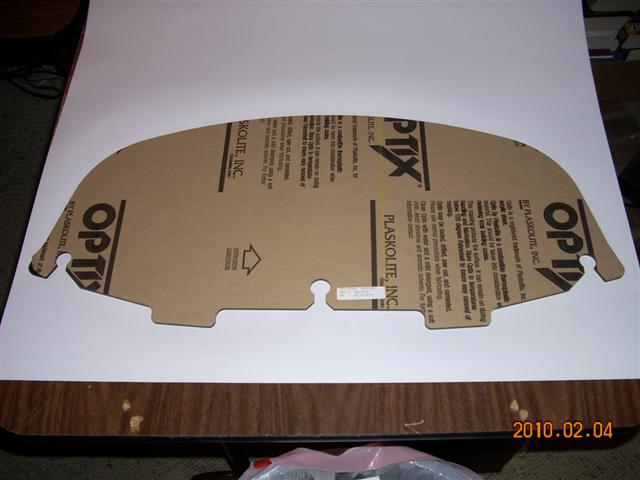
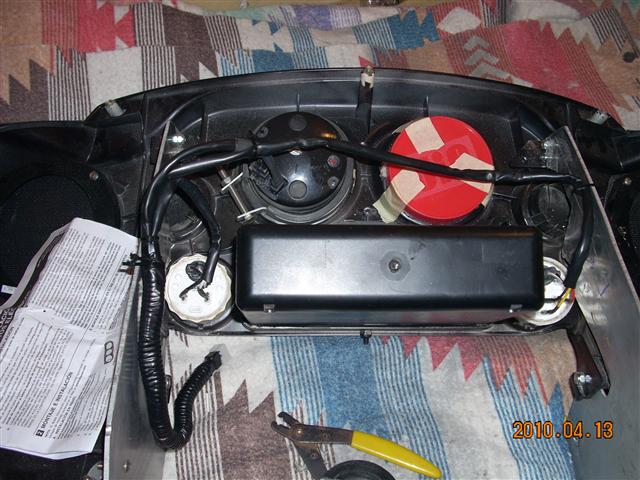
These are some of the parts I bought to finish off the fairing.
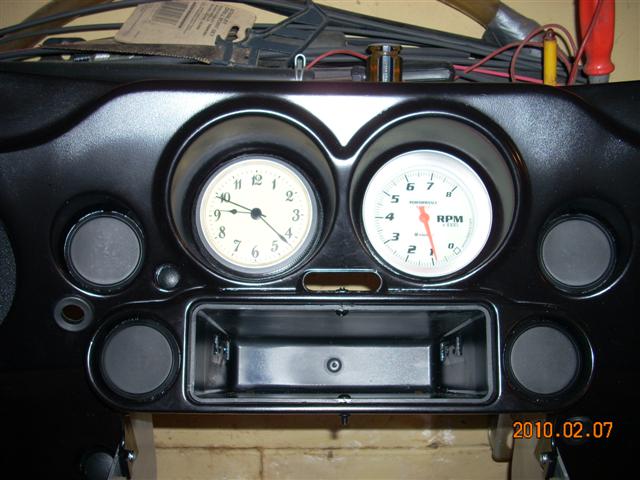
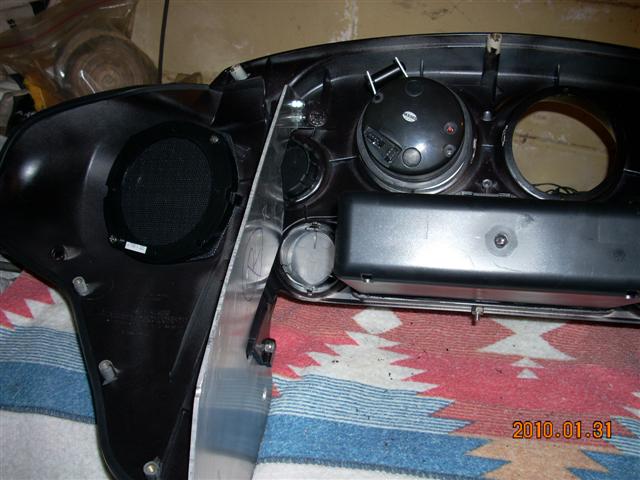
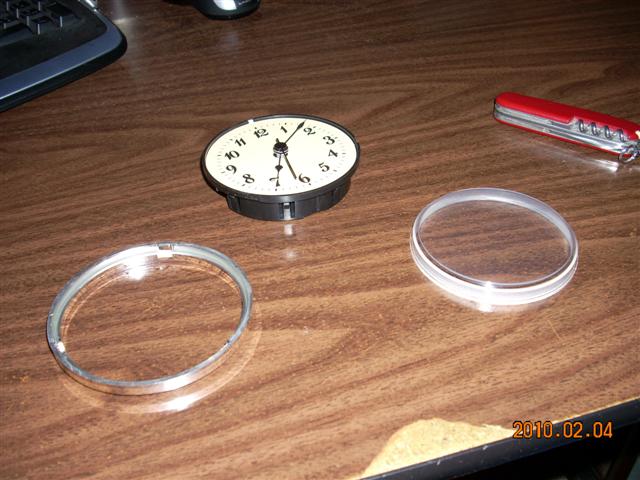


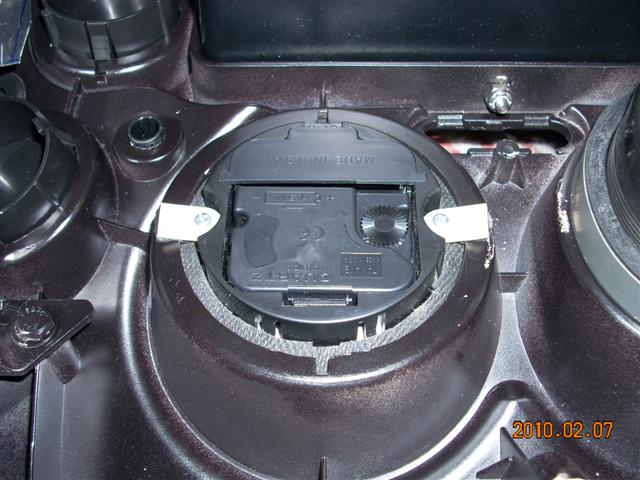
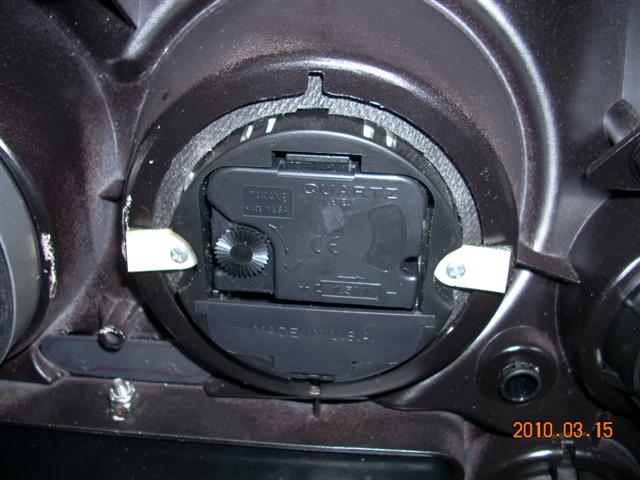
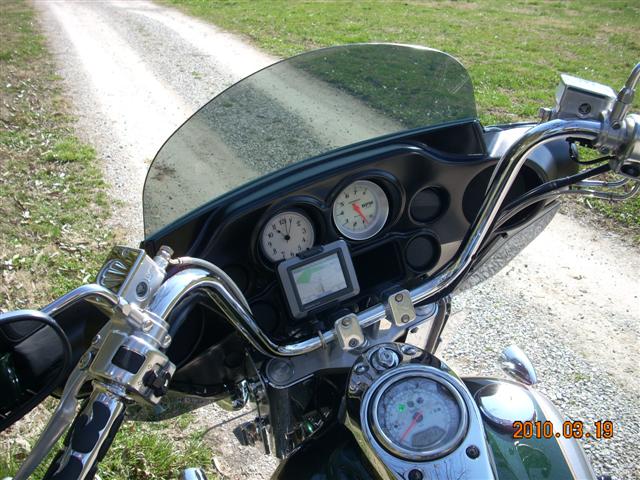
I didn't want to mess around with hooking up a lot of gauges, etc. so I bought a simple tach and clock to fill the two large gauge holes and plugged the rest of the inner fairing holes. I also got a voltmeter and fuel gauge. I got the gauges at O'Reilly's. They sell them pretty cheap at about $20 for the smaller gauges. The voltmeter works ok but the fuel gauge won't work. Maybe one of these days I'll add some more and find a better fuel gauge but for now this will work for me. I used a lot of silicone to seal some of the holes in the gauges and siliconed a plastic jar lid (Jify peanut butter...!!) to the back of the clock to keep out moisture but I'll see how it works. I made some rubber gaskets out of a thin mouse pad for the gauges to take up vibrations and help secure them.
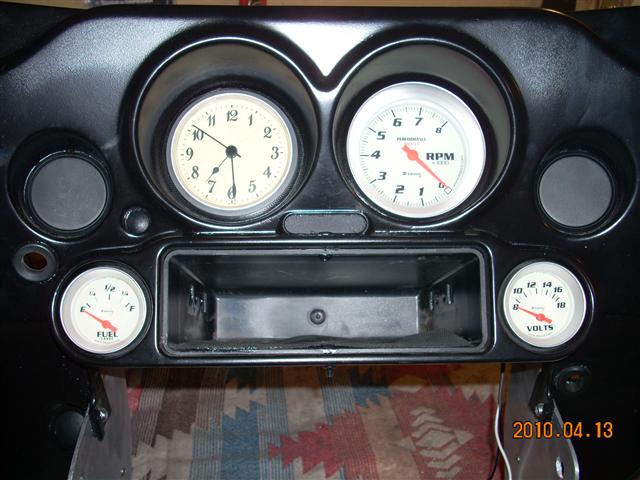
This is the final look. The clock doesn't quite match but I'll keep looking.

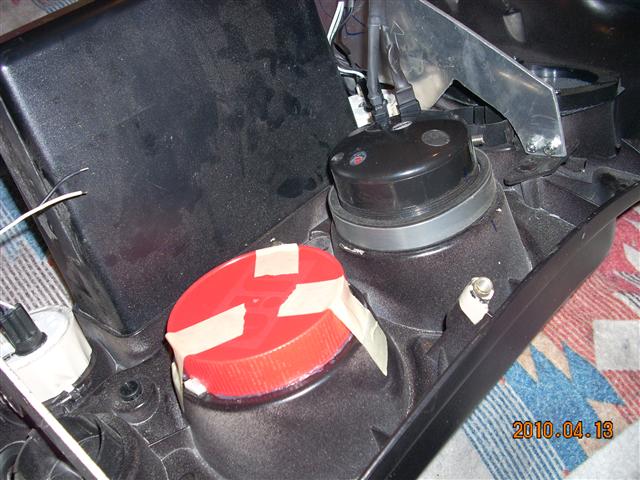
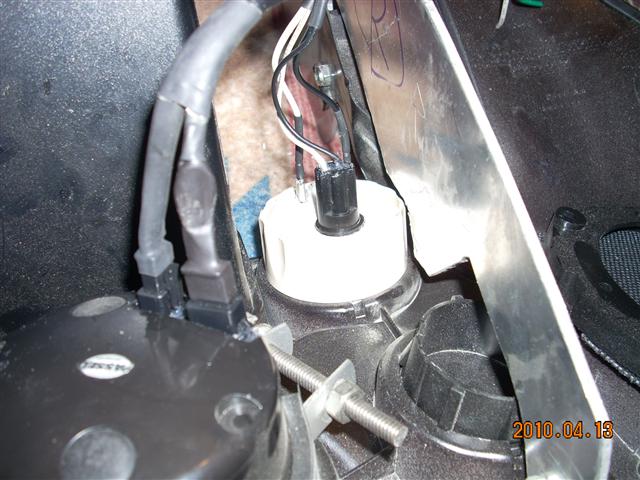
To make taking the fairing off easier, I made up some plugs for the wiring.
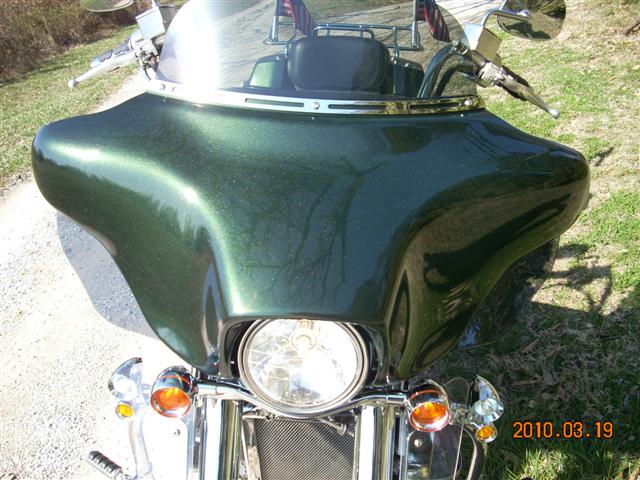
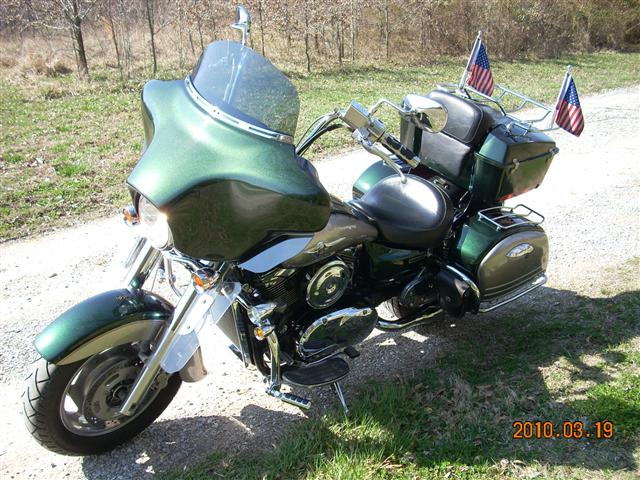
Final Installation....