Upgrading Clutch:
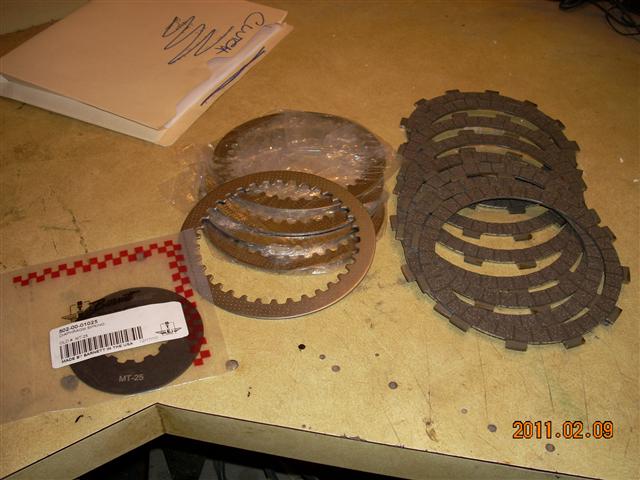
I had about 38,000 miles on the Nomad when I noticed the clutch started to slip at high revs. From research and advice on the forums, I probably could have just replace the diaphragm spring with the Barnett MT-25 spring which seems to be the most common fix for the clutch slippage. I decided to go the whole way and install the Gorilla Clutch kit which included the friction plates, steel plates and MT-25 spring. As it turned out, the OEM friction plates were still in good condition but I replaced them since I had bought the kit and taken the bike apart. Hopefully I'll be good for a very long time with the upgrade.
I bought the clutch kit here: http://www.mobbley.com/page/61866202 . Cost about $220 delivered.
Very useful information was posted here: http://www.kawasakimotorcycle.org/forum/kawasaki-cruisers/112033-sherms-gorilla-clutch-vn1500-1600-all.html
Based on his decription of the steel plates, I went with the following:
The stock clutch had 6 steels at 2 mm and one at 1.6 mm
Sherms kit came with 5 steels at 2.3 mm
Based on the discussion in the post above, I used 4 of the Sherms steels plus two of the stock 2 mm ones plus the 1.6 mm. This put the friction point closer to the grip than the lever.
After riding the bike for a few hours, I really like the feel. It is a lot stiffer but not extreme. I did stall it a few times starting but generally got used to it fairly quickly. You have to watch downshifting approaching turns, etc. but it didn't take long to get the hang of it. Overall, it was worth it and I shouldn't have to worry about it again for a long time.
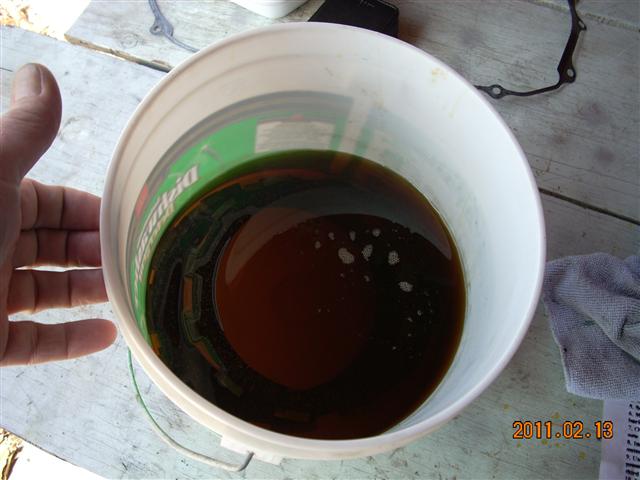
Below are a few pictures I took showing the sequence for anyone who wants to attempt this. It's not very hard. I did borrow an electric impact wrench but the penny trick also works. Also, I drained the oil before removing the clutch cover but have been advised since doing this that it's probably not necessary.
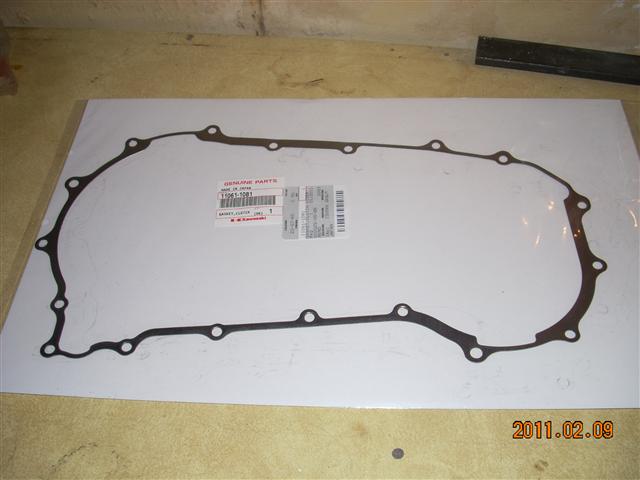
Clutch kit parts and gasket. Definitely need the gasket. Mine was ruined when I took the cover off.
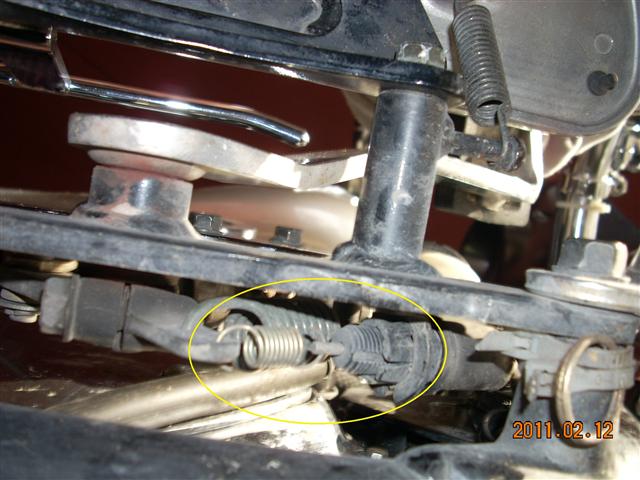

The most awkward part of removing the downtube, etc. to get at the cover (remove exhaust first) is the rear brake switch. The manual says to take off the tank and disconnect the brake wires behind the right side neck cover. I didn't want to do this (I think every operation in the manual starts with "remove the tank". To change the rear turn signal bulb...Step 1: Remove the tank.....LOL). Anyway, get under the floor board with some needle nose pliers and remove the small spring from the brake switch. The switch is threaded into a plastic nut attached to the floor board bracket for adjustments and it's kinda fiddly to twist out the switch. It's tight to get to from above but I was able to turn the switch left about a turn at a time holding the nut, then turn both a turn to the right again. Repeat this until you work the switch out of the nut.
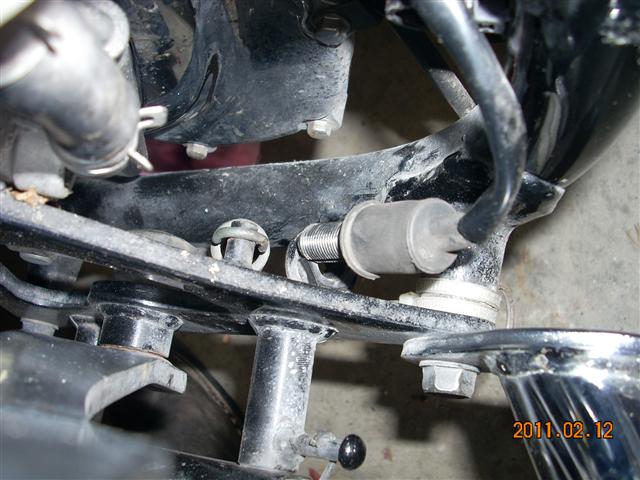
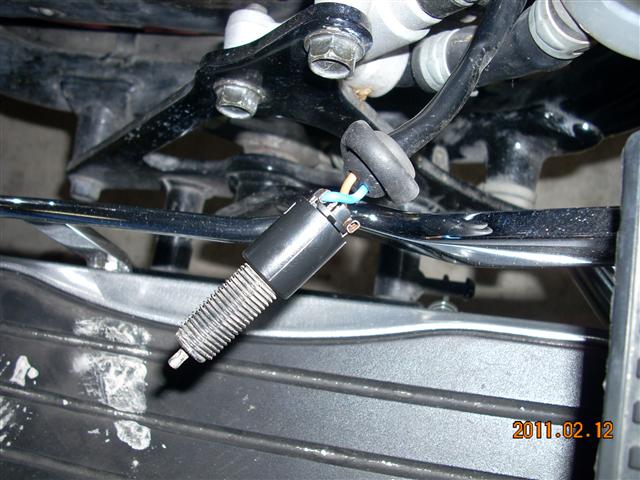
This is the switch removed
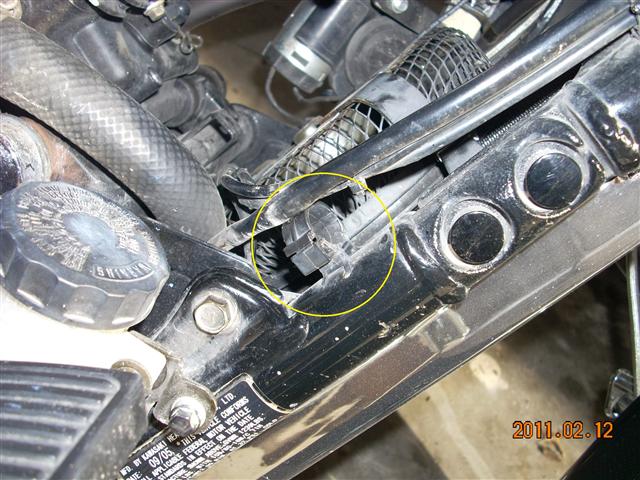
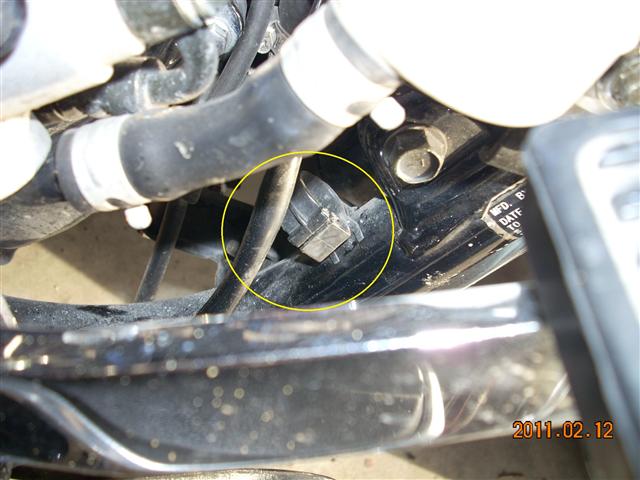
There are two clips to release to free the brake switch and some other wiring. Work the bracket switch wire harness out to the top of the radiator so it is free of the down tube.

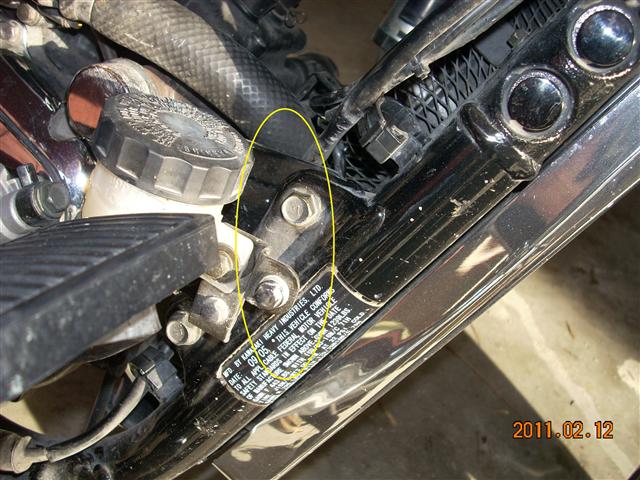

Remove the bolt holding the rectefier bracket (the radiator has a pin that sits in the downtube), remove two bolts holding the down tube to the cross bracket and the bolt holding the engine guard to the foot board bracket.


Finally, remove the 4 down tube bolts and carefully remove the down tube complete with foot boards, etc.
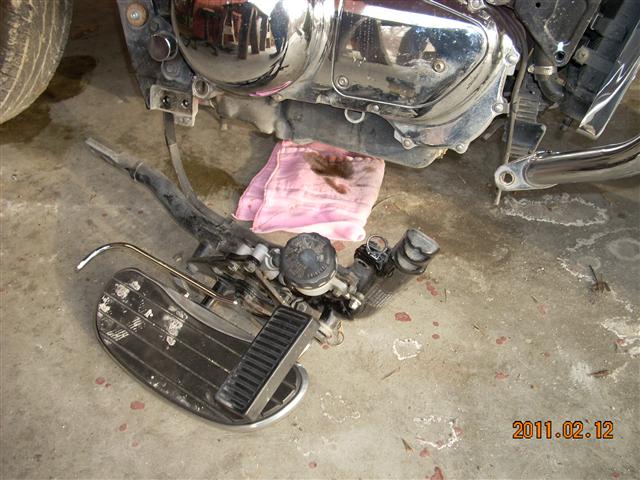

Assembly is now free and connected via the brake line only. Move out of the way. Note the pin at the bottom of the radiator.
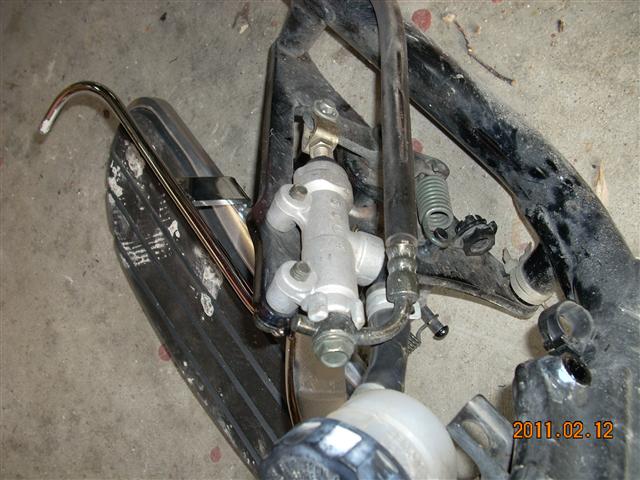

Master cyclinder and ready for cover removal. I did all this with the bike on the side stand.
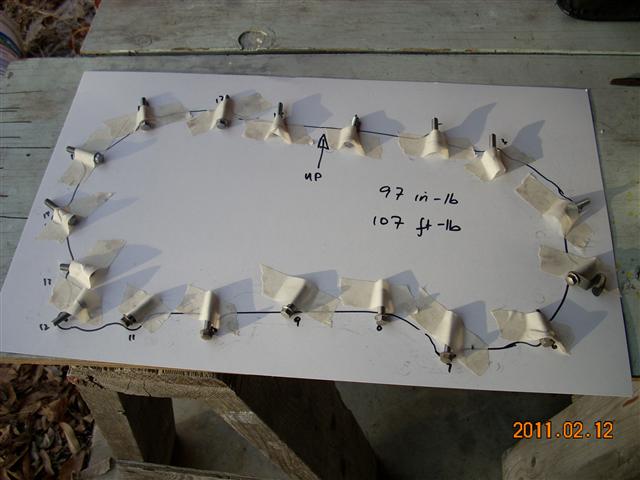

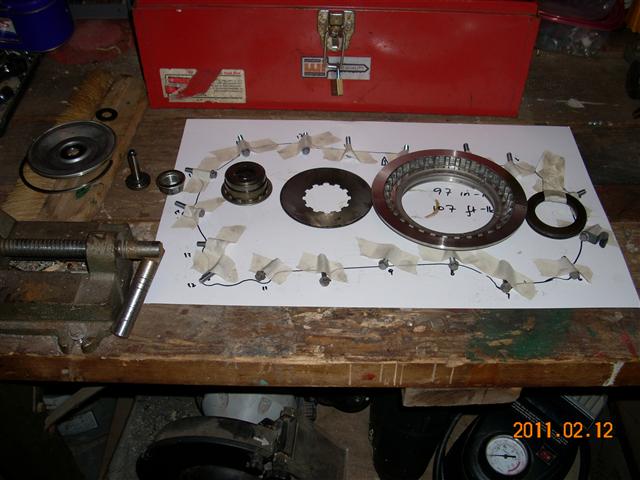
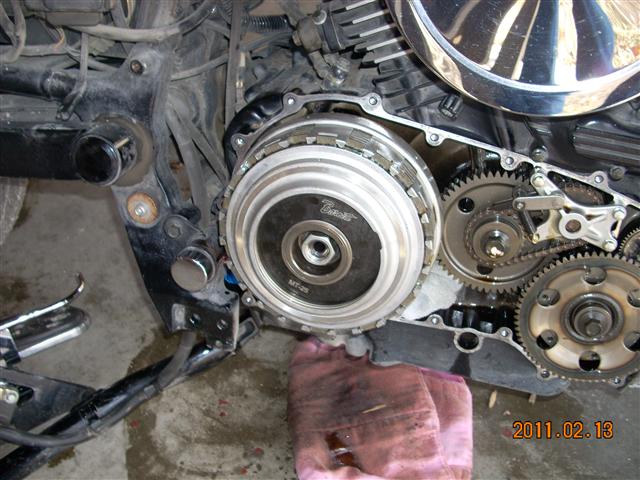
Cover is off. The bolts are of different lengths so I made sure I kept track of where each one goes. Torque for the cover bolts is 97 in-lb. Torque for the clutch basket nut is 107 ft-lb.
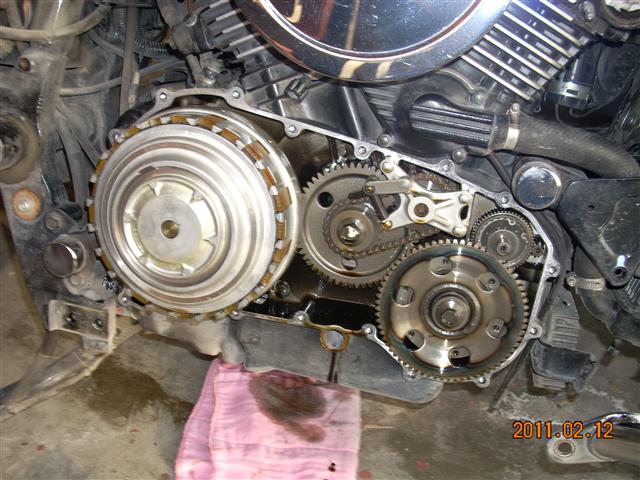
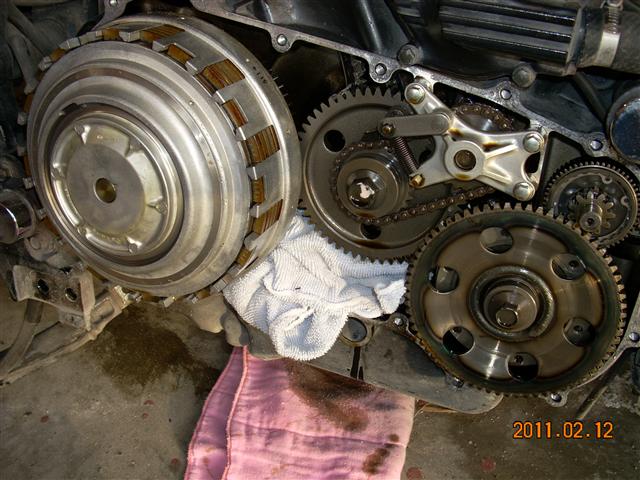
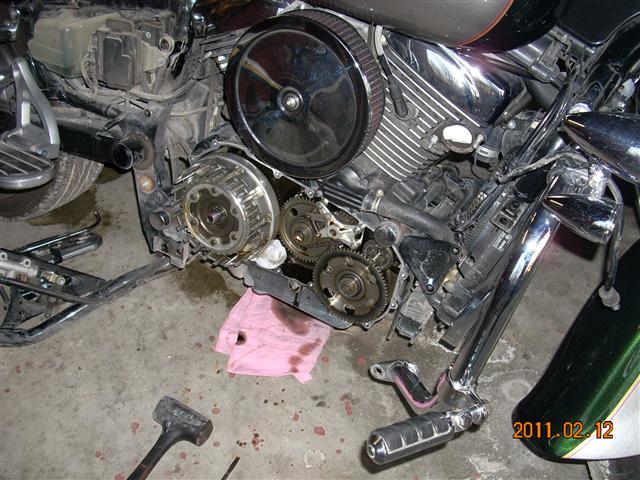
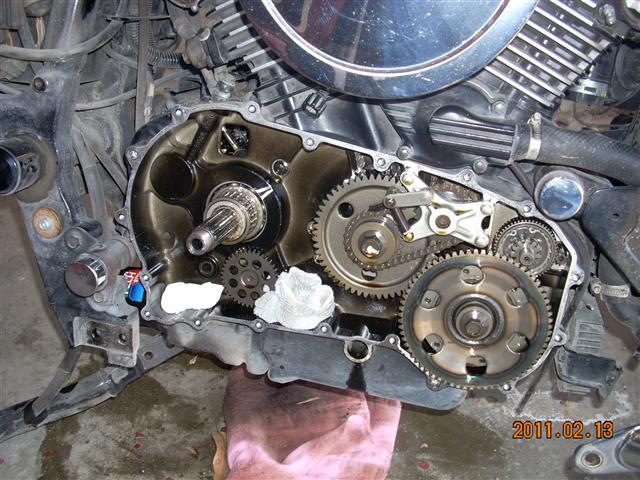
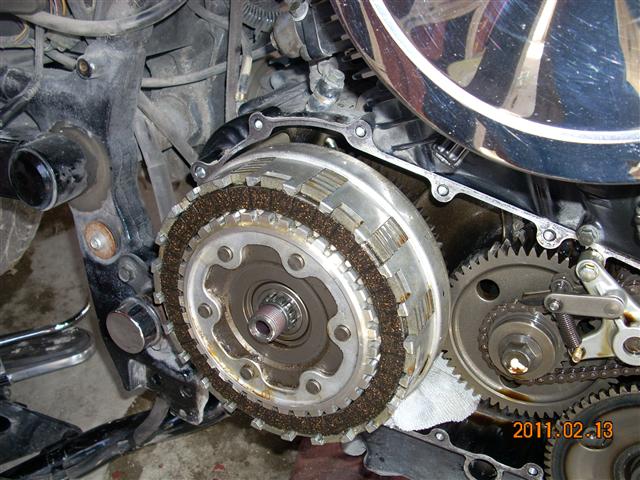
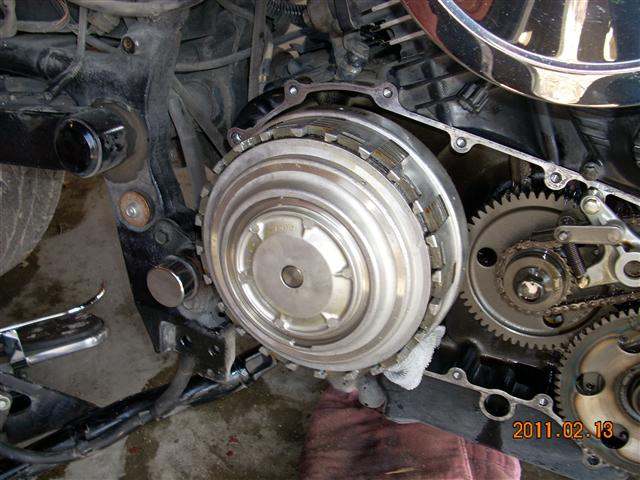
This is what your looking at when the cover is off. Note the rag covering the sump inlet. Make sure you use a big rag which hangs down so the cover can't be reinstalled again. I used a smaller rag later and nearly forgot to remove it before putting the cover back!!! There is also a washer on the small gear in the top right of the right hand picture. Don't loose it asnd remember to put it back before installing the cover.

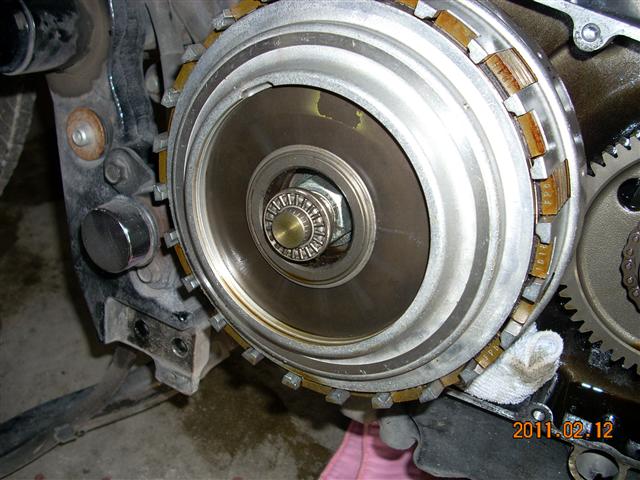
There is a split ring to remove with a thin bladed screw driver. Take off the silver cover and you'll see the right hand view. The dark plate is the diaphragm spring which will be replaced with the MT-25 Barnett spring. Take out the little needle bearing.

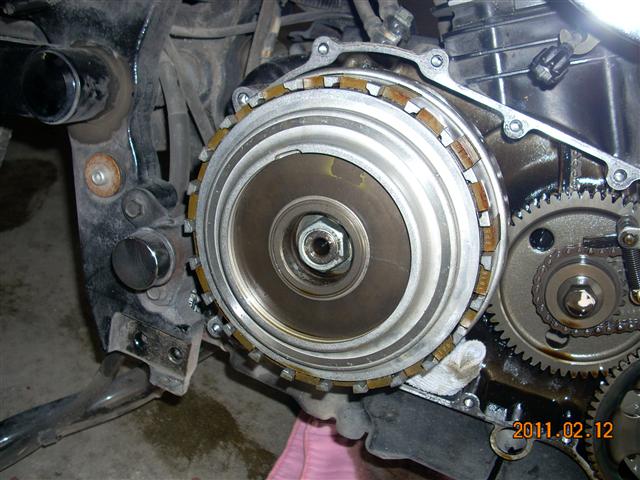
Cover and needle bearing. On the right is THE NUT. I used a rather anemic impact wrench which would'nt move it until I wedged a penny in the gears and loosend it a quarter turn with a torque wrench. You'll still probably need the penny to get it off with the impact wrench. I probably could have gotten it off without the impact.
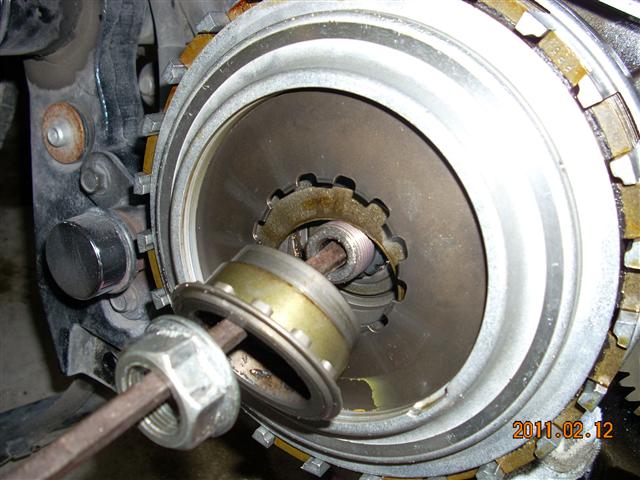
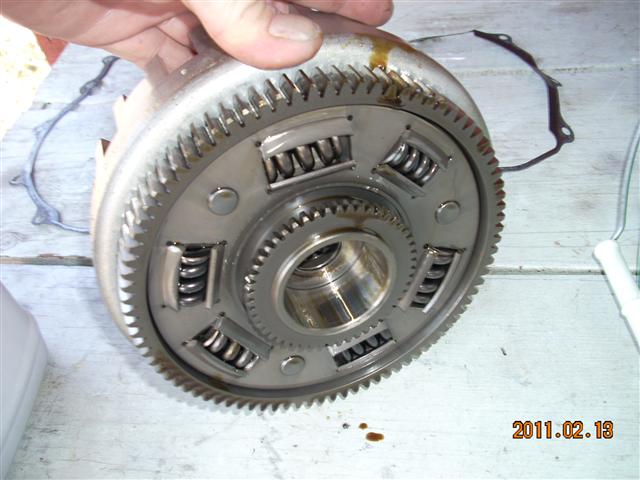
Remove the nut and spring holder and you'll see the torque limiter springs (otherwise known as "Judge's washers") flop down. The right picture shows the parts in order of removal. Note the orientation of the spring washers. They are cupped washers so have to be reinstalled to provide the spring action. If you're only installing the Barnett spring, stop here. Replace the spring and start reassembly. See below.

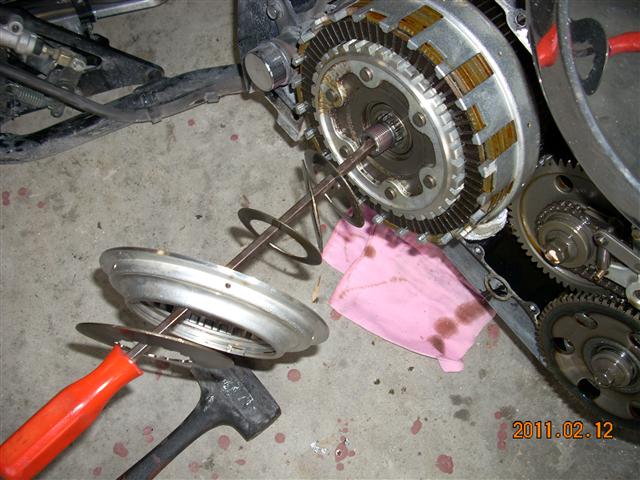
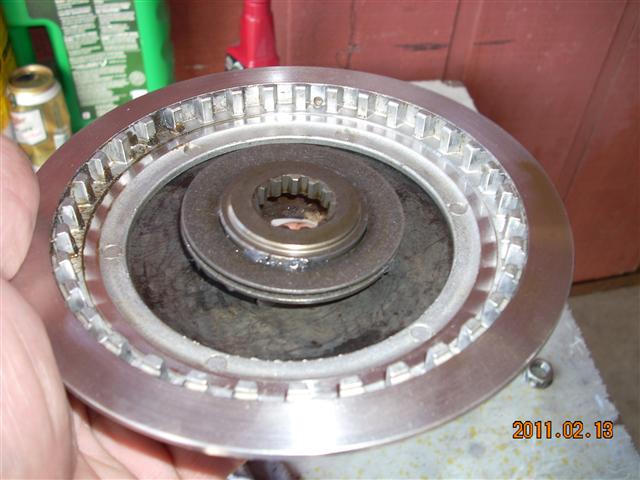
Remove the friction plates and steel spacers and the clutch hub.
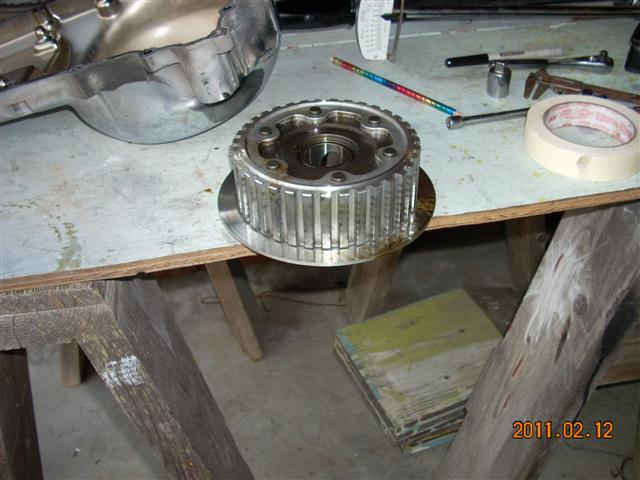

Inner clutch hub and clutch housing.

Outer clutch housing remove but you really don't need to remove the inner or outer clutch parts. I just did for curiousity.
Back of the outer clutch housing. The right picture shows all the parts removed in order of removal from left to right.
Soak the new friction plates in oil for 10 minutes per instructions and install friction and steel plates. It's almost impossible to get wrong as the friction plates will only fit one way. The last one will be off set from the rest. There are 8 friction and 7 steel plates, installed alternating so the first and last plate will be friction plate. I don't think it makes a difference which thickness steel plate goes where but I installed all the 2.3 mm first, then the 2.0 mm and lastly the 1.6 mm.
If you're only installing the Barnett spring, start reassembly here:
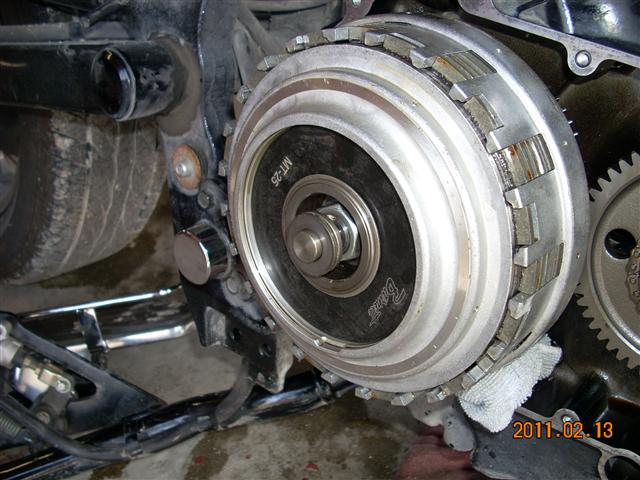
Once the plates were installled, I preassembled the clutch spring holder, new Barnett diaphragm spring, cover and torque limiter washers. You'll need to "glue" the washers together with grease and to the spring holder or they will slip off when you try to install this assembly and they will get damaged when you tighten the nut. The right hand picture shows it in place. Push on the assembly while threading on the nut.
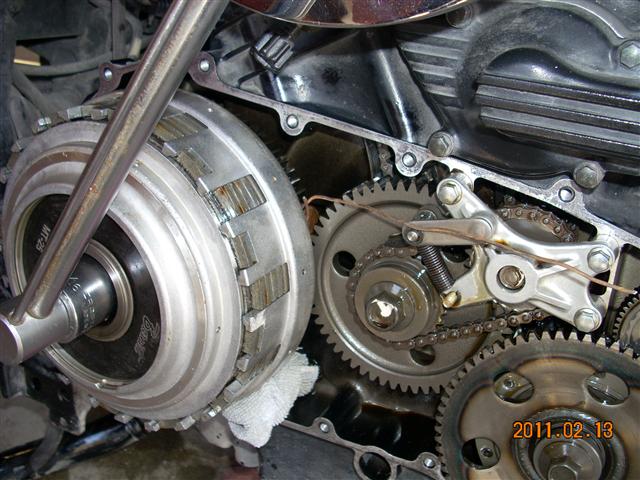
Torque up the nut to 107 ft-lb. Note the penny in the gears. It is a good idea to drill a small hole in the penny for a wire to retrieve it if it falls behind the big gear. I tried it without and lost it for a while...It finally fell down behind the gear and would have fallen into the sump had I not had the rag stuffed in the opening...Again, don't forget the rag before you install the cover. Reinstall the needle bearing and washer. Also the washer on the other small gear top right. There is about a 1/2" gap behind the bearing.
Put the cover back on and push it in until you can get the split ring on again. Move the clutch lever and check that you get a gap at the cover. You'll now notice the much stiffer clutch lever operation!
You're done. Reassemble everything again and don't forget to fill with oil if you drained it. One note is, you need to clean the gasket surfaces on the cover and housing to remove the older gasket. I used a razor blade. Also, before installing the cover, it is better to "glue" the gasket to the housing on the bike first with grease. I nearly ruined it trying to get it on with it on the cover. The gasket has to slip over the big gear on the bottom right and it's difficult to keep the gasket in place while trying to force on the cover around the gear.
Torque everything up. Give the cover a good cleaning since you can't get to the front part once everything is back together.