| This Page is currently under construction (just like my basement). |
I started remodeling my basement in February 1999. Most of what you will see actually was completed in 1999 or 2000. I haven't done too much on it since then, but that's about to change (I'm itching to finish it). I will post some acoustics info on an acoustics page.
My basement is 7' - 6 3/4" x 31' - 6" x 29' - 5 5/8". The front area is where my Home Theater equipment is set up. It is 7' - 6 3/4" x 15' - 7 3/8" x 29' - 5 5/8". For those paying attention, yes that's nearly a 1:2:4 ratio - pretty bad as far as acoustics go (multiple dimensions). The only saving grace are the steps which split the front room where the Home Theater is. I had originally planned on adjusting the dimensions by shortening the width and length to spread out the room resonances more. At one point I chose 7 1/2' x 14' x 29' - 4" (1:1.87:3.91 - slightly better). I had planned on putting bookshelves into the wall for books, movies and CD's. However, once I had my subwoofer in place with the main bearing wall drywalled on one side, I realized that I didn't want to raise the resonance of that listening space. A 32 Hz resonance is much more enjoyable than a 40 or 50 Hz resonance. Therefore, I chose to keep the space as large as possible. Basically I'm studding the walls within 3" or so from the existing concrete walls. I know the resonance will still go up since I'm making the space smaller (esp. with the ceiling being finished), but hopefully the resonance will still be in the 30's. Speaking of the ceiling, my bedroom is directly above my home theater area so main concern number one was to stop noise transmission to the bedroom. My plan is to use 1/4" drywall (taped and mudded), mount resilient channel to this, then mount 1/2" drywall to the channel. I will insulate between the joists though this won't offer near the sound barrier as resilient channel. I even went so far as to mount drywall between the joists over the bearing wall to keep sound from entering from the rear basement area through the joist space connecting the rooms. This will be caulked as will the outlets. I also replaced the metal duct with flexible duct to cut down on sound transmission in the duct. I will also mount 1/4" ceiling drywall between the wall and the existing concrete wall to trap any noise from entering from behind the wall. I will also install a solid core door with weather-stripping at the entrance to the basement. I will install a gas fireplace at the far end to make a cozy little sitting area.
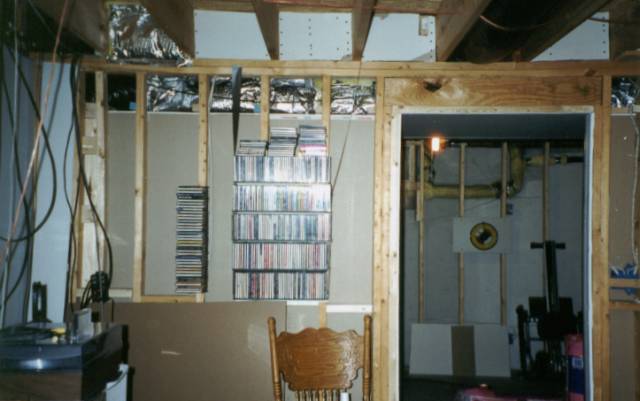
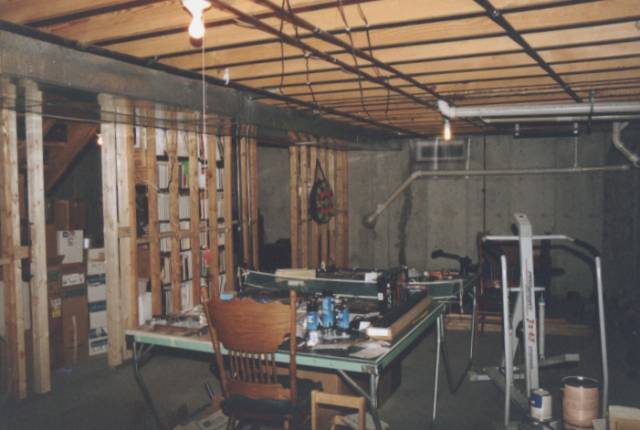
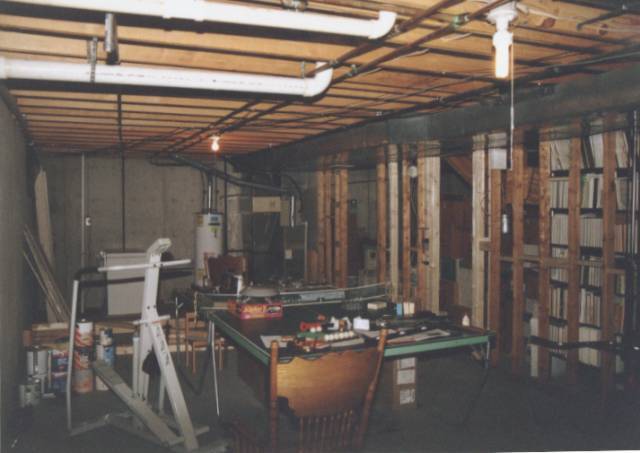
The rear area will become a workout/play area. All the plumbing and hanging duct trunk lines are in the rear so I will install a drop ceiling here eventually. However, I didn't want the ductwork to spoil the looks so I enclosed it with drywall. I used 2x2's to span the 4' distance and hung 1/4" drywall on it. A 2x4 hanging wall supports the "free" end of the 2x2's and gives a nice finished edge from which to mount the suspended ceiling. I walled off 5' of this room at the end to enclose the furnace. I had to go ahead and drywall one side of this wall to keep the furnace noise down until I am finished. I have an open vent located at the farthest point from the furnace in that room. I actually made it a "box" that opens out to the main room, but opens facing the wall in the furnace room so that noise has to reflect and make 90 degree turns. I will also line it with hard fiberglass duct panels to absorb noise. Under the stairs I cut some studs and put in a header so I could install a door and enclosed it so I could use this space for storage. I also had to make a "box" in the wall around my water main cutoff. This will have a small oak cabinet door on it.
All my Home theater wiring will be in the walls or ceiling. I will run 60 amp lines to a remote box in the utility area The subwoofer will be behind its own wall. I am installing 2 dedicated 20 amp (10 gauge) lines to the stereo/television area. They will be powered from the same "phase" of the electrical panel. I also have some surge protector breakers. The wall sconces will be powered from their own circuits and a separate circuit will power the outlets (all 12 gauge). I don't want vacuum cleaners or fans affecting the Home Theater or dimming the lights, and I don't want anything generating noise on the dedicated Home Theater circuits. I have installed video cables (RG-59, composite, component and S-video) to over the seating area in case I want to add a front projector someday. I will install a speaker wire to a location in the ceiling behind the seating area for center channel surround someday. There will also be a dedicated line to a possible computer location.
Lighting will be from sconces for the most part except for some recessed lighting in front of the fireplace. The sconces on the Home Theater side will be ceramic and will shine up and down. They will be on dimmers. The sconces in the rear are frosted glass and will also be on dimmers. I don't have to worry about glare on the TV in the rear room, but the ceramic will greatly diminish direct glare in the front, Home Theater area. All dimmers are low noise so as not to interfere with the Home Theater plus they will be on separate circuits which should help keep line noise down.
Pictures:
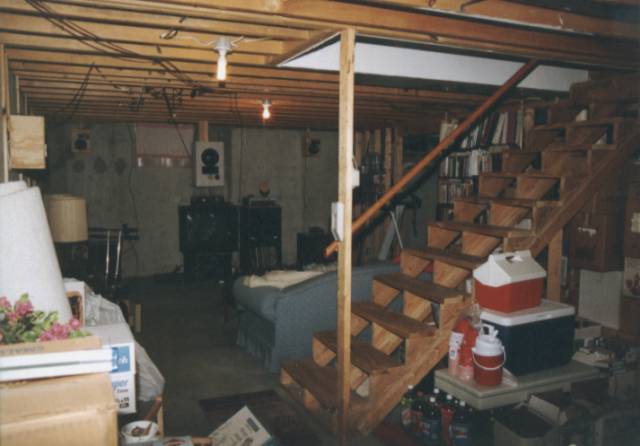
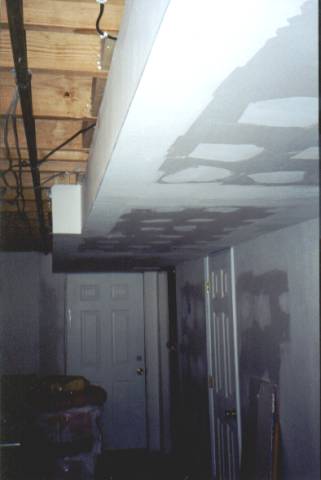
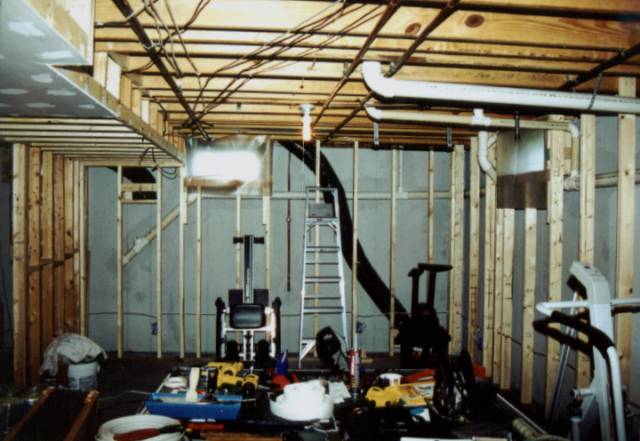
Original front room looking North.
Luckily,
there is no ductwork or plumbing to worry about so the ceiling will be
drywalled with two layers of drywall and resilient channel.
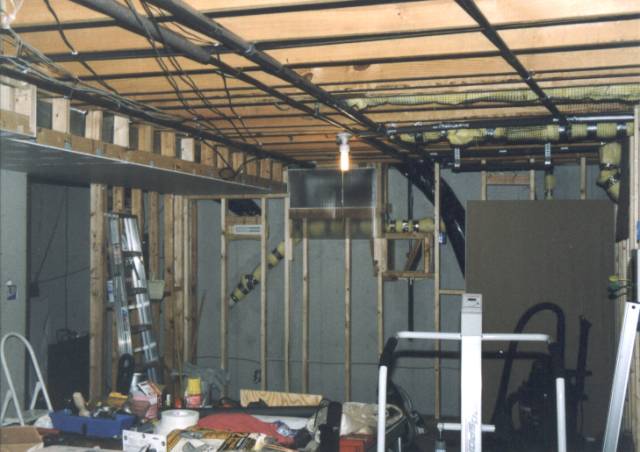
Original rear room looking North.
Under
the far window is a repaired crack that would leak. It has
also
leaked
at the waste pipe exit. I have repaired both leaks, but just
in
case,
I ran a grout wedge
around the wall to
direct
any future water infiltration towards the sump in the utility room
area.
I will paint this grout wedge with Drylok waterproofing paint for added
protection.
Rear room looking south -
notice the new studs
under the stairs showing new rough door opening and the fire stops
between
the studs (one stud was so warped I had to replace it).
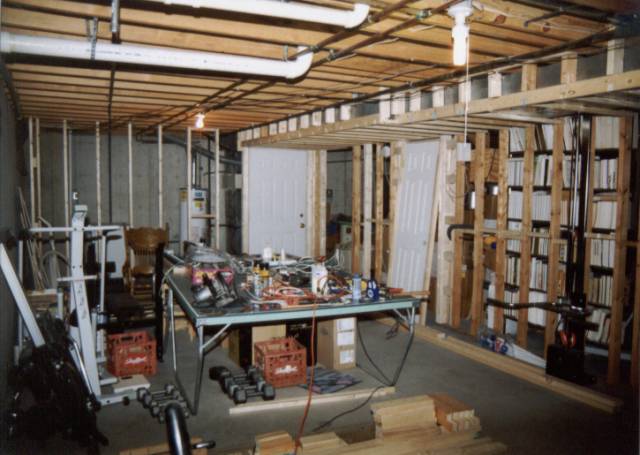
Rear room looking South -
after studding
utility room wall and door. Also note the "box" around the
ductwork.
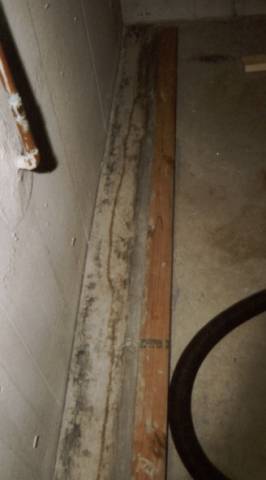
Grout wedge around wall
to carry water
to the sump pump.
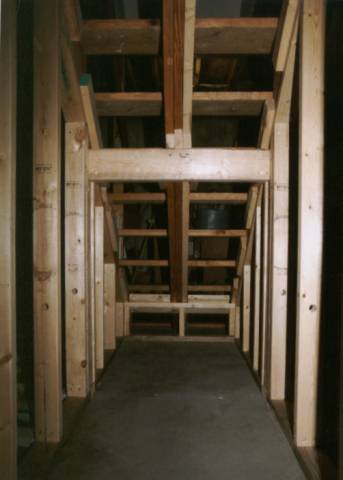
New stud walls under the
stairs.
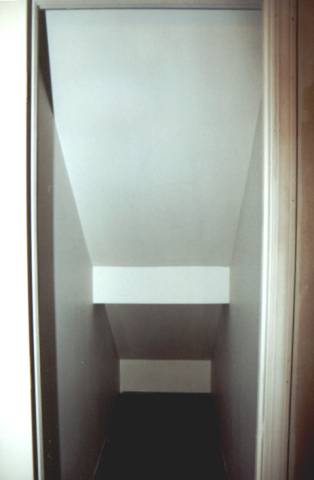
Drywall installation under stairs
and
on middle bearing wall.
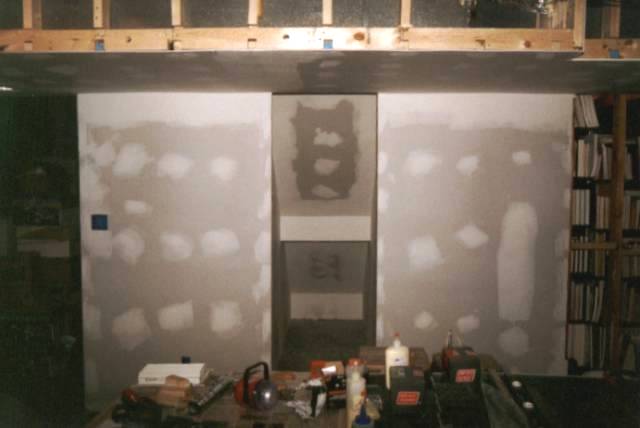
Completed and primed
drywall under the
stairs.
New stud walls around
rear room.
The drain pipe in the foreground was eventually moved up into the
joists
to keep from interfering with a future suspended ceiling.
More work to the rear.
Note
that the drain pipe in the foreground has been raised (and insulated
for
noise control), a box is constructed around the water shutoff valve,
and
1/4" drywall under ductwork. You will also note the
non-drywalled
bearing wall on the left - I installed fire stops between all bearing
wall
studs since they were all warped to varying degrees. This
helped
straighten them.
The utility room area
is drywalled on
one side (to allow for electrical inspection in the future) as is the
ductwork.
The new service panel in
the utility room.
Drywall blockouts
between joists.
Rear ductwork (trunk
line) - just one more
coat of mud and some sanding and priming.
Now I need to start working on the fun room - the Home Theater room. I have decided to greatly simplify my original design which included numerous in wall shelves, etc... Now about the only thing "in-wall" will be the surround speakers and subwoofer. After a while, your lofty plans come back down to earth :-)
To be continued...