| Back |
Fuselage
Pics
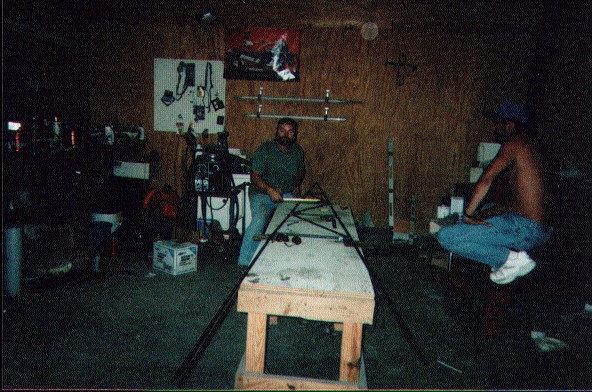
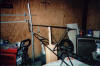
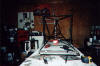
Just
getting started good here. Notice mig wire center line, held with
drywall screws, you have to keep checking to see if anything is
laying on it, but you never have to redraw it. This table had a
drag-bike built on it, it is 2'x 8'. At this point it has sandpaper
shims to level it.

Yes
my head is square-- I guess that's why I can read my tape with my
eyes closed! The other guy, Freddy, owns the garage. The
outside and inside
of his shirt was dirty, so he took it off for the picture.

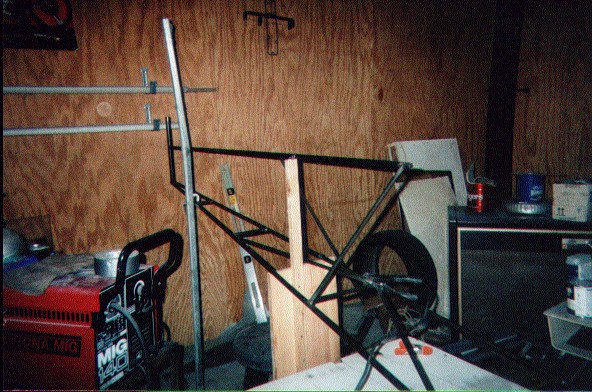
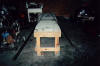
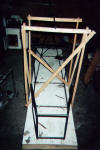
Progress.
Tubing bent, conduit clamps holding it, table has lag bolts in the
legs to level it now, and bar-bell weights to keep it from flying
off. "Floor pan" is almost complete!
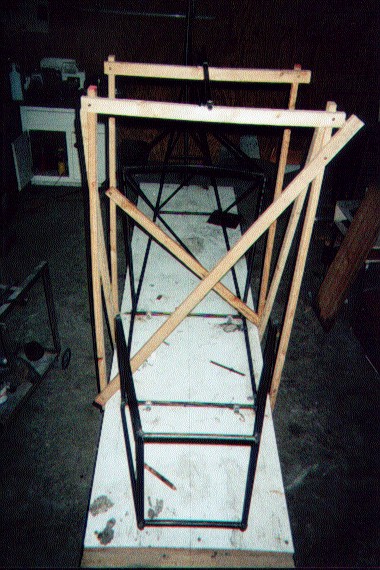
Top
longeron and tail piece on. Next!
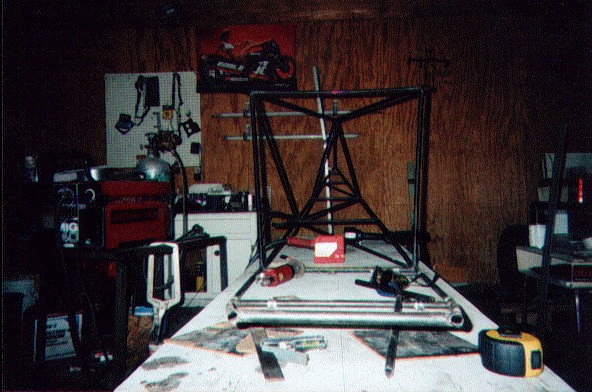
When
you get one this far along, it starts getting hard to concentrate.
You know, all the airplane noises in your head. Notice the little
pocket laser. It is astride the center line, to check for plumb, you
can see the red light on the seat-back tube-- yep things are lining
up quite nicely.

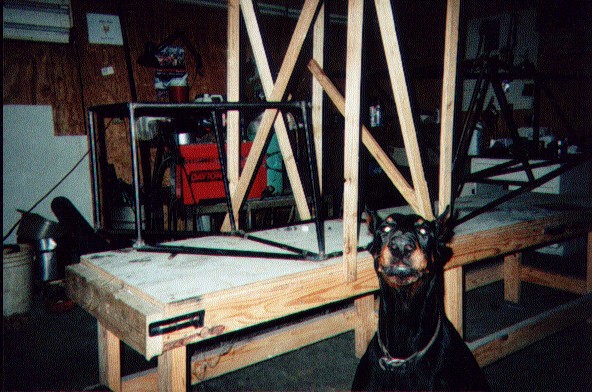
Best
help on the place! "Echo" is Freddy's dog, no place for him
on this plane! Front end looking like it is done, and we're jigged up
for the wing strut tube.
This
is what you get for 21.5 hrs. hard work, $400 worth of tubing and
having some good friends. I only have a few more tubes to go before
she comes off the table. Then it's landing gear time. Yep, I already
have the shopping cart wheel for the tail. That 21.5 hrs. includes 3
hrs. of making room in the garage and laying-out and leveling the
table. Starting on 8-9-00, I worked a few hours in the evenings and 2
marathon 7-8 hr Saturdays, with varying degrees of productivity, this
is supposed to be fun you know. I don't guess I'll be working on it
today, I am fooling with the scanner and things.
-Danny
Sunday,
8-20-00